Model a desk robot arm: the shoulder
The shoulder turns on the base and carries the upper link between its two cheeks. Only one cheek is modelled: a mirror makes the other, hub and rounding included, so the two can never differ.
Each step shows the Designer as you make it: a feature's dialog filled in with the step's values, with the tutorial card ringing OK, or what the step made. The first time a command appears, a picture shows where it is. The step numbers match the card's in Help > Tutorials.
-
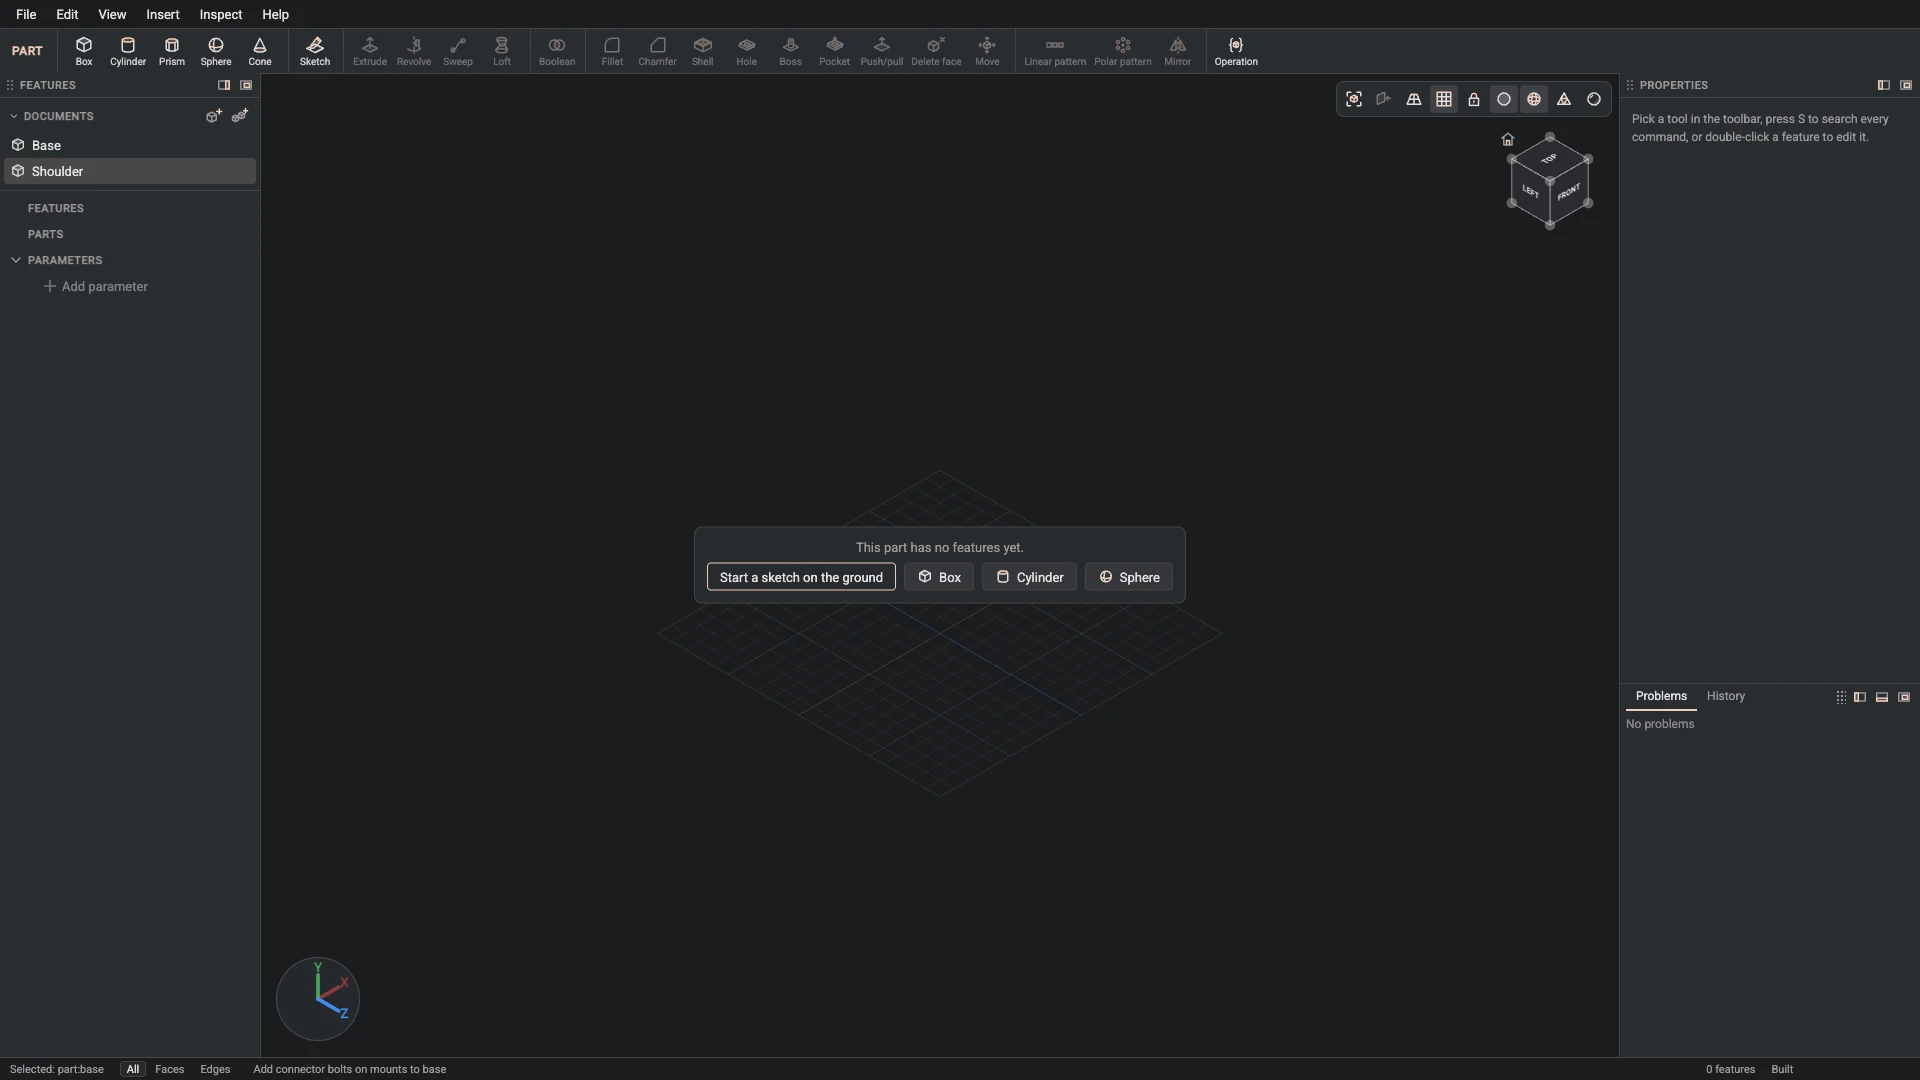
New part, from File > New part: name Shoulder.
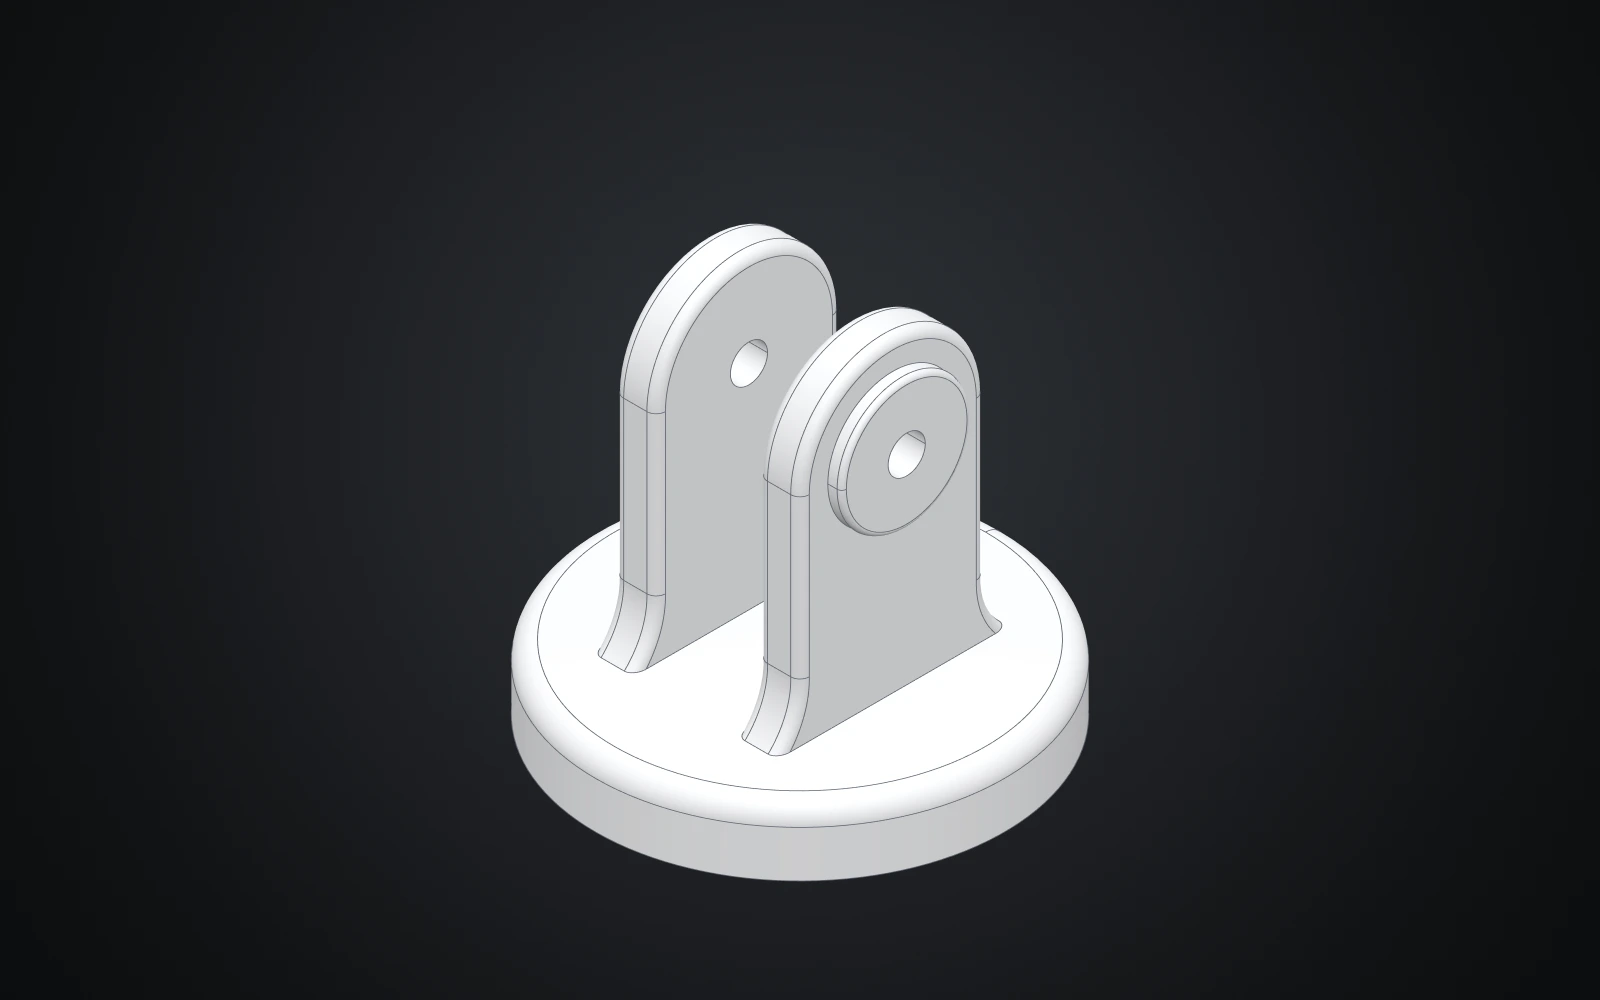
The shoulder is a drum with a clevis: one lug is extruded, given a hub and rounded, then mirrored, and the drum is revolved and joined to it. A hole runs through the hubs for the shoulder bolt.
-
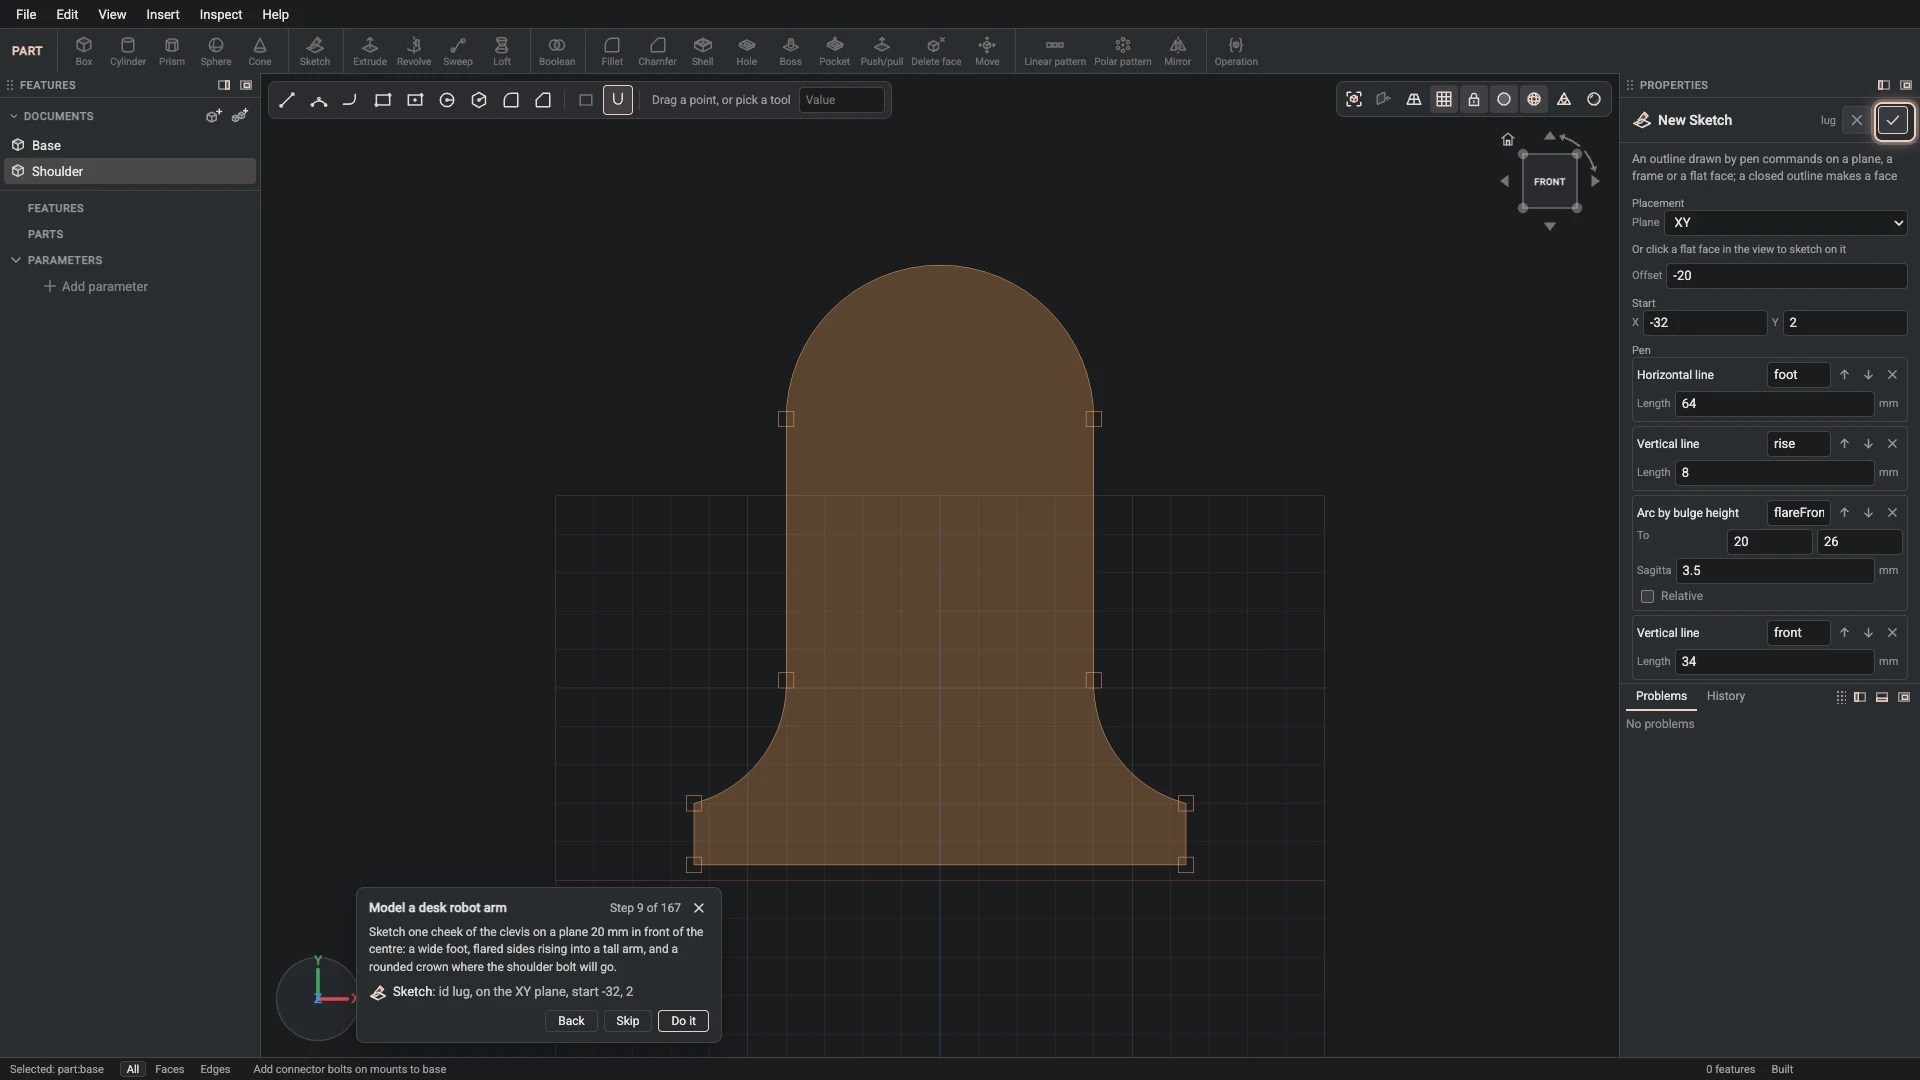
Sketch, from Insert > Sketch: id lug, on the XY plane, start -32, 2.
Sketch one cheek of the clevis on a plane 20 mm in front of the centre: a wide foot, flared sides rising into a tall arm, and a rounded crown where the shoulder bolt will go.
-
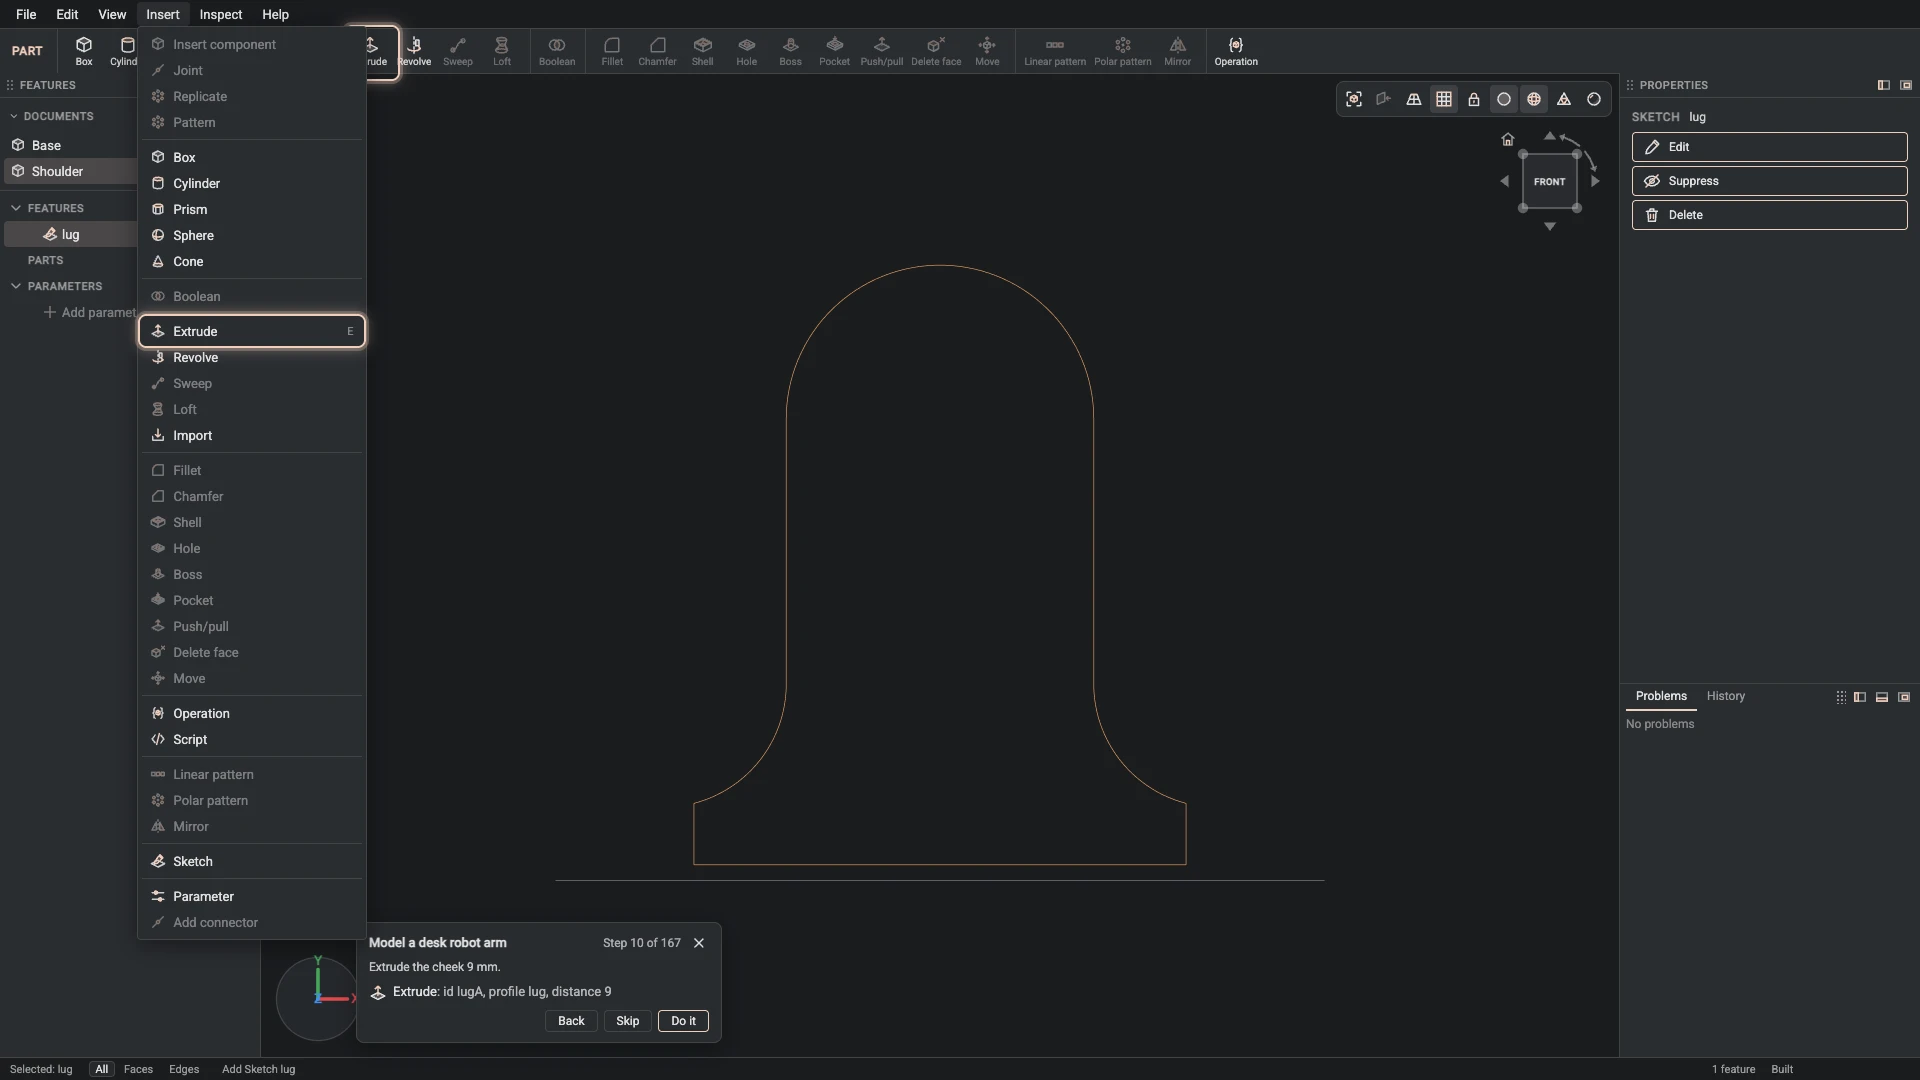
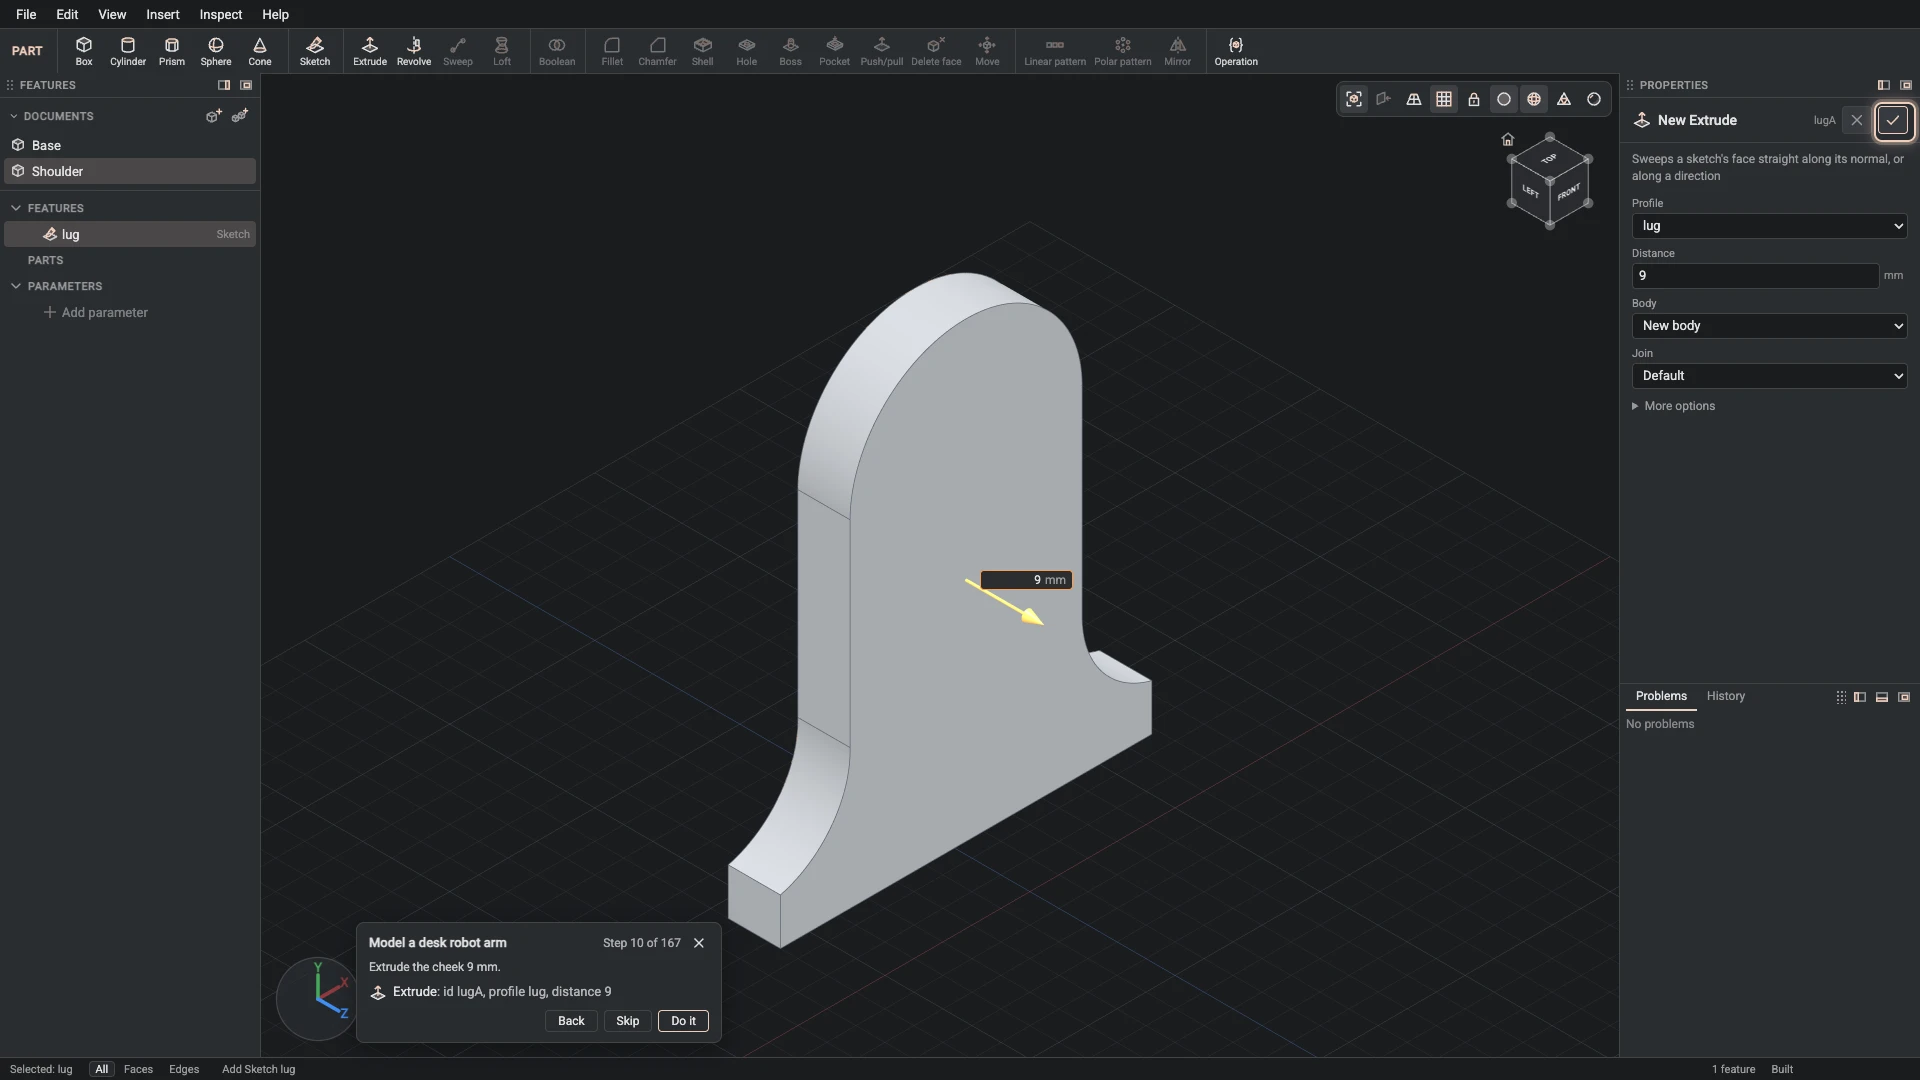
Extrude, from Insert > Extrude: id lugA, profile lug, distance 9.
Extrude the cheek 9 mm.
-
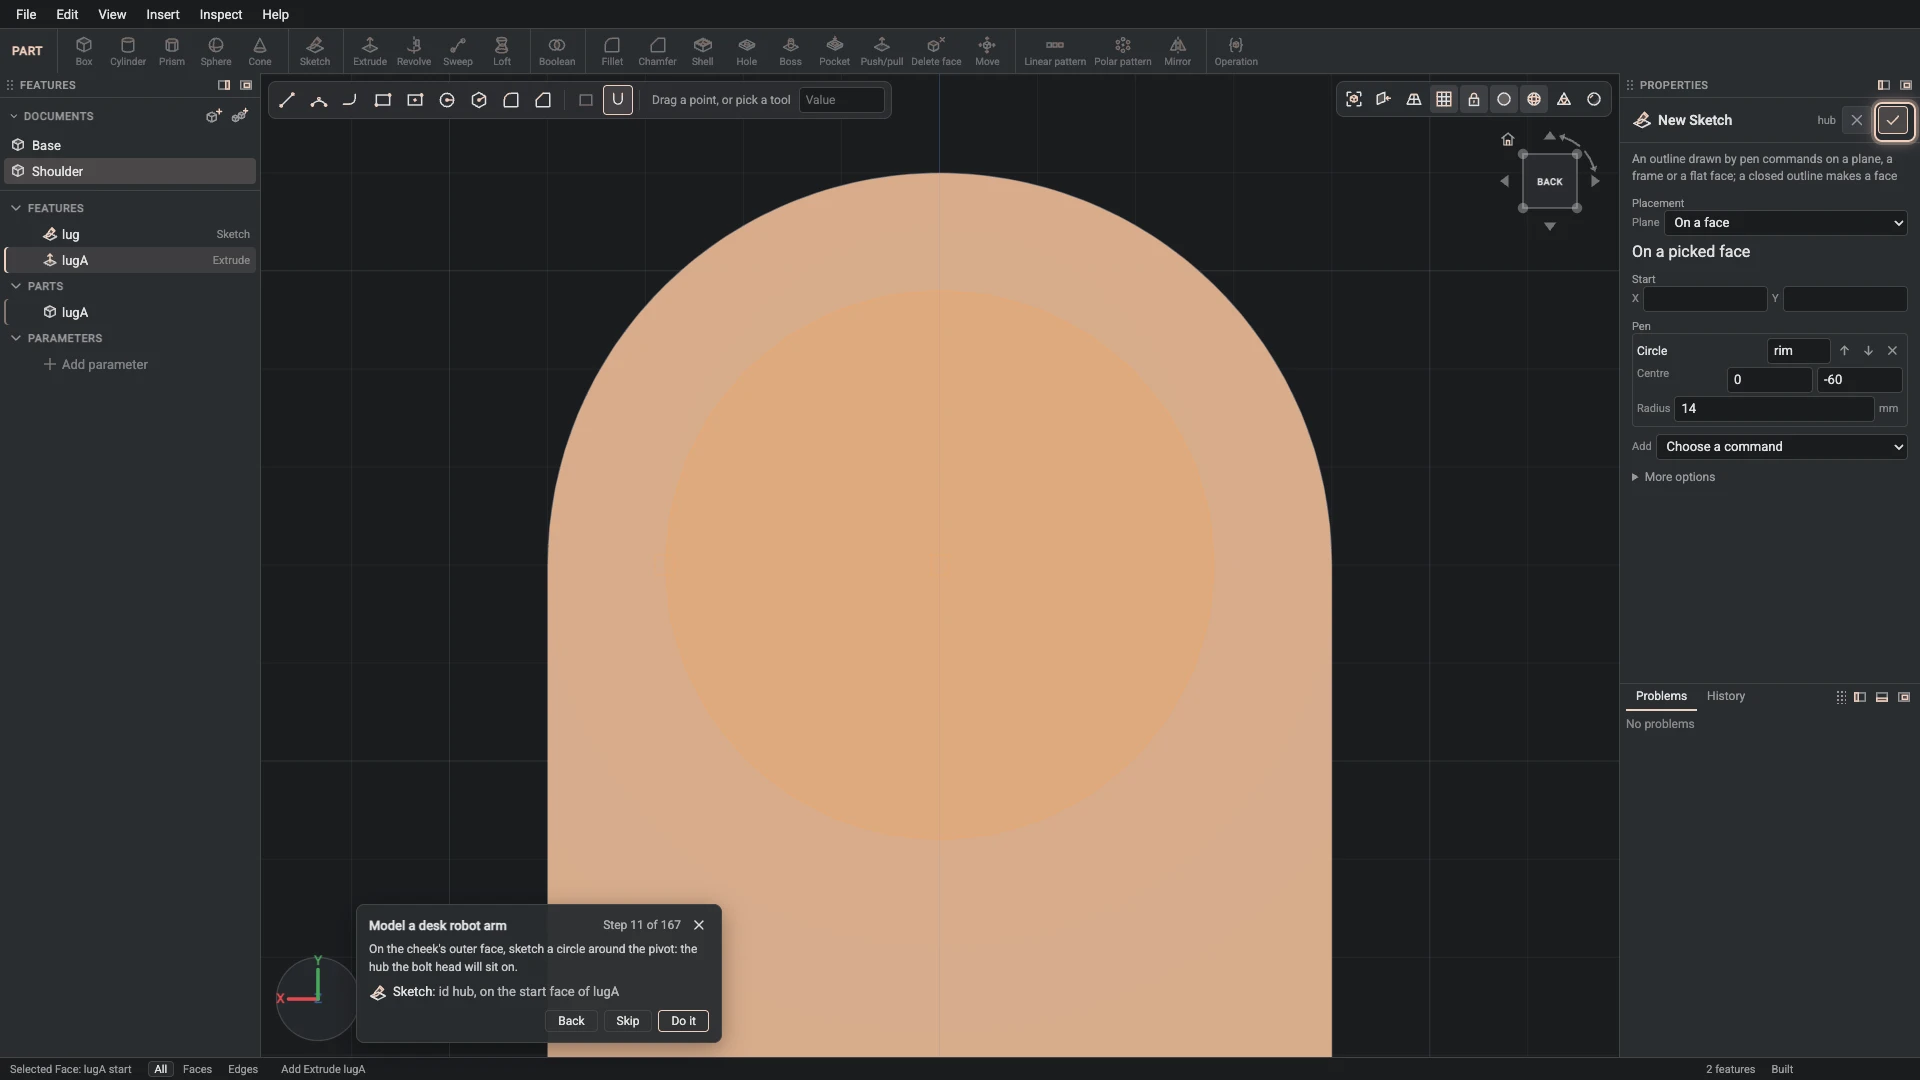
Sketch, from Insert > Sketch: id hub, on the start face of lugA.
On the cheek's outer face, sketch a circle around the pivot: the hub the bolt head will sit on.
-
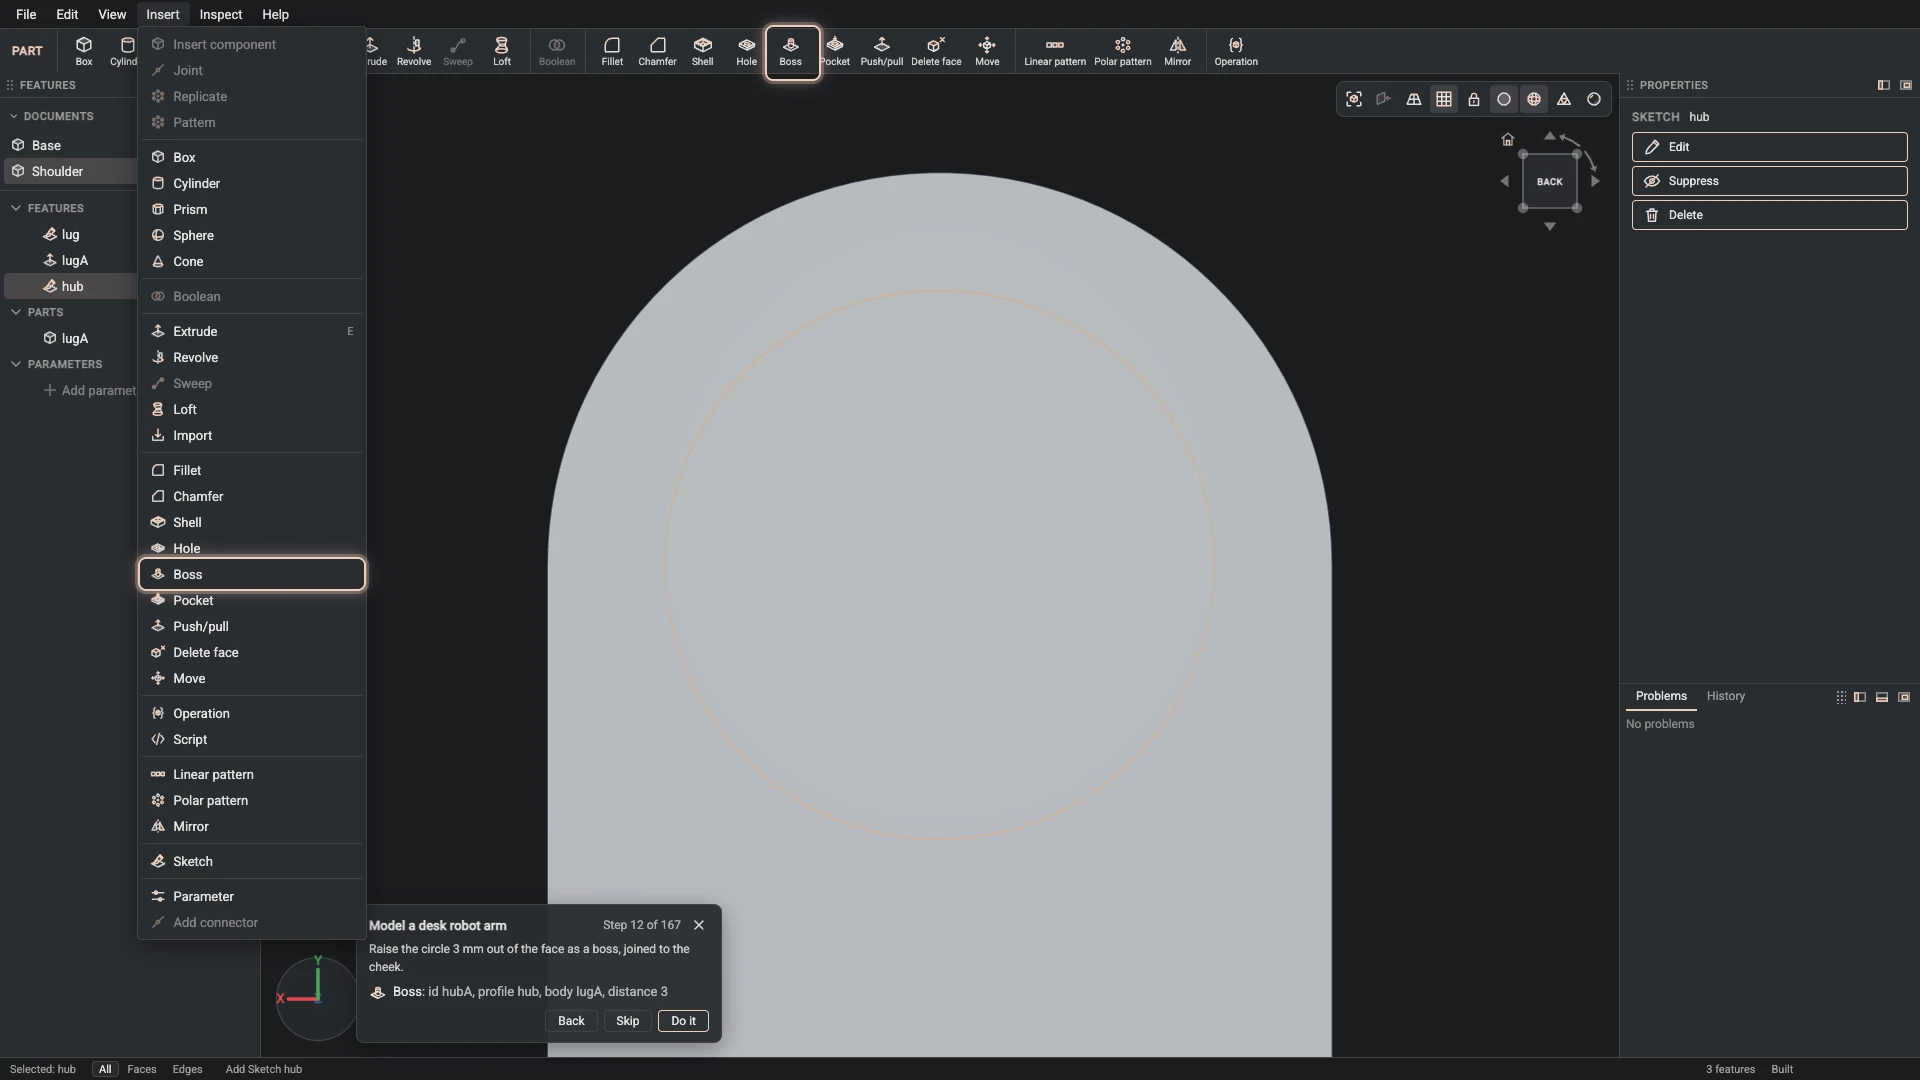
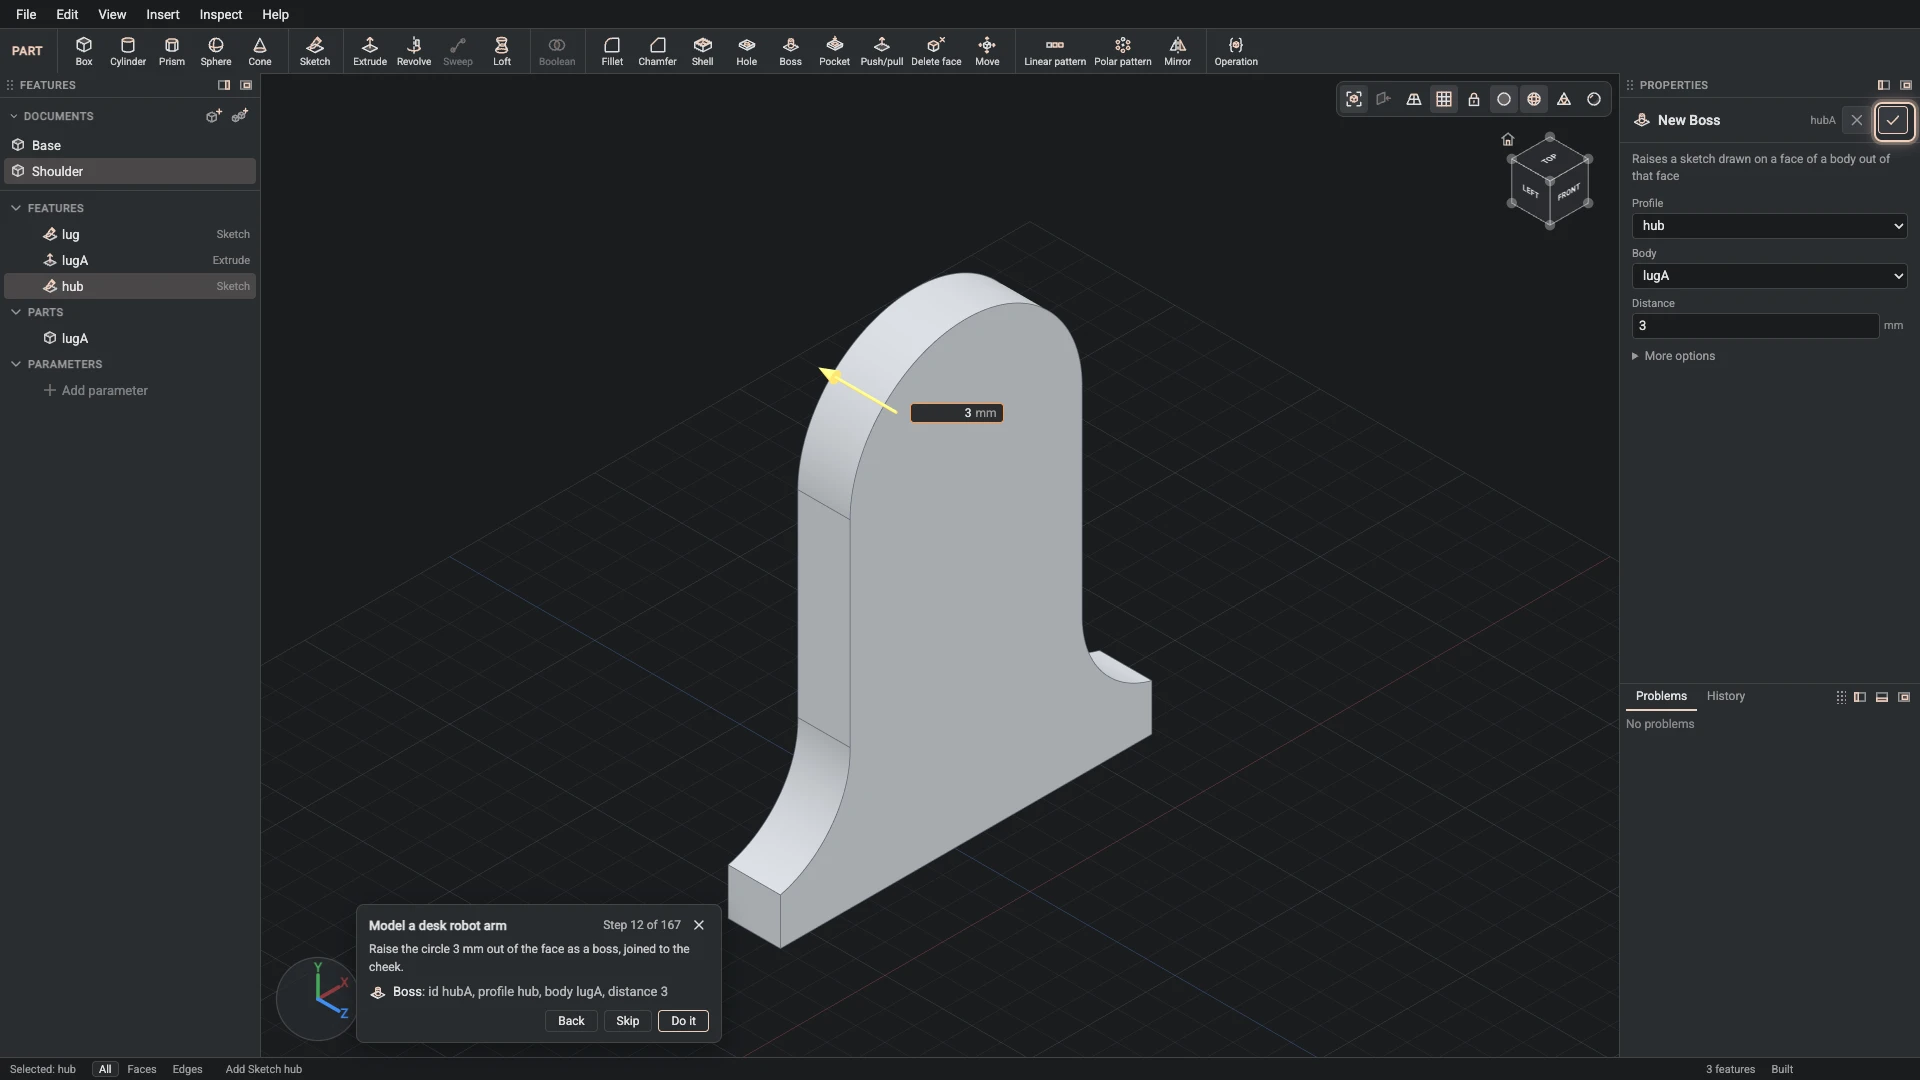
Boss, from Insert > Boss: id hubA, profile hub, body lugA, distance 3.
Raise the circle 3 mm out of the face as a boss, joined to the cheek.
-
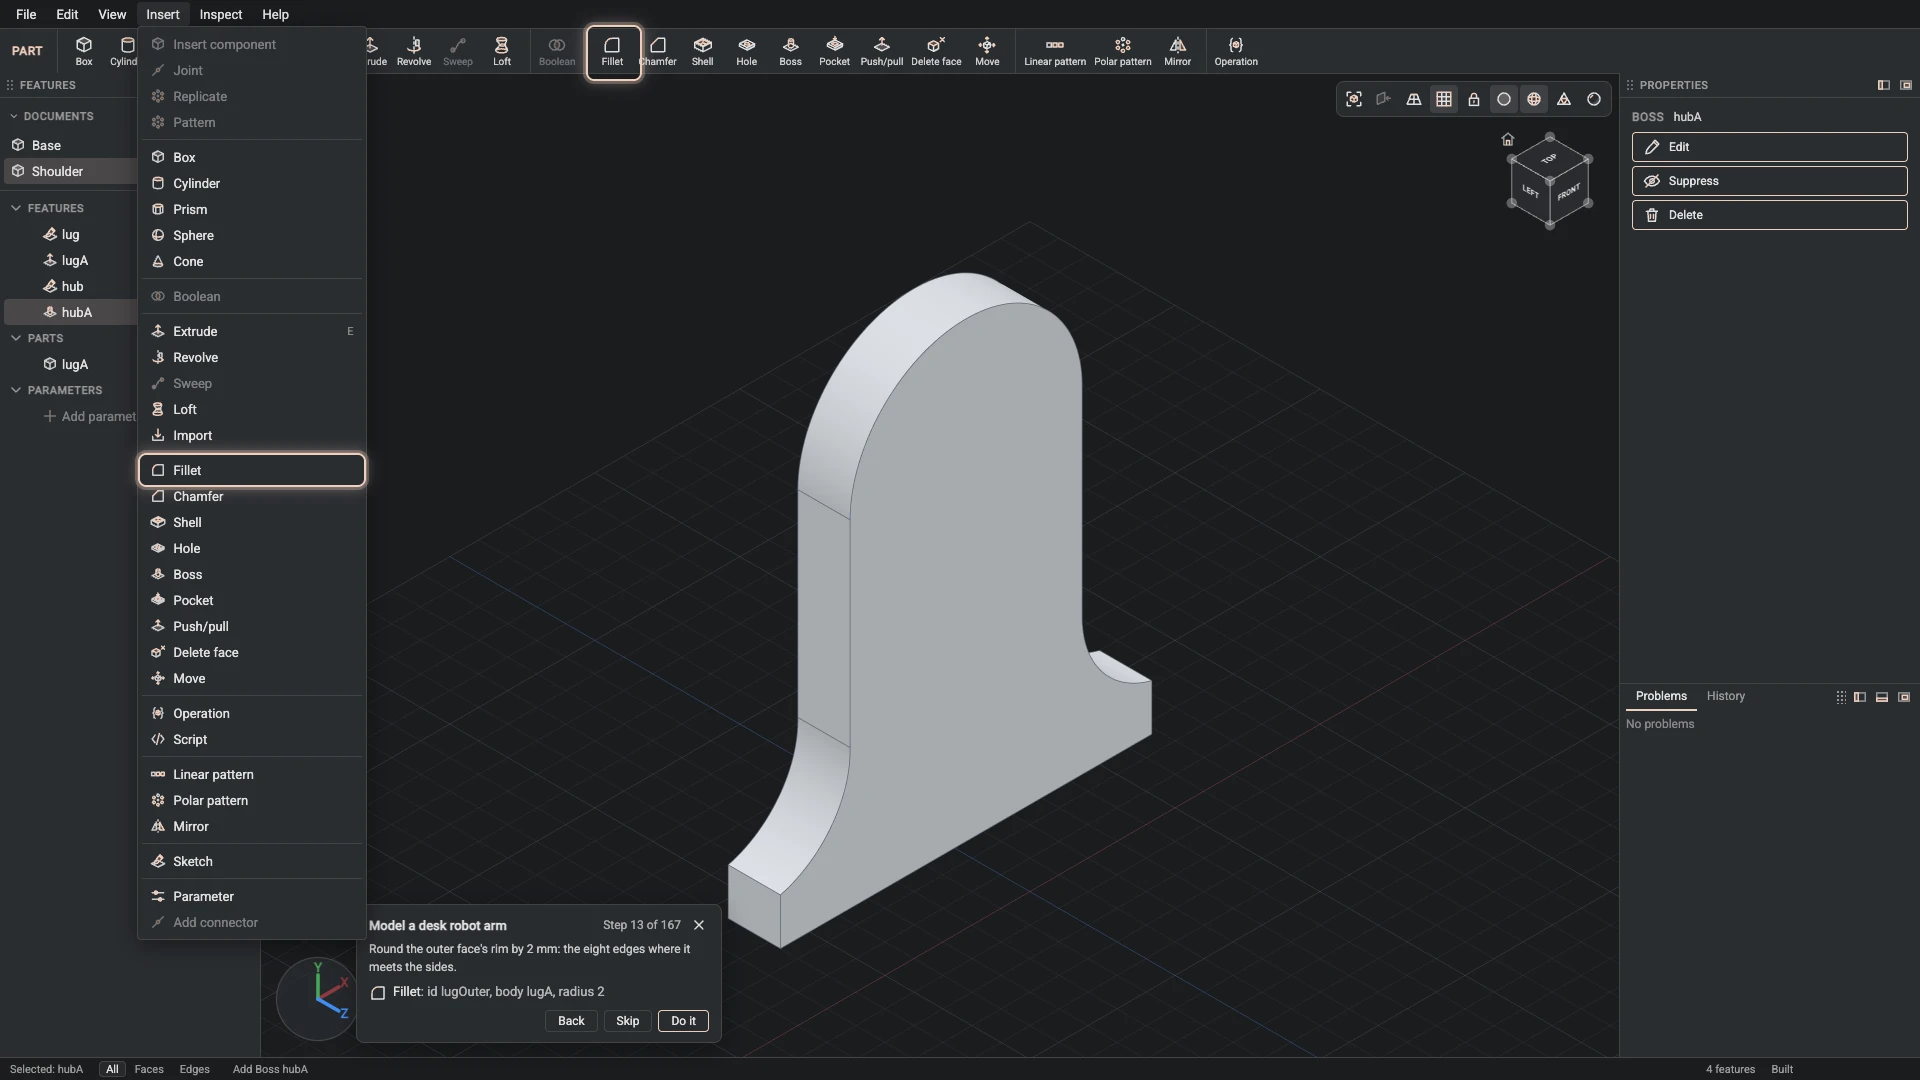
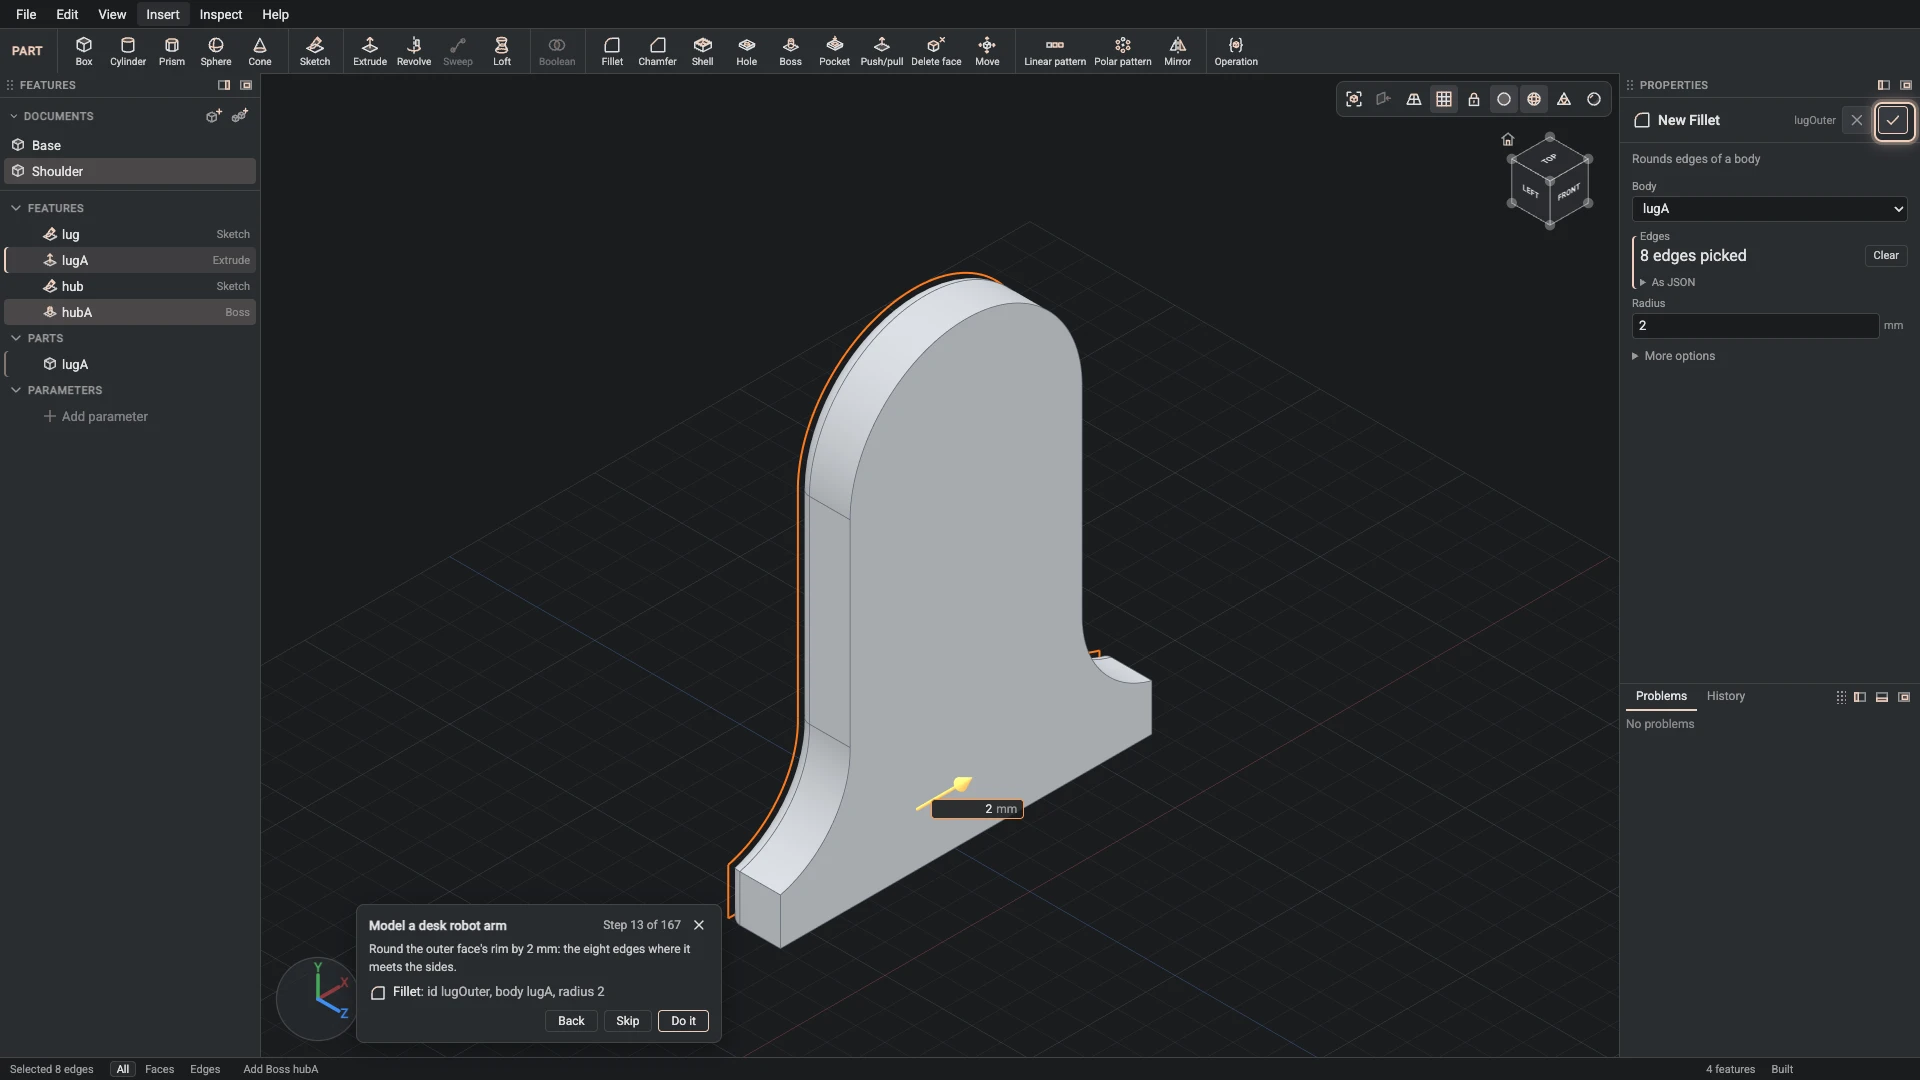
Fillet, from Insert > Fillet: id lugOuter, body lugA, radius 2.
Round the outer face's rim by 2 mm: the eight edges where it meets the sides.
-
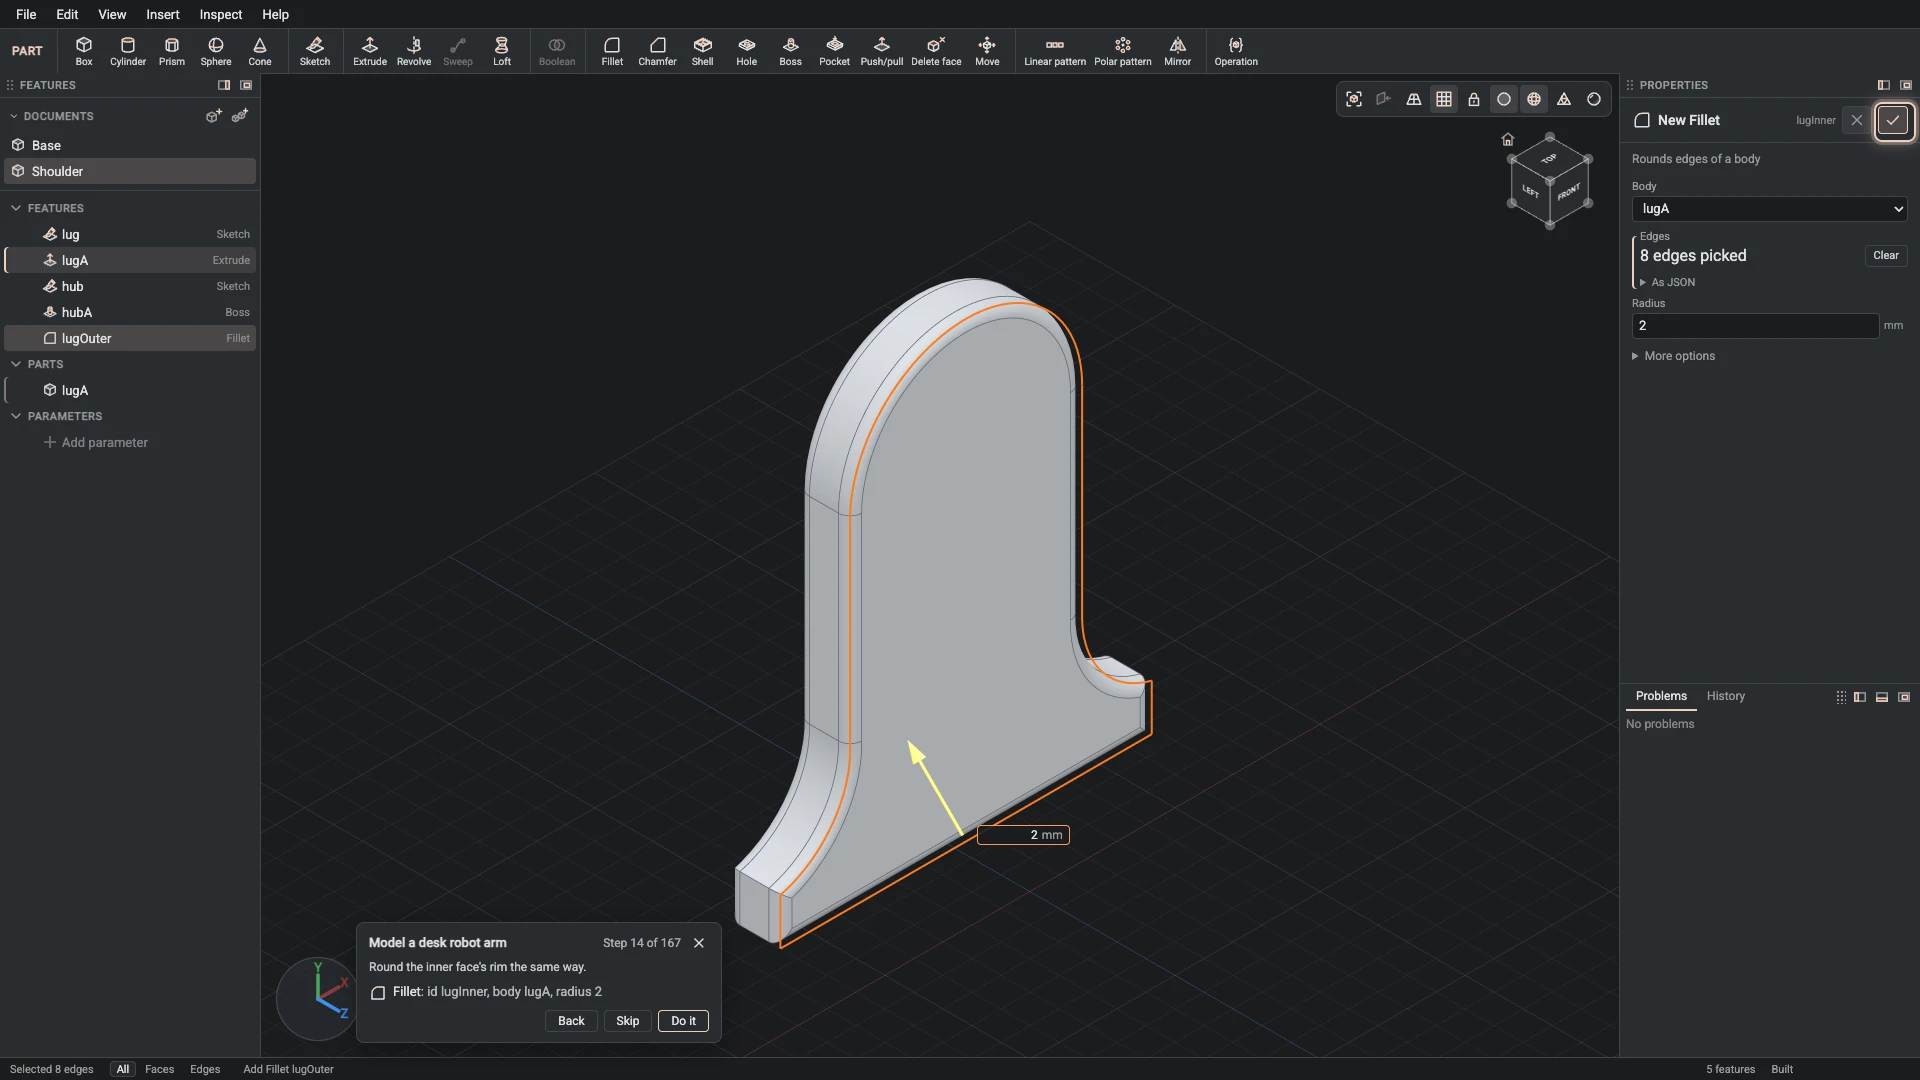
Fillet, from Insert > Fillet: id lugInner, body lugA, radius 2.
Round the inner face's rim the same way.
-
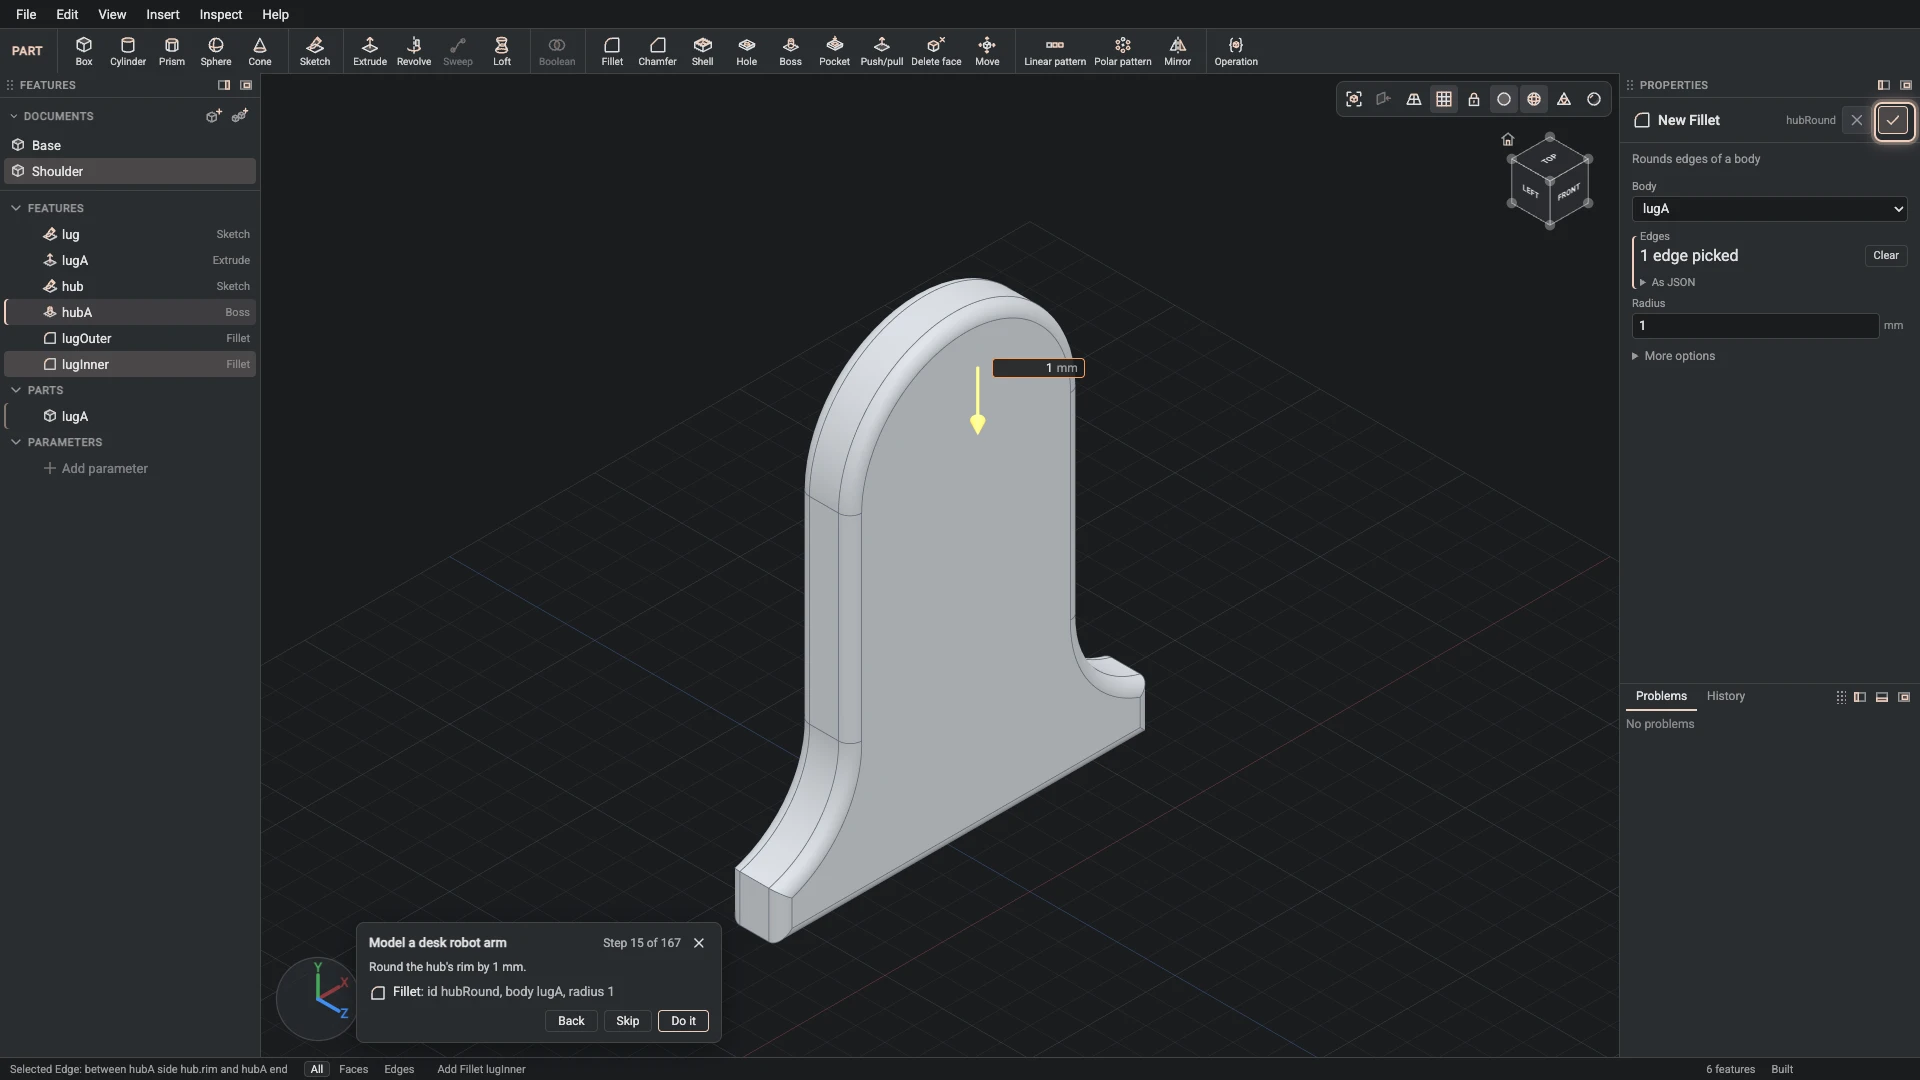
Fillet, from Insert > Fillet: id hubRound, body lugA, radius 1.
Round the hub's rim by 1 mm.
-
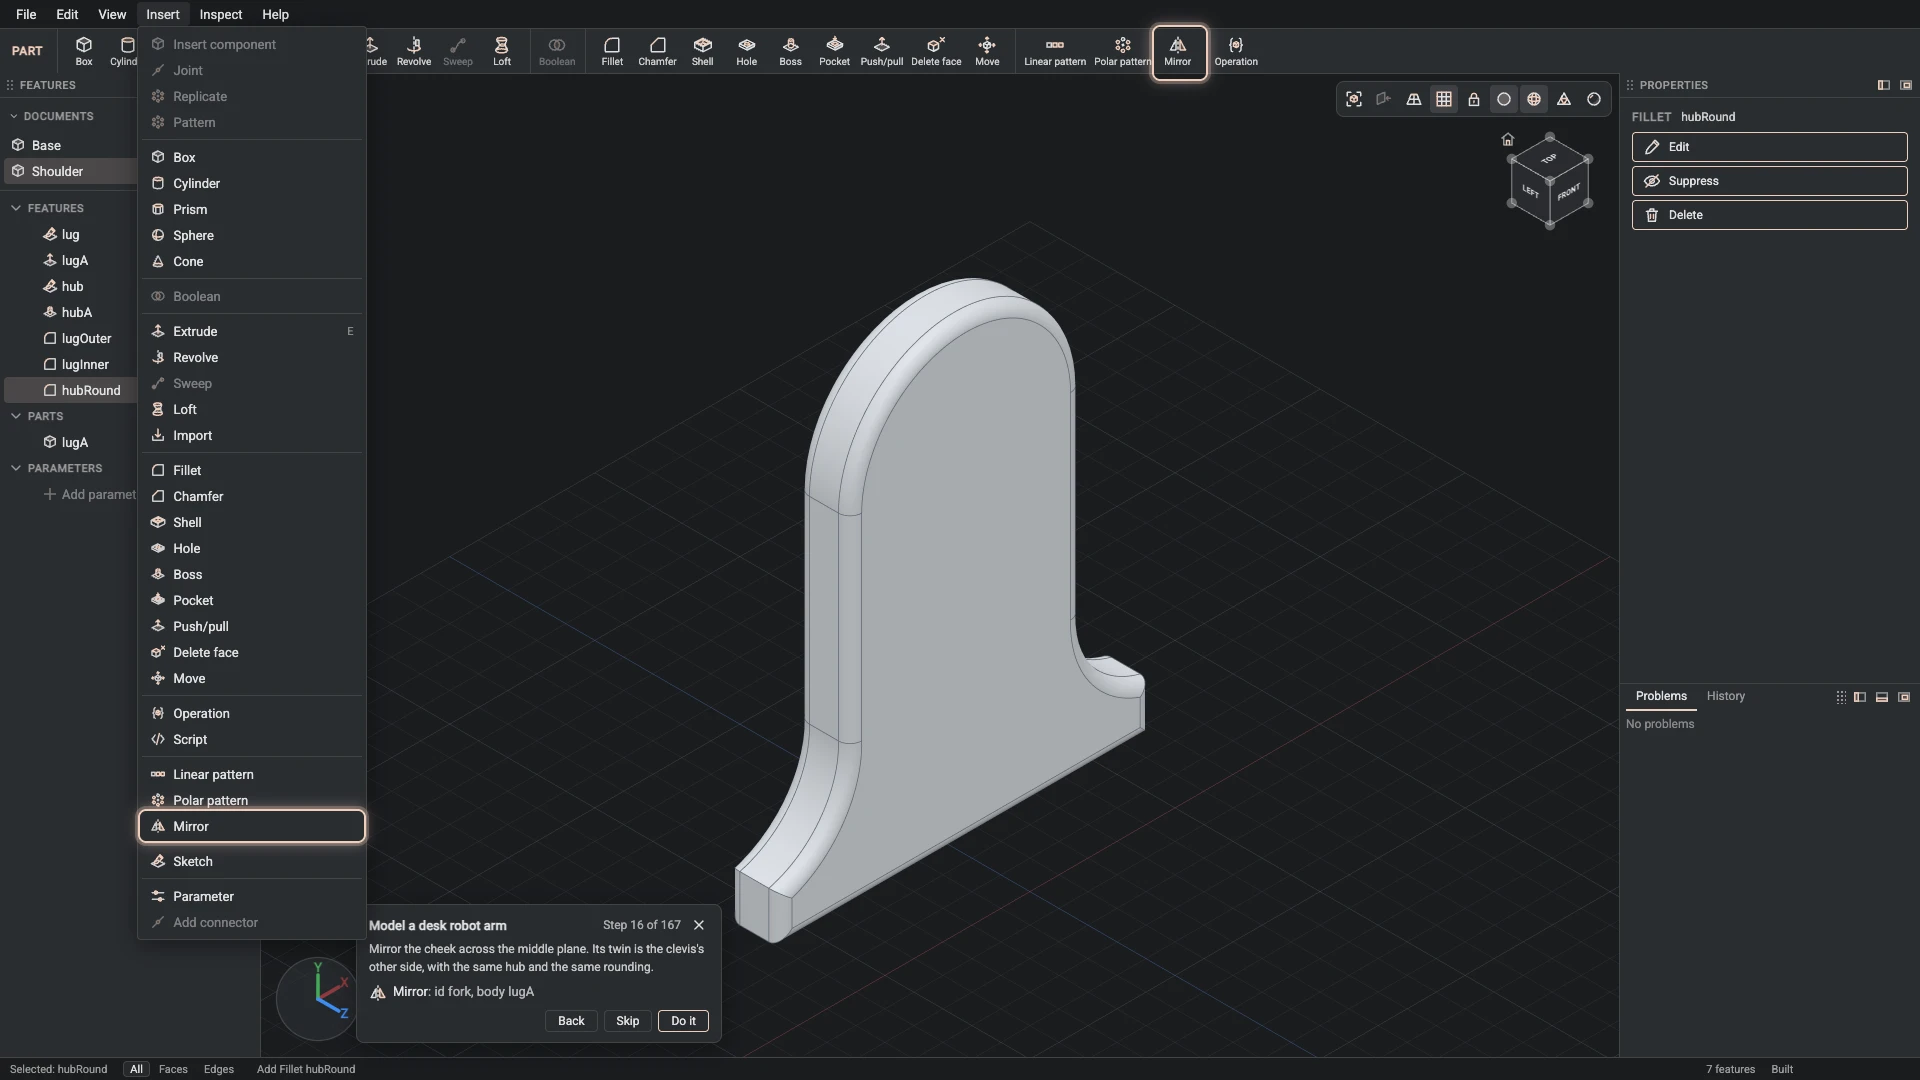
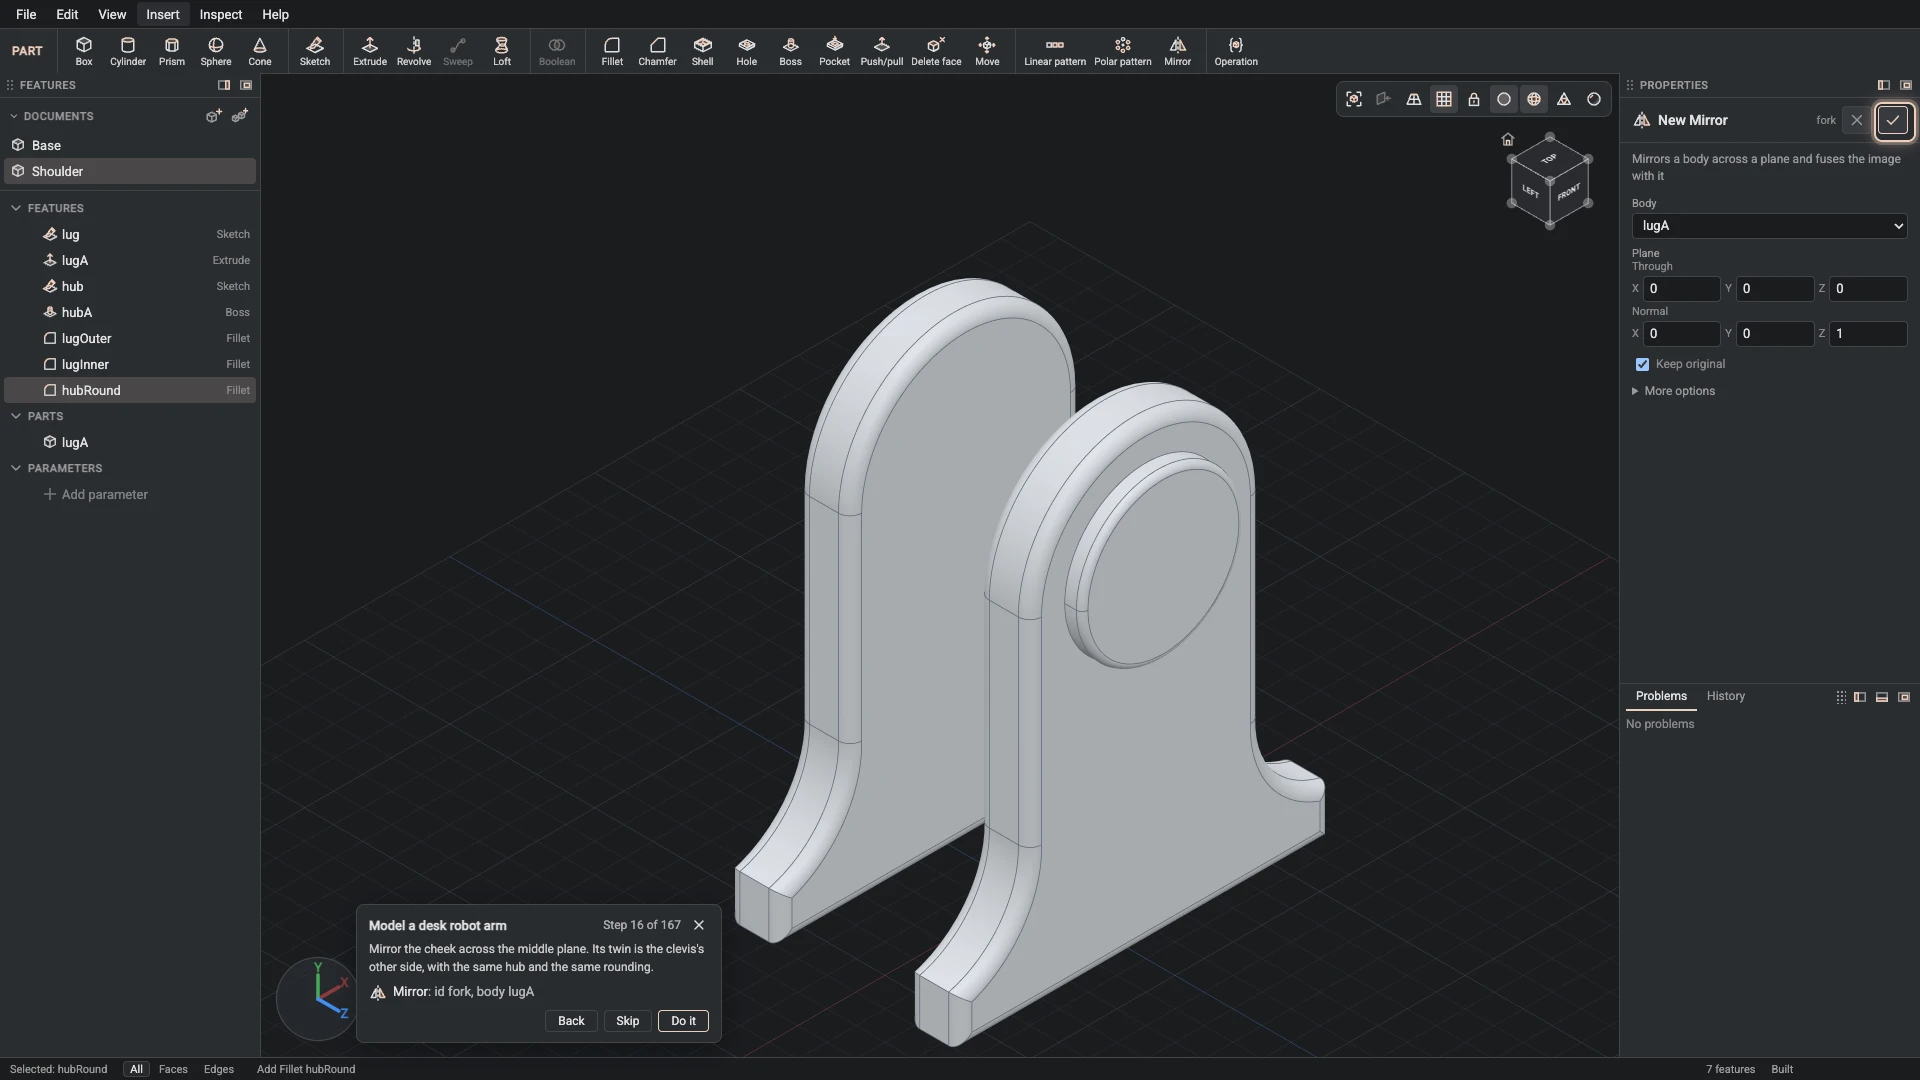
Mirror, from Insert > Mirror: id fork, body lugA.
Mirror the cheek across the middle plane. Its twin is the clevis's other side, with the same hub and the same rounding.
-
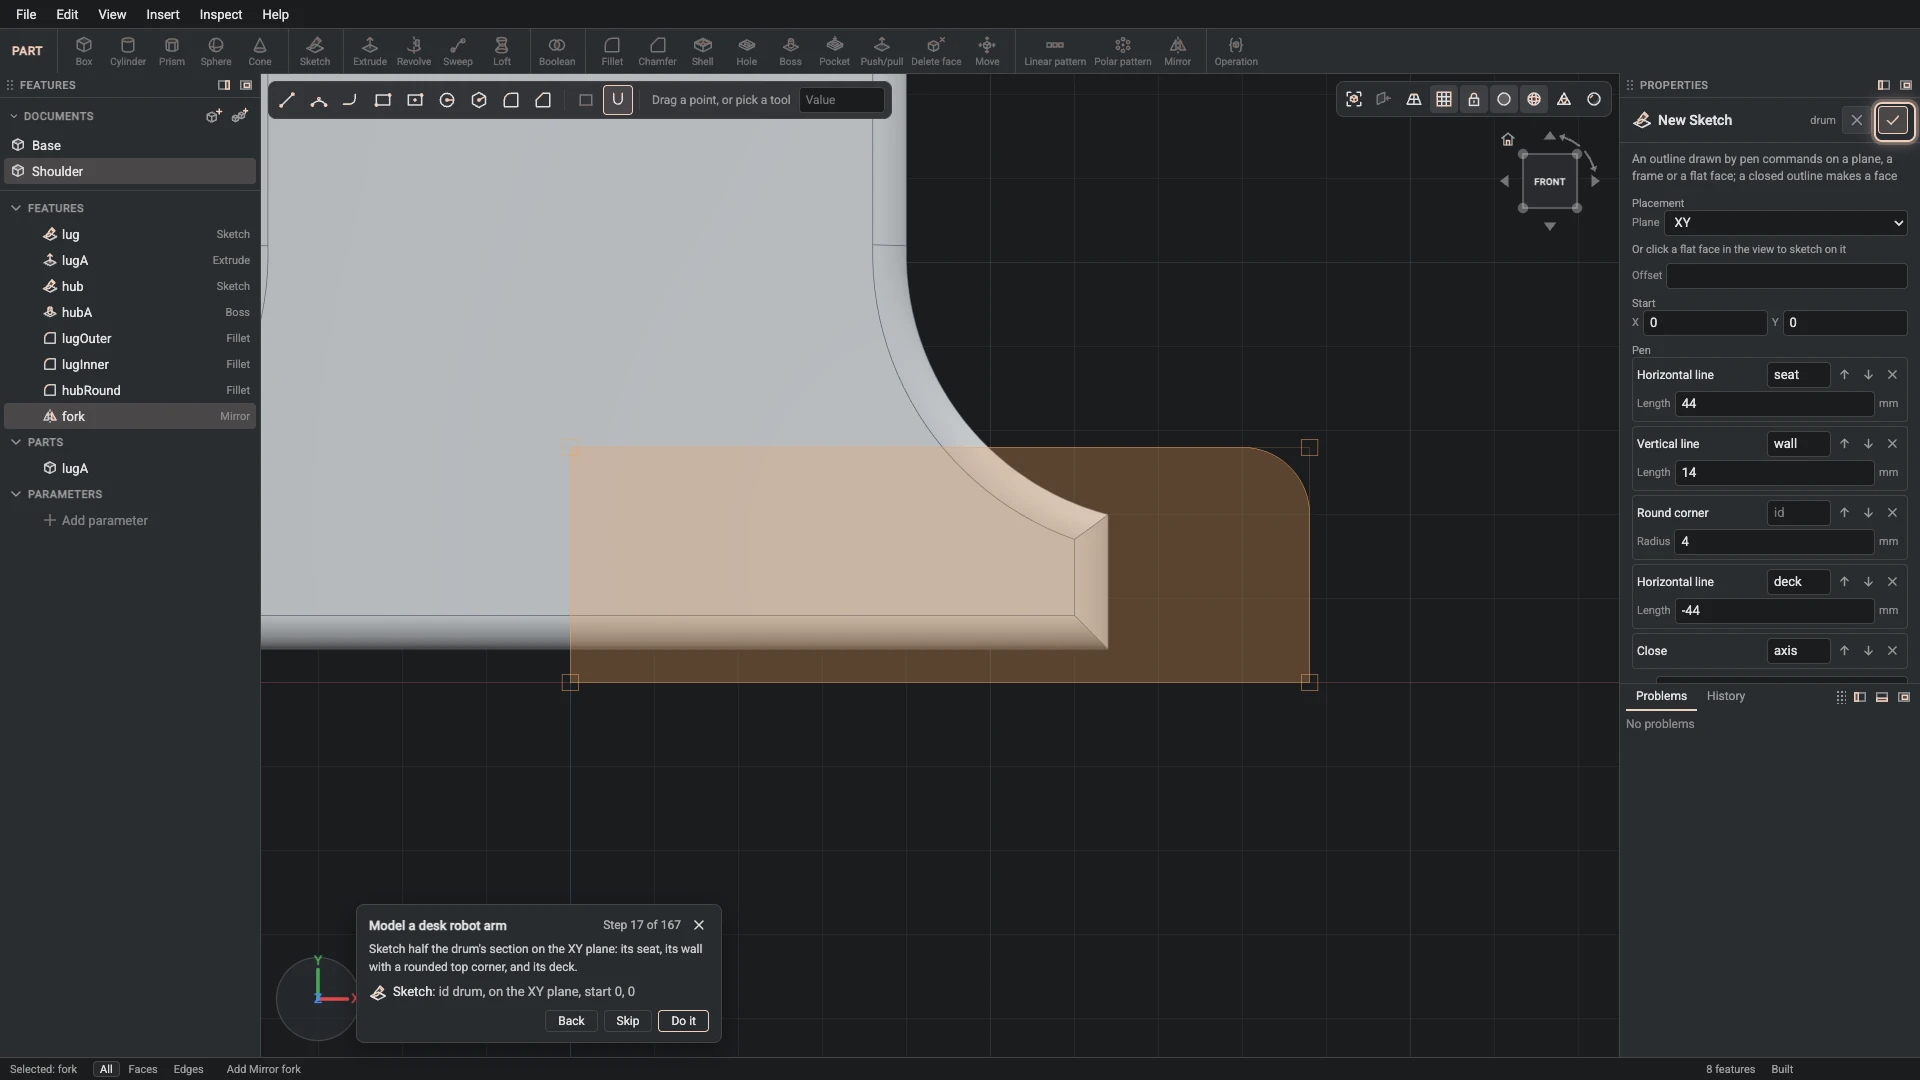
Sketch, from Insert > Sketch: id drum, on the XY plane, start 0, 0.
Sketch half the drum's section on the XY plane: its seat, its wall with a rounded top corner, and its deck.
-
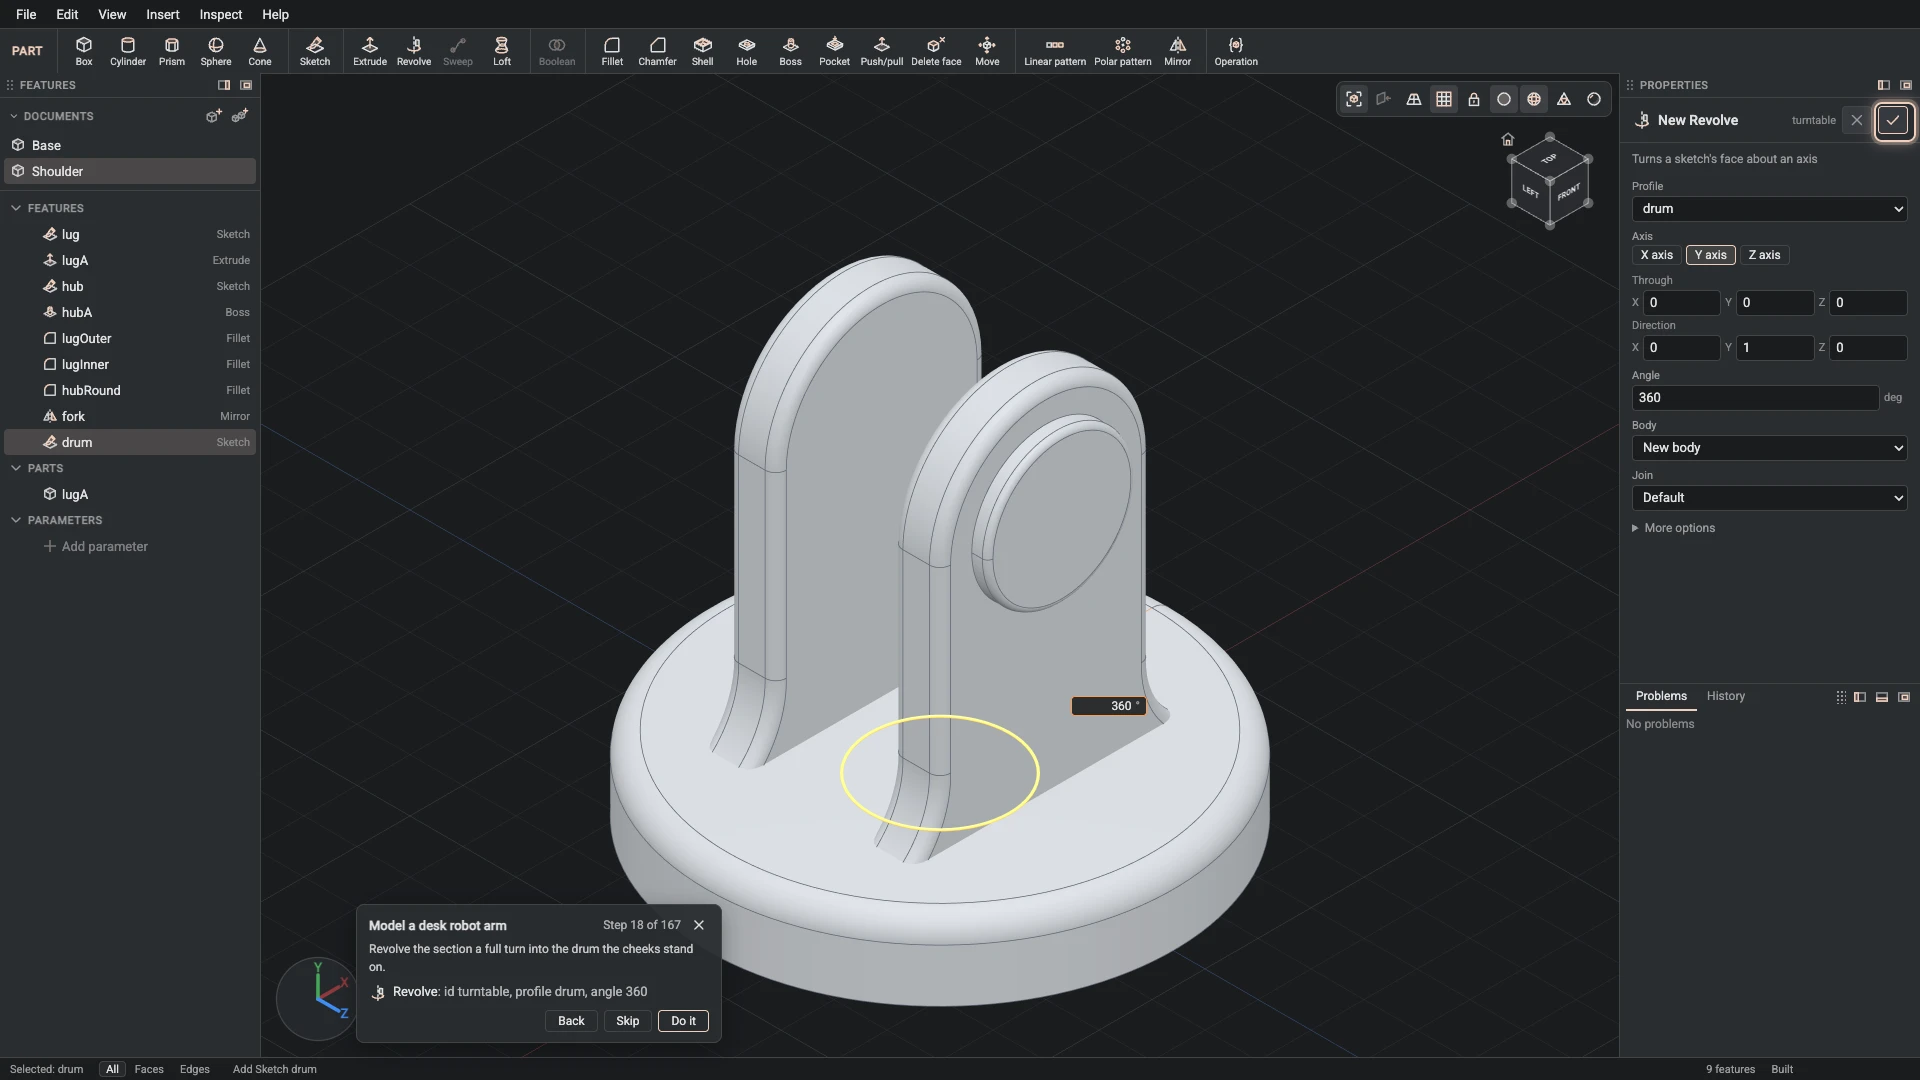
Revolve, from Insert > Revolve: id turntable, profile drum, angle 360.
Revolve the section a full turn into the drum the cheeks stand on.
-
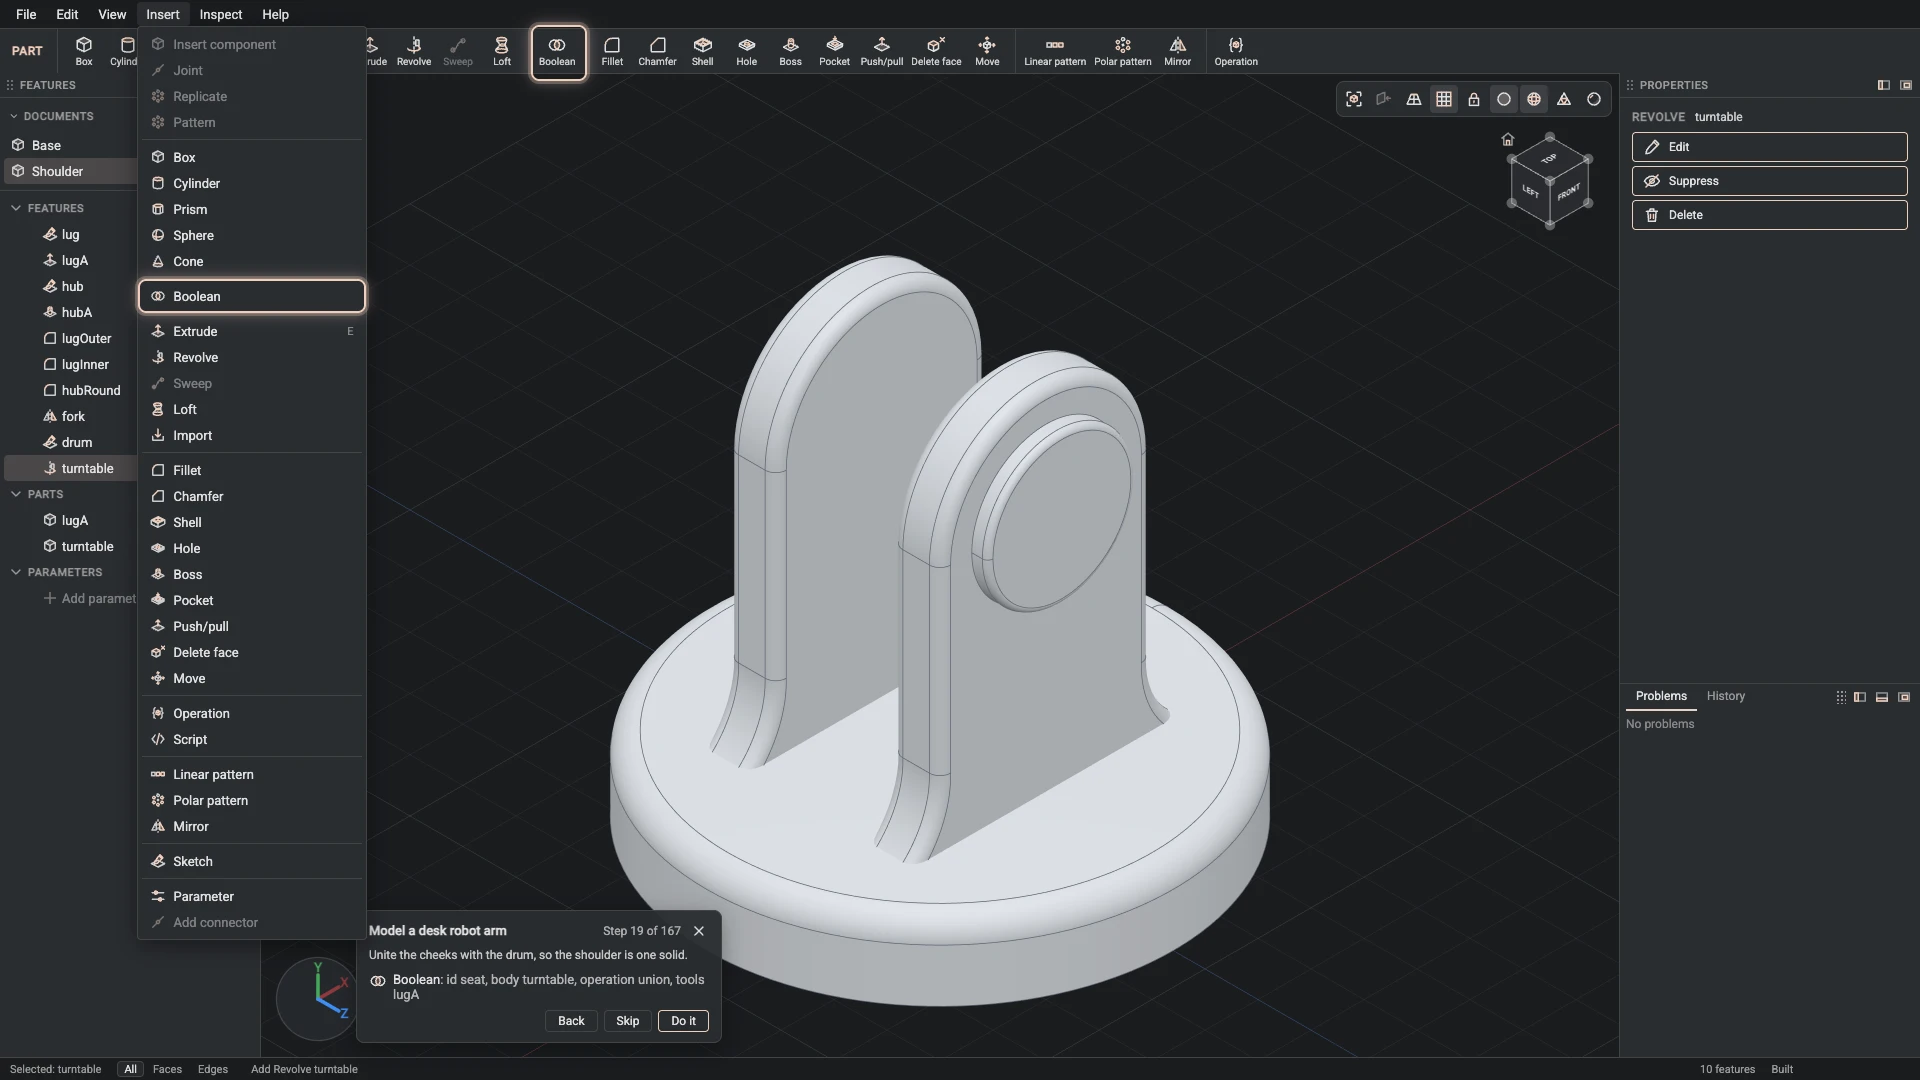
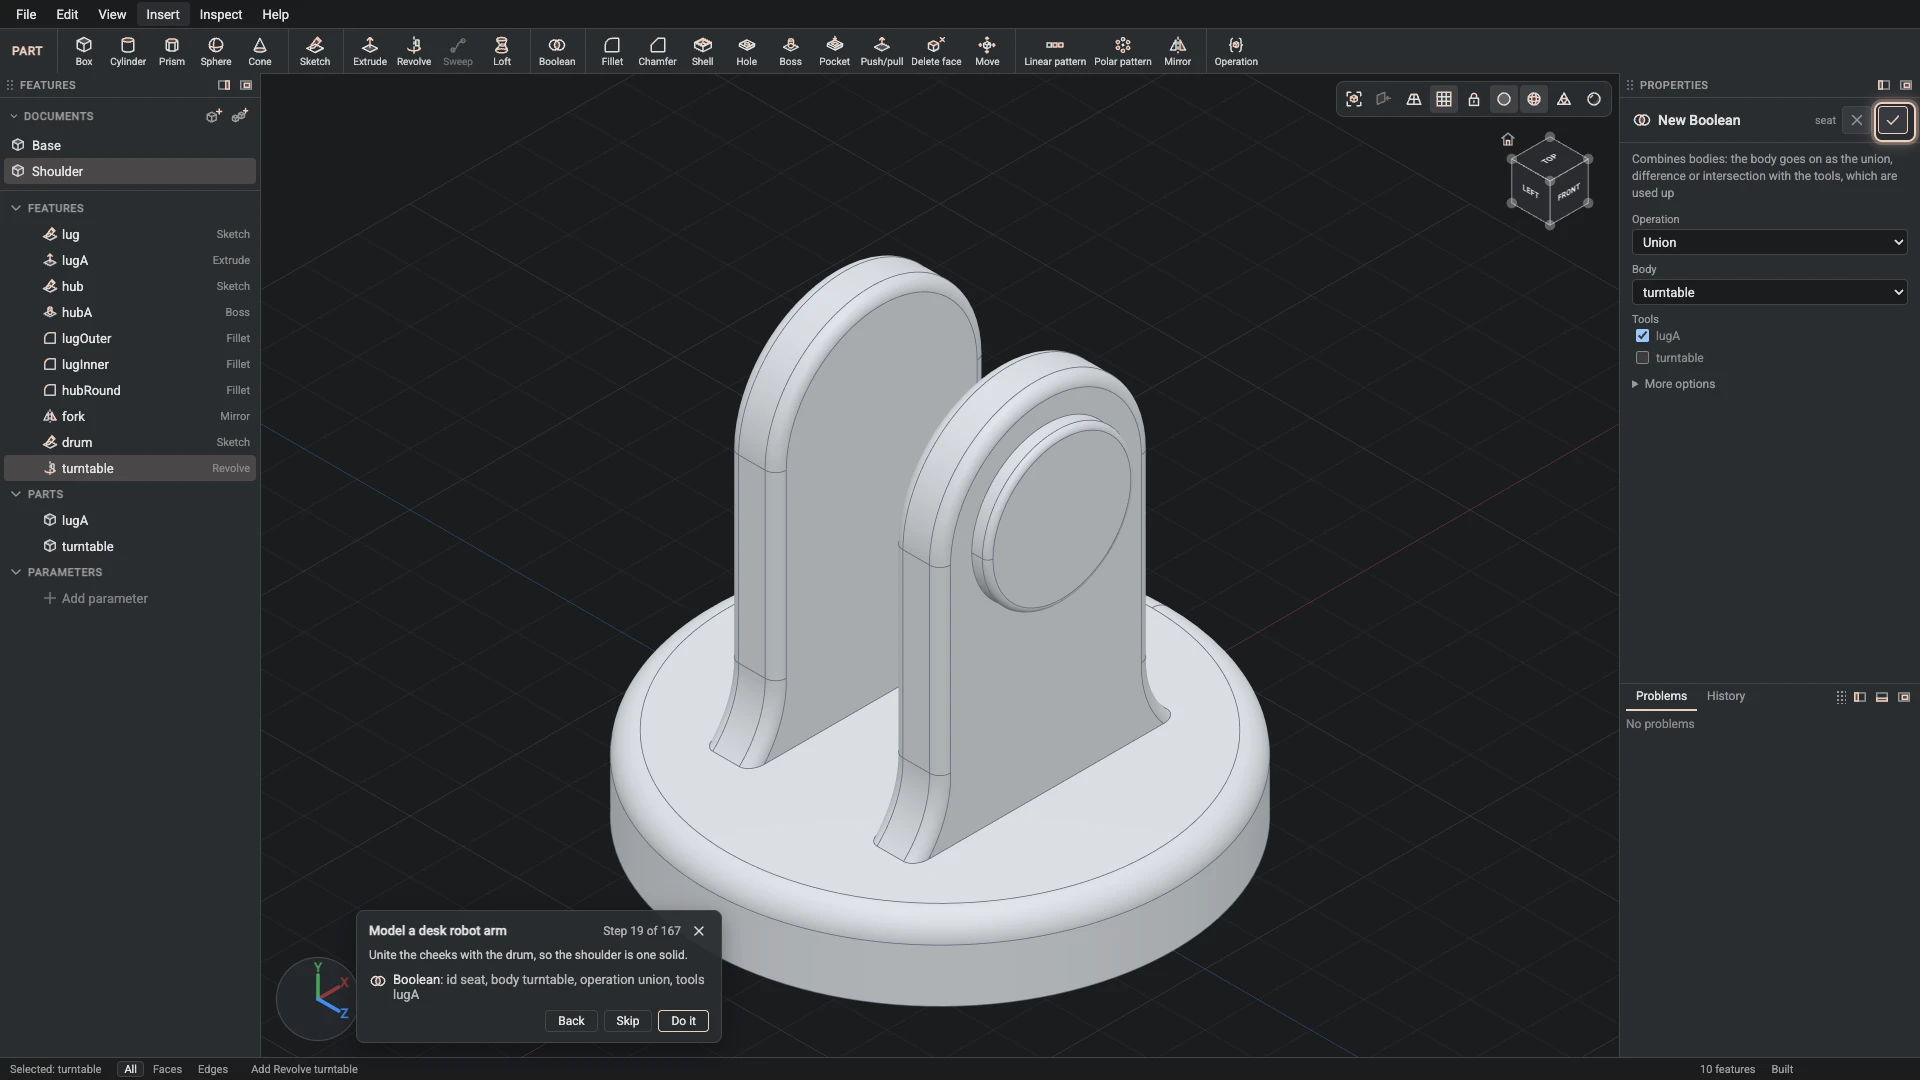
Boolean, from Insert > Boolean: id seat, body turntable, operation union, tools lugA.
Unite the cheeks with the drum, so the shoulder is one solid.
-
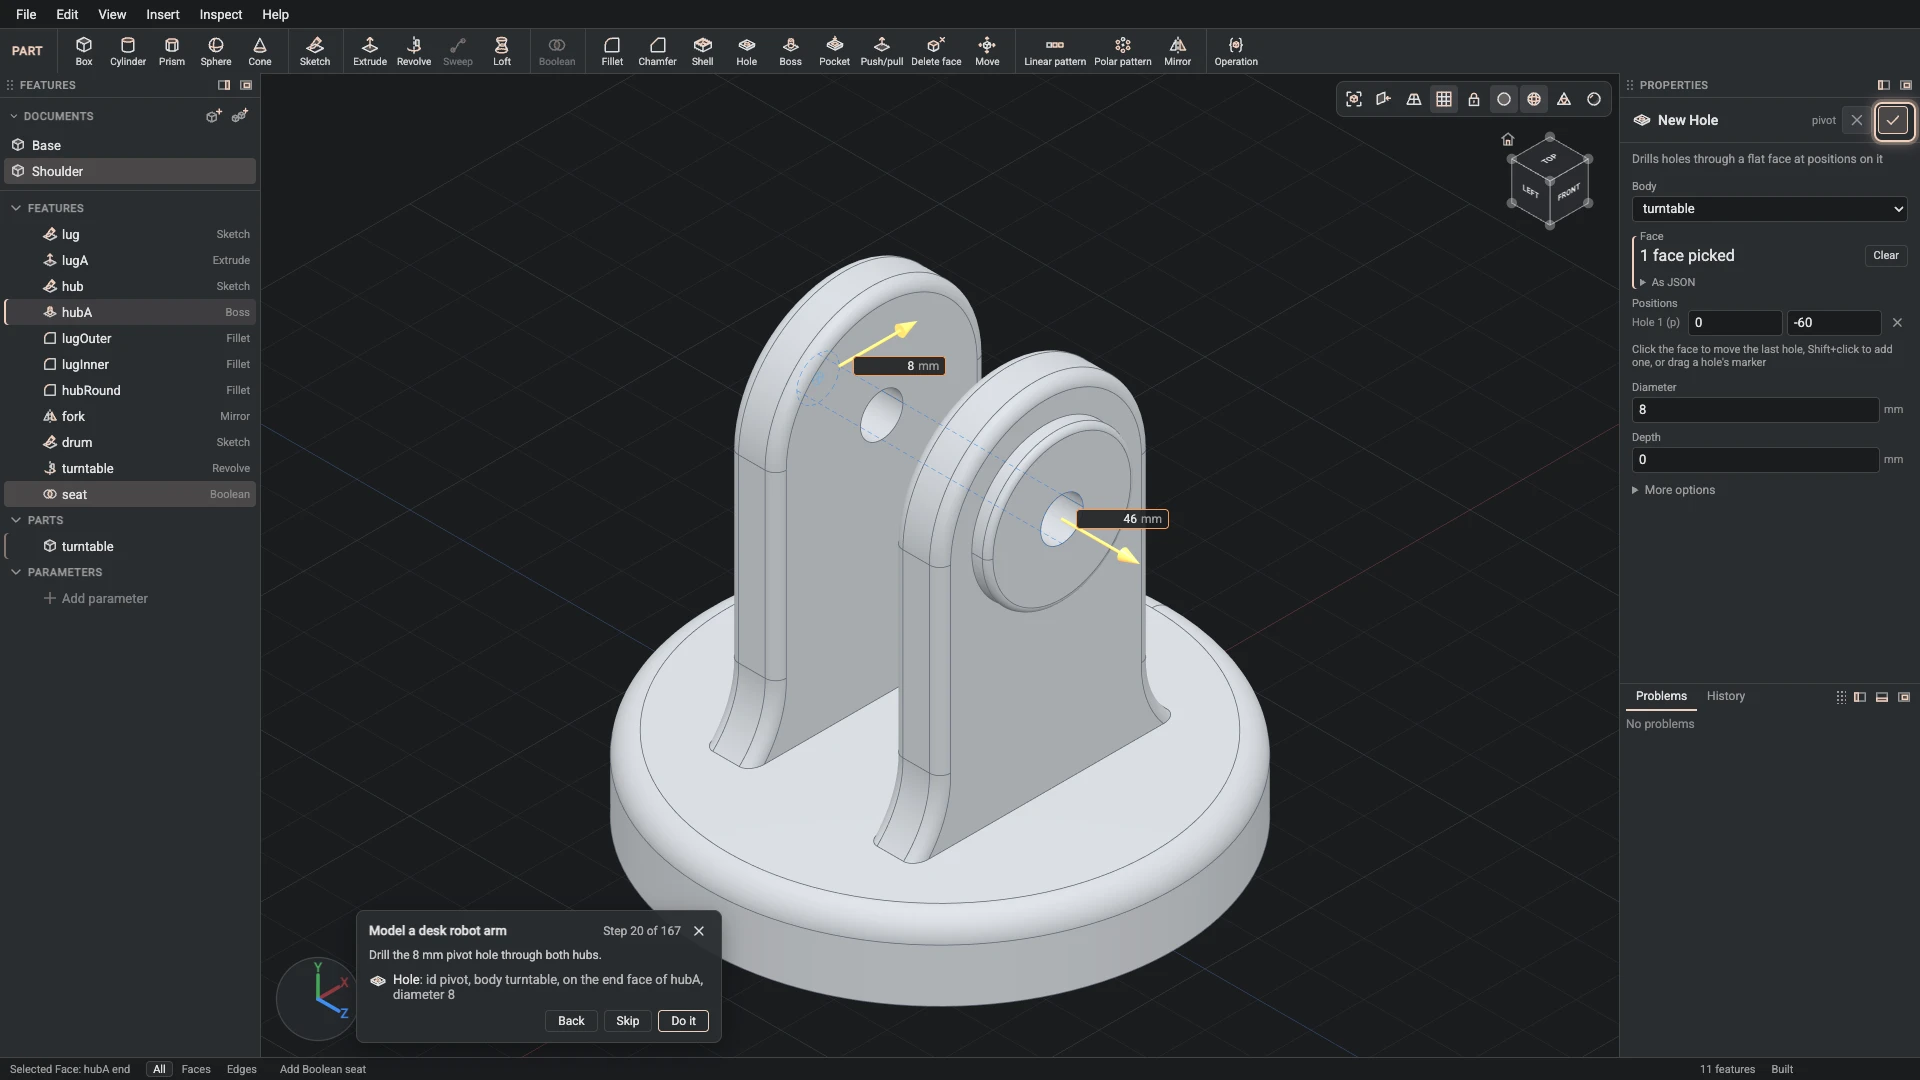
Hole, from Insert > Hole: id pivot, body turntable, on the end face of hubA, diameter 8.
Drill the 8 mm pivot hole through both hubs.
-
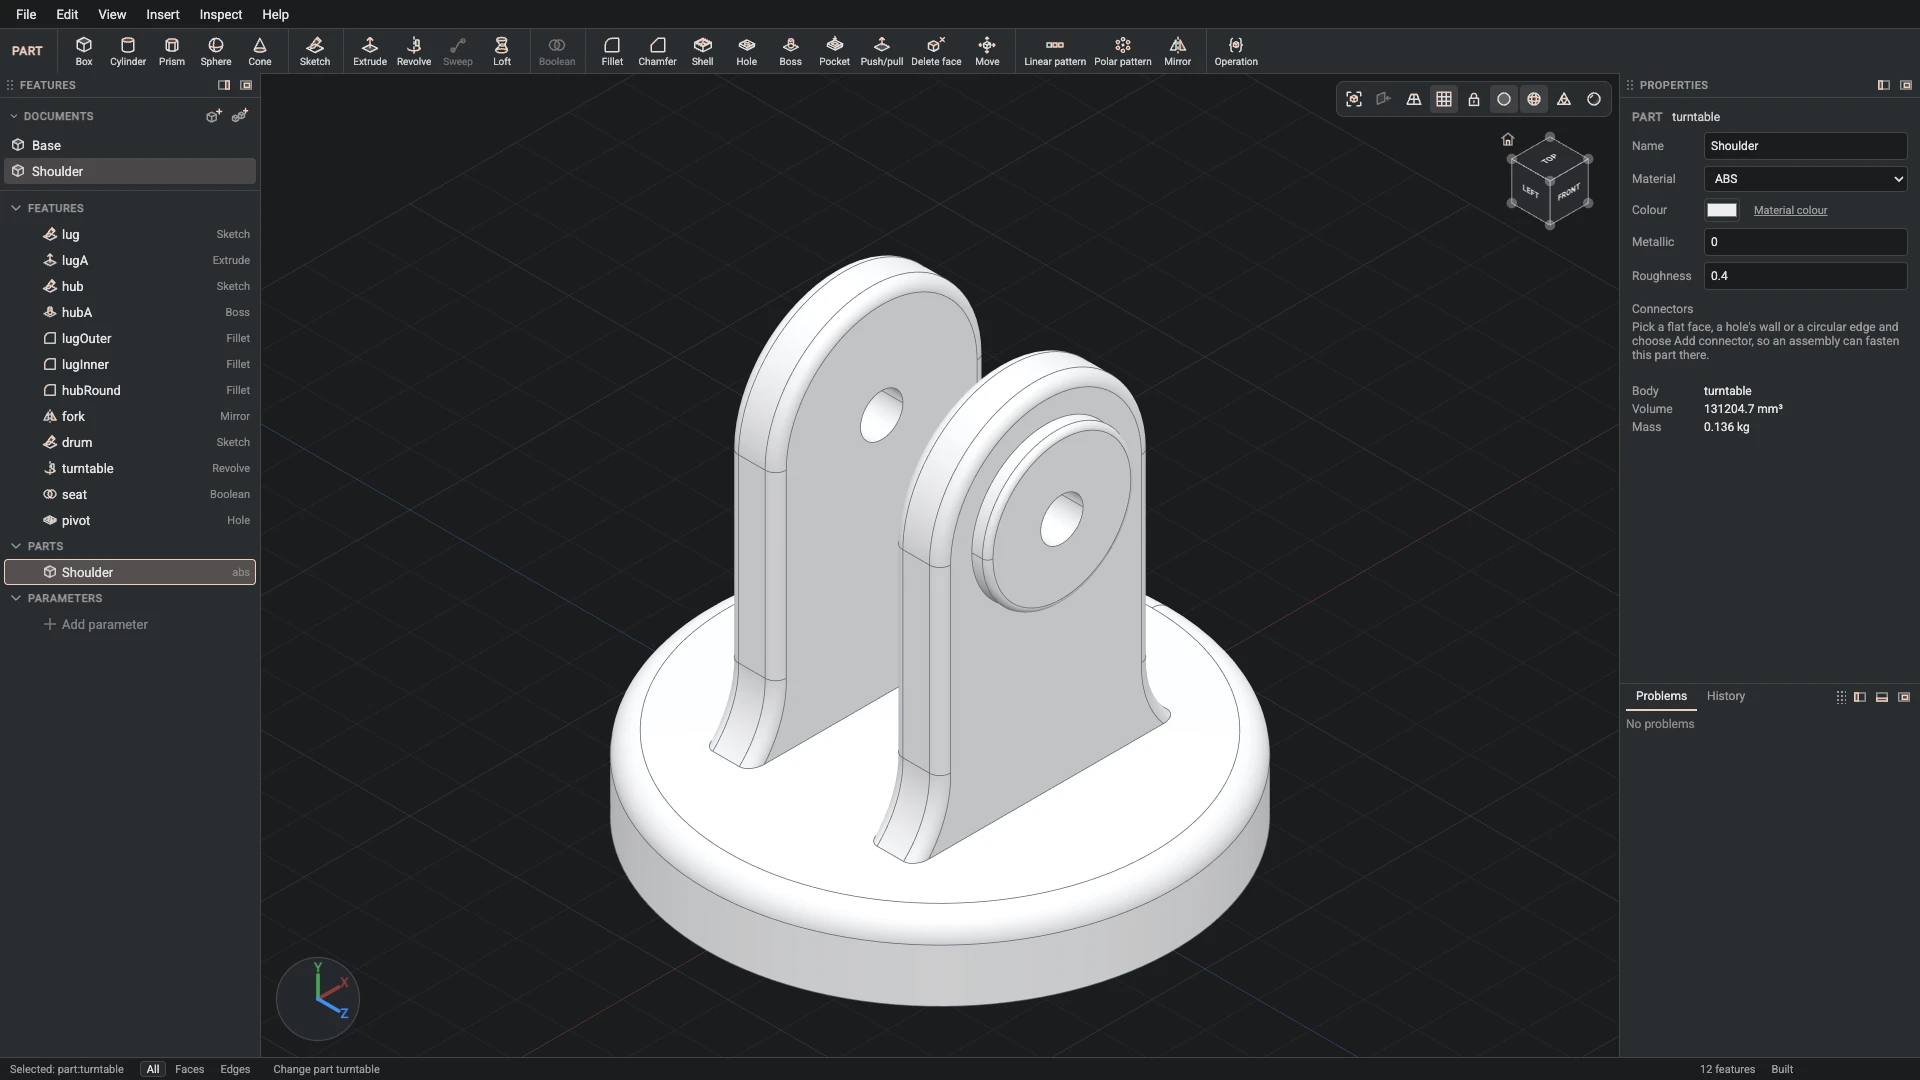
Part properties, from the Properties panel: id turntable, name Shoulder, material abs, color #eceef1, metallic 0, roughness 0.4.
Name the part Shoulder and give it white ABS, the arm's plastic.
-
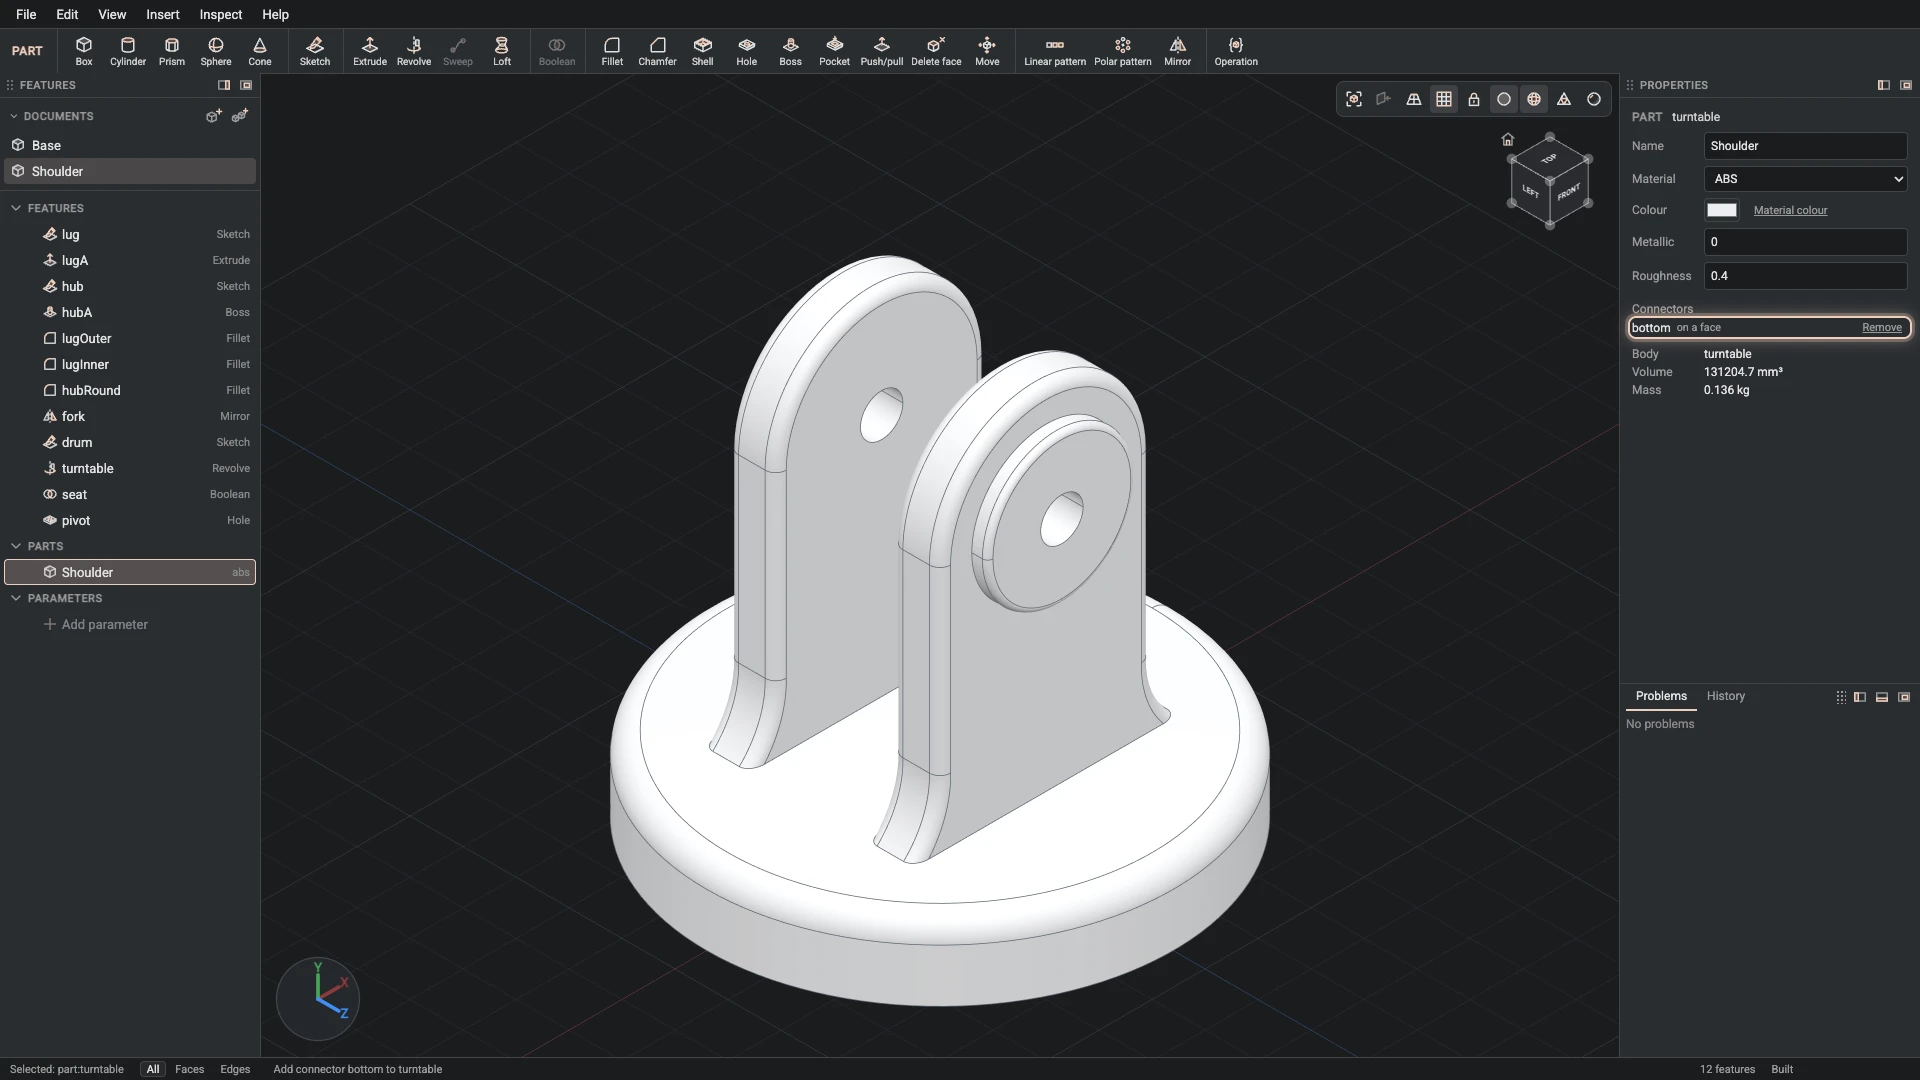
Add connector, from Insert > Add connector: part turntable, id bottom, on the side face of turntable.
Add a connector on the drum's seat, the face that sits on the base's top connector.
-
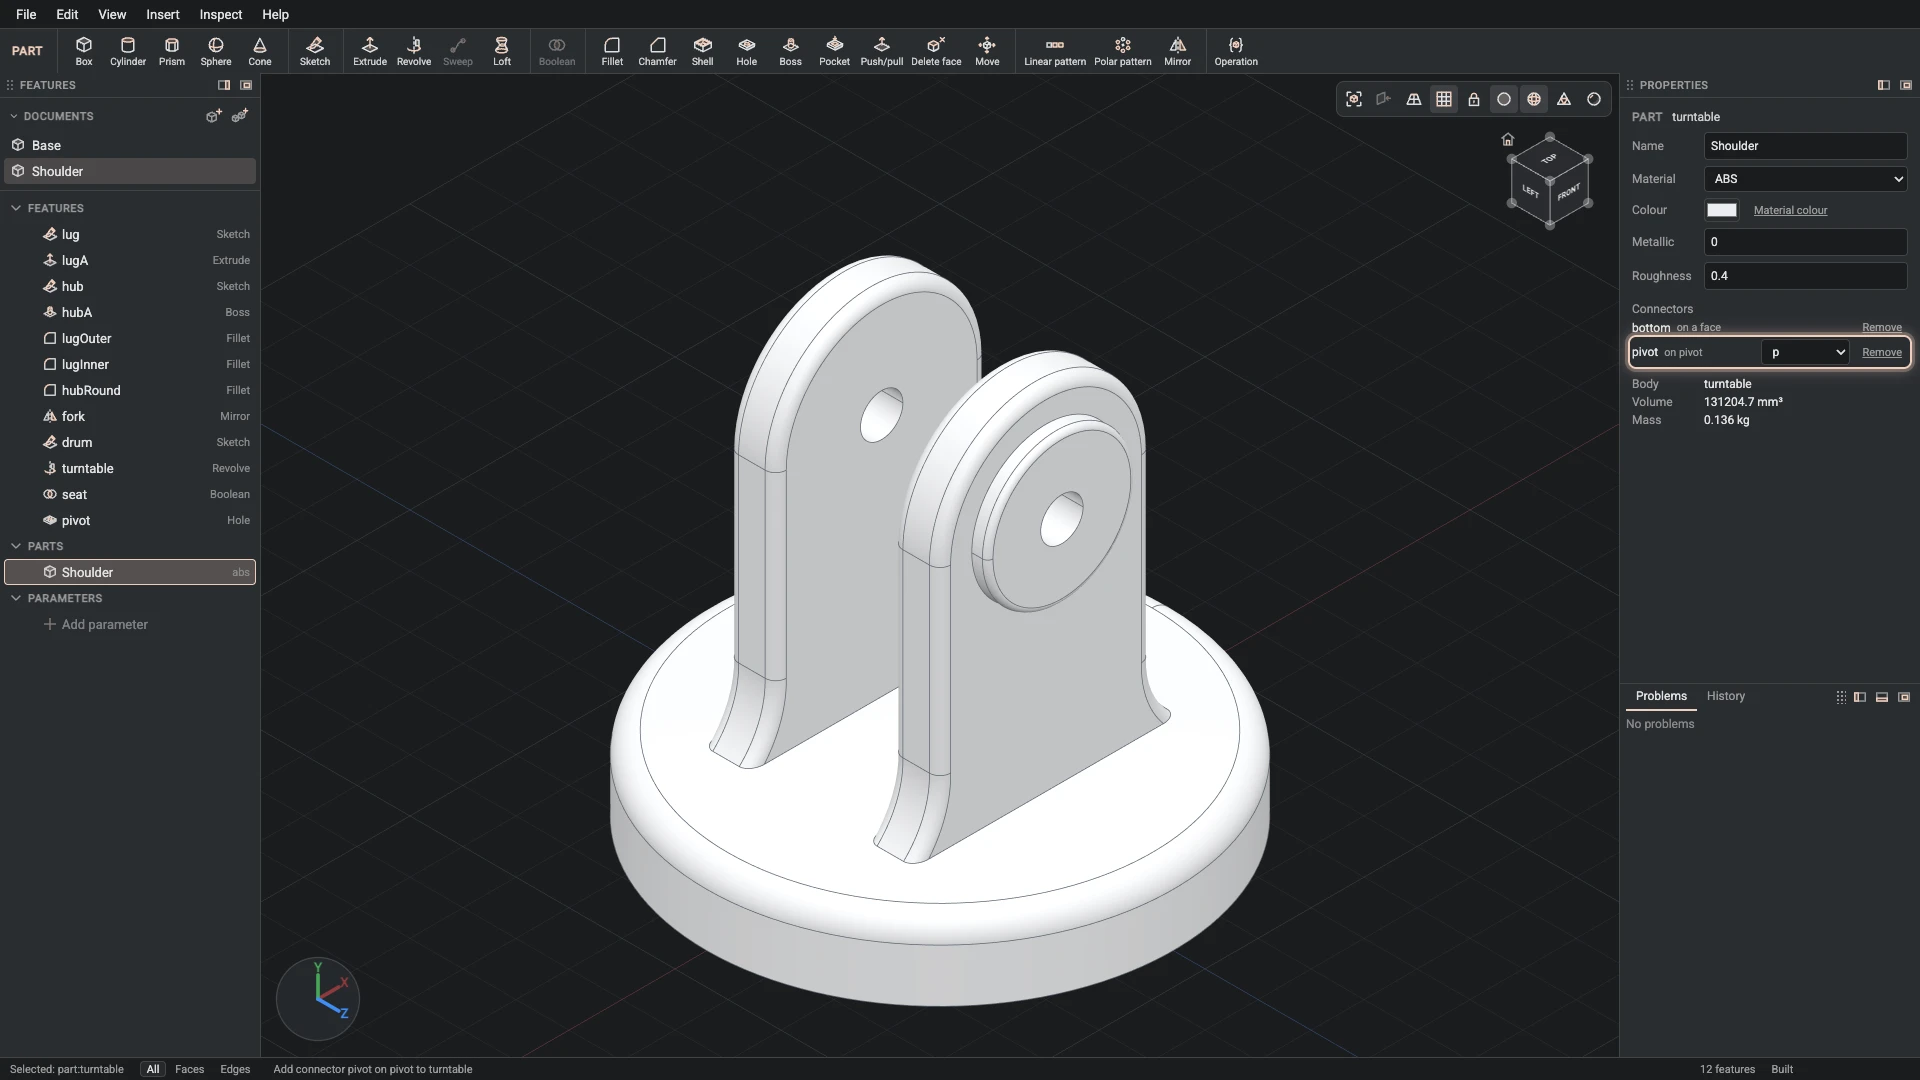
Add connector, from Insert > Add connector: part turntable, id pivot, on the end face of lugA, axis the wall face of pivot.
Add a connector on the cheek's inner face, its axis through the pivot hole. The upper link turns about it.
-
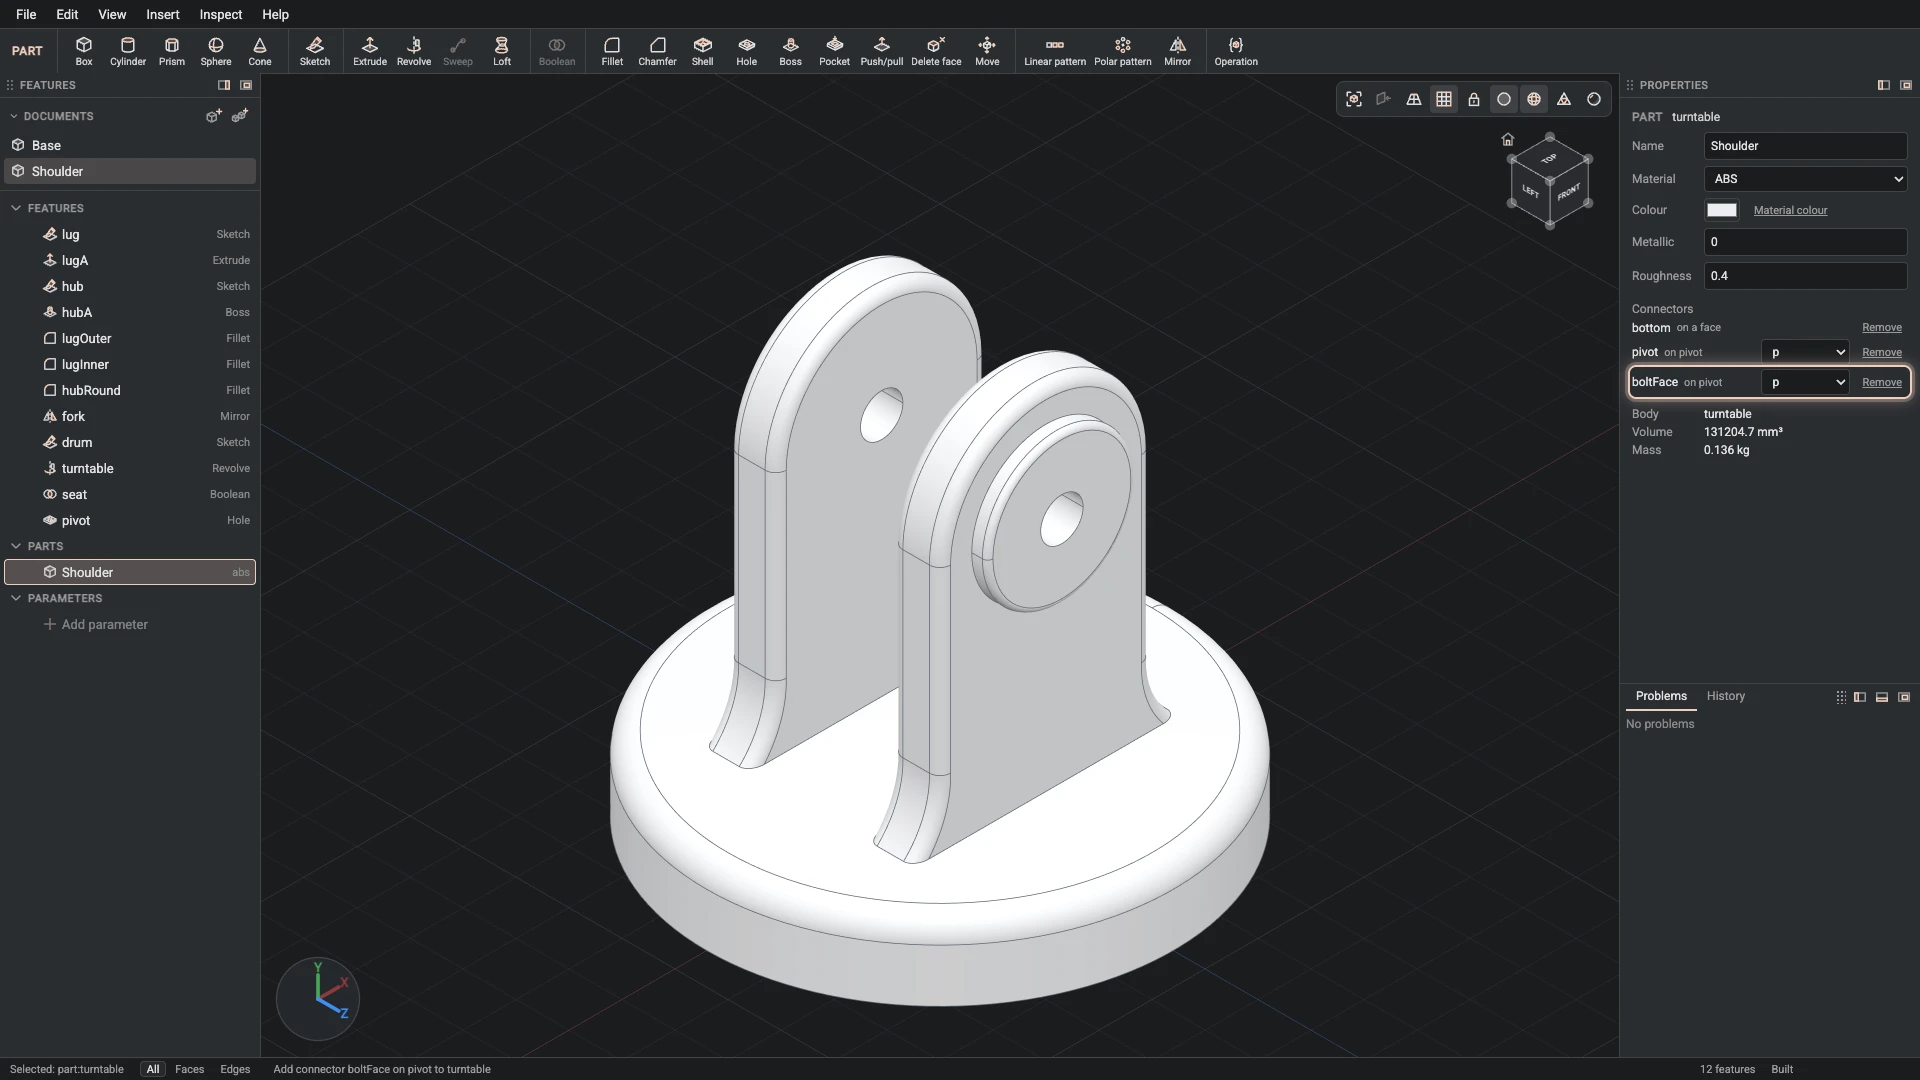
Add connector, from Insert > Add connector: part turntable, id boltFace, on the end face of hubA, axis the wall face of pivot.
Add a connector on the mirrored hub's face, where the shoulder bolt's head will sit.
-
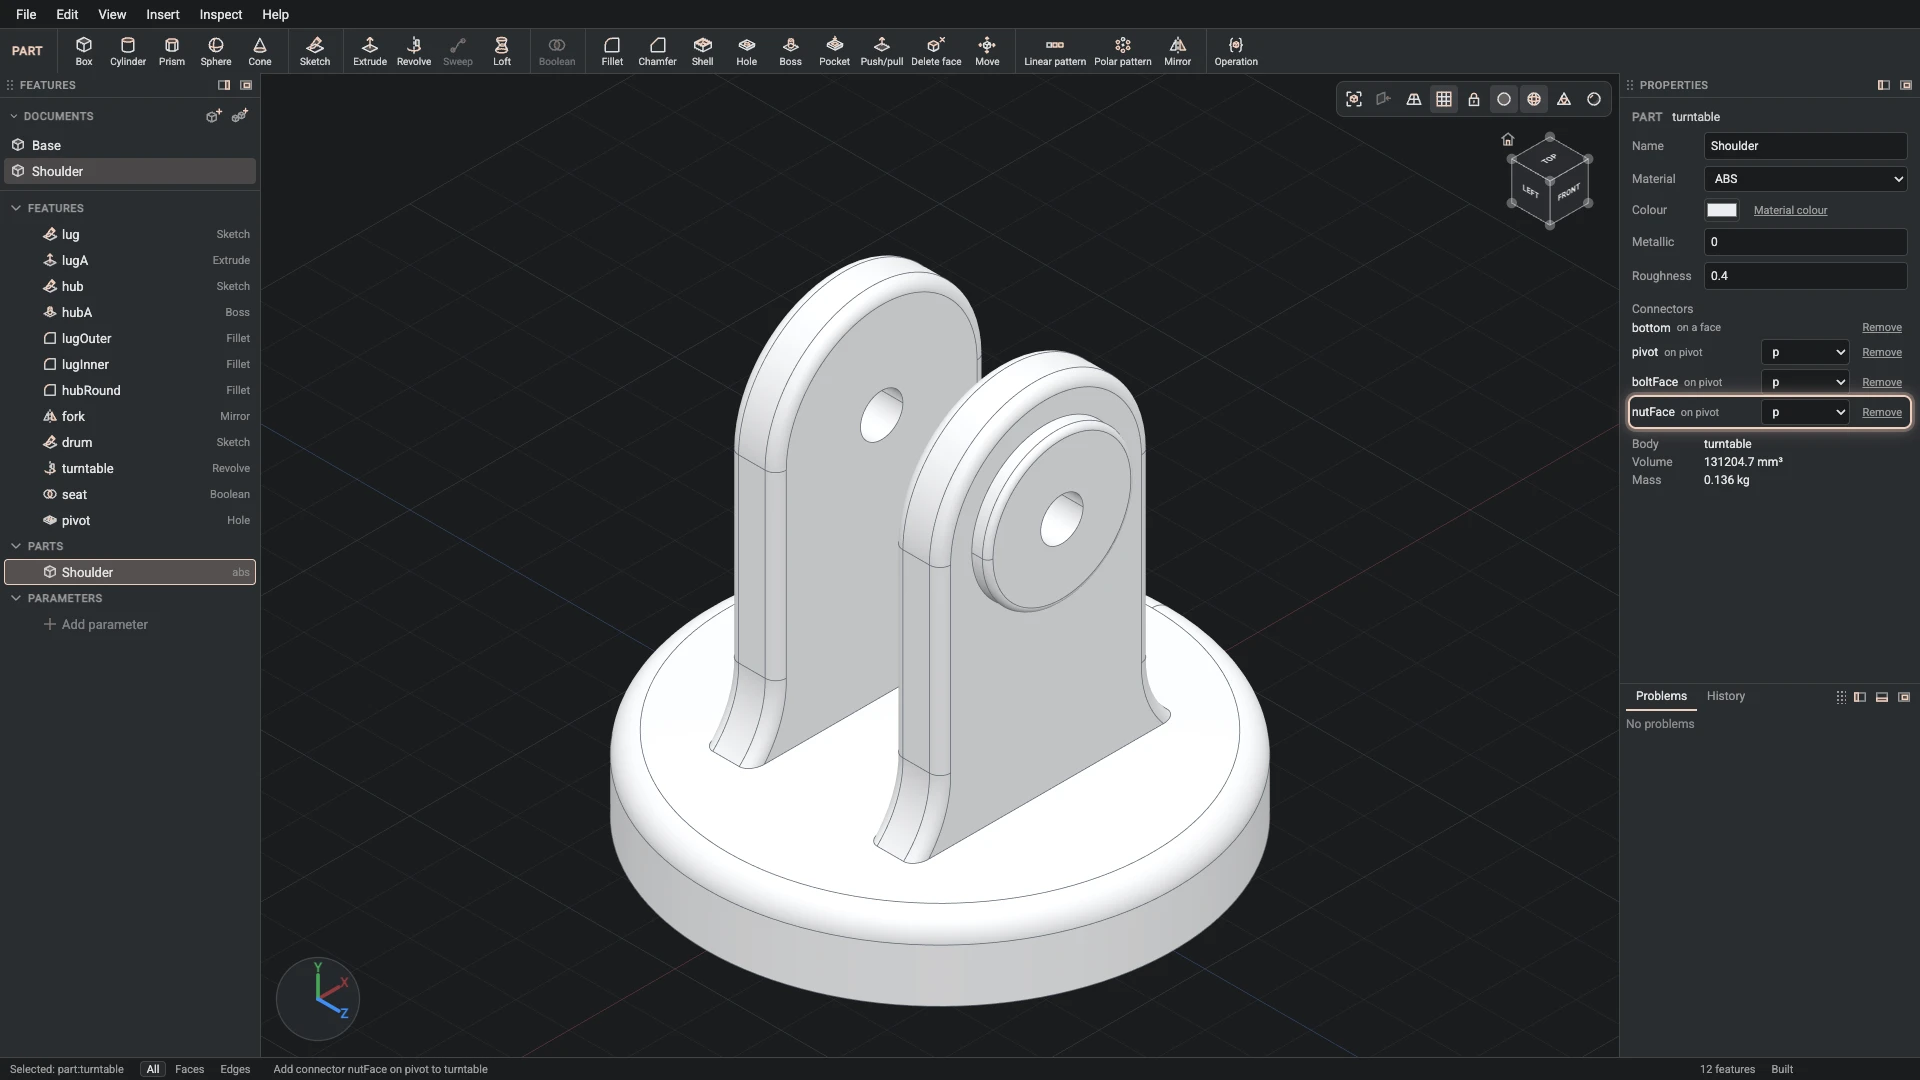
Add connector, from Insert > Add connector: part turntable, id nutFace, on the end face of hubA, axis the wall face of pivot.
Add a connector on the first hub's face, where the nut goes.
Verified against the product in October 2026