Model a desk robot arm
This tutorial builds a small desk robot arm: a base, a shoulder, two arm links, a wrist, a gripper with two jaws, and the screws and nuts that hold it together. Then an assembly puts the parts on joints that turn within limits. It is long, so it comes in nine chapters, one for each part and one for the assembly, with a picture of every step.
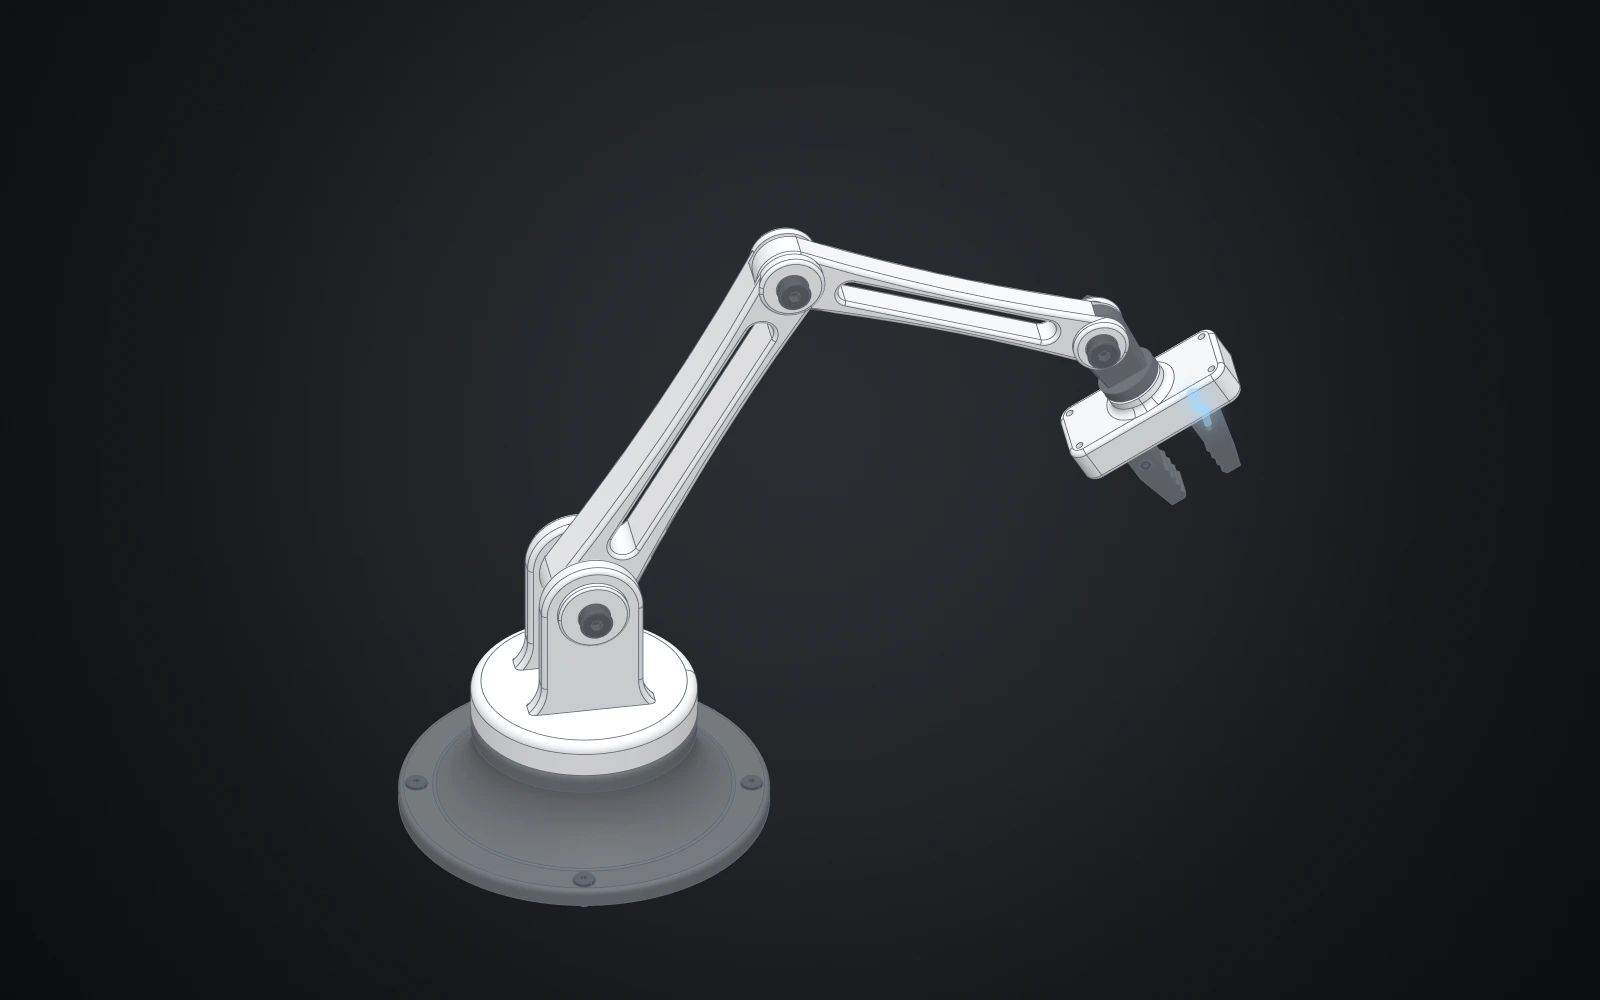
Along the way you will:
- revolve a profile into a round part, and mirror a feature to make its twin;
- drill counterbored holes and mark them with connectors, the places parts attach;
- make one link document whose parameters let it serve as both arm segments;
- put parts on joints that turn within limits;
- replicate a screw onto every hole of a set in one step.
It helps to have done Make your first part first.
Play it in the Designer
Open Help > Tutorials and press Start beside Model a desk robot arm. The card rings each control, moves on when you make the step, and Do it makes a step for you. Making the first steps of a part by hand and the rest with Do it is a quick way to see how a whole part comes together.
The chapters
Each part starts a new document, and each chapter ends with a picture of what its steps make. The step numbers run through the whole tutorial, as they do on the card.
- The base: a revolved pedestal with counterbored holes.
- The shoulder: a clevis made by mirroring one cheek, joined to a revolved drum.
- The link: one document with five parameters, used for both arm segments.
- The wrist: a knuckle with a tool flange.
- The gripper: a palm with two jaw rails and a blended neck.
- The jaw: a serrated finger on a sliding carriage.
- The screw: a socket-head screw at any diameter and length.
- The nut: a hex nut at any diameter.
- The assembly: the parts on joints with limits, and every screw and nut replicated onto its holes.
Verified against the product in October 2026