The Designer: parametric CAD by clicking
The Designer is where you model parts and assemblies the way a CAD program works: draw a sketch, extrude it, round its edges, drill holes, then put parts together with joints. Every step is kept, so changing a size later rebuilds everything that depends on it. The OpenCascade kernel does the modelling in your browser, so there is nothing to install.
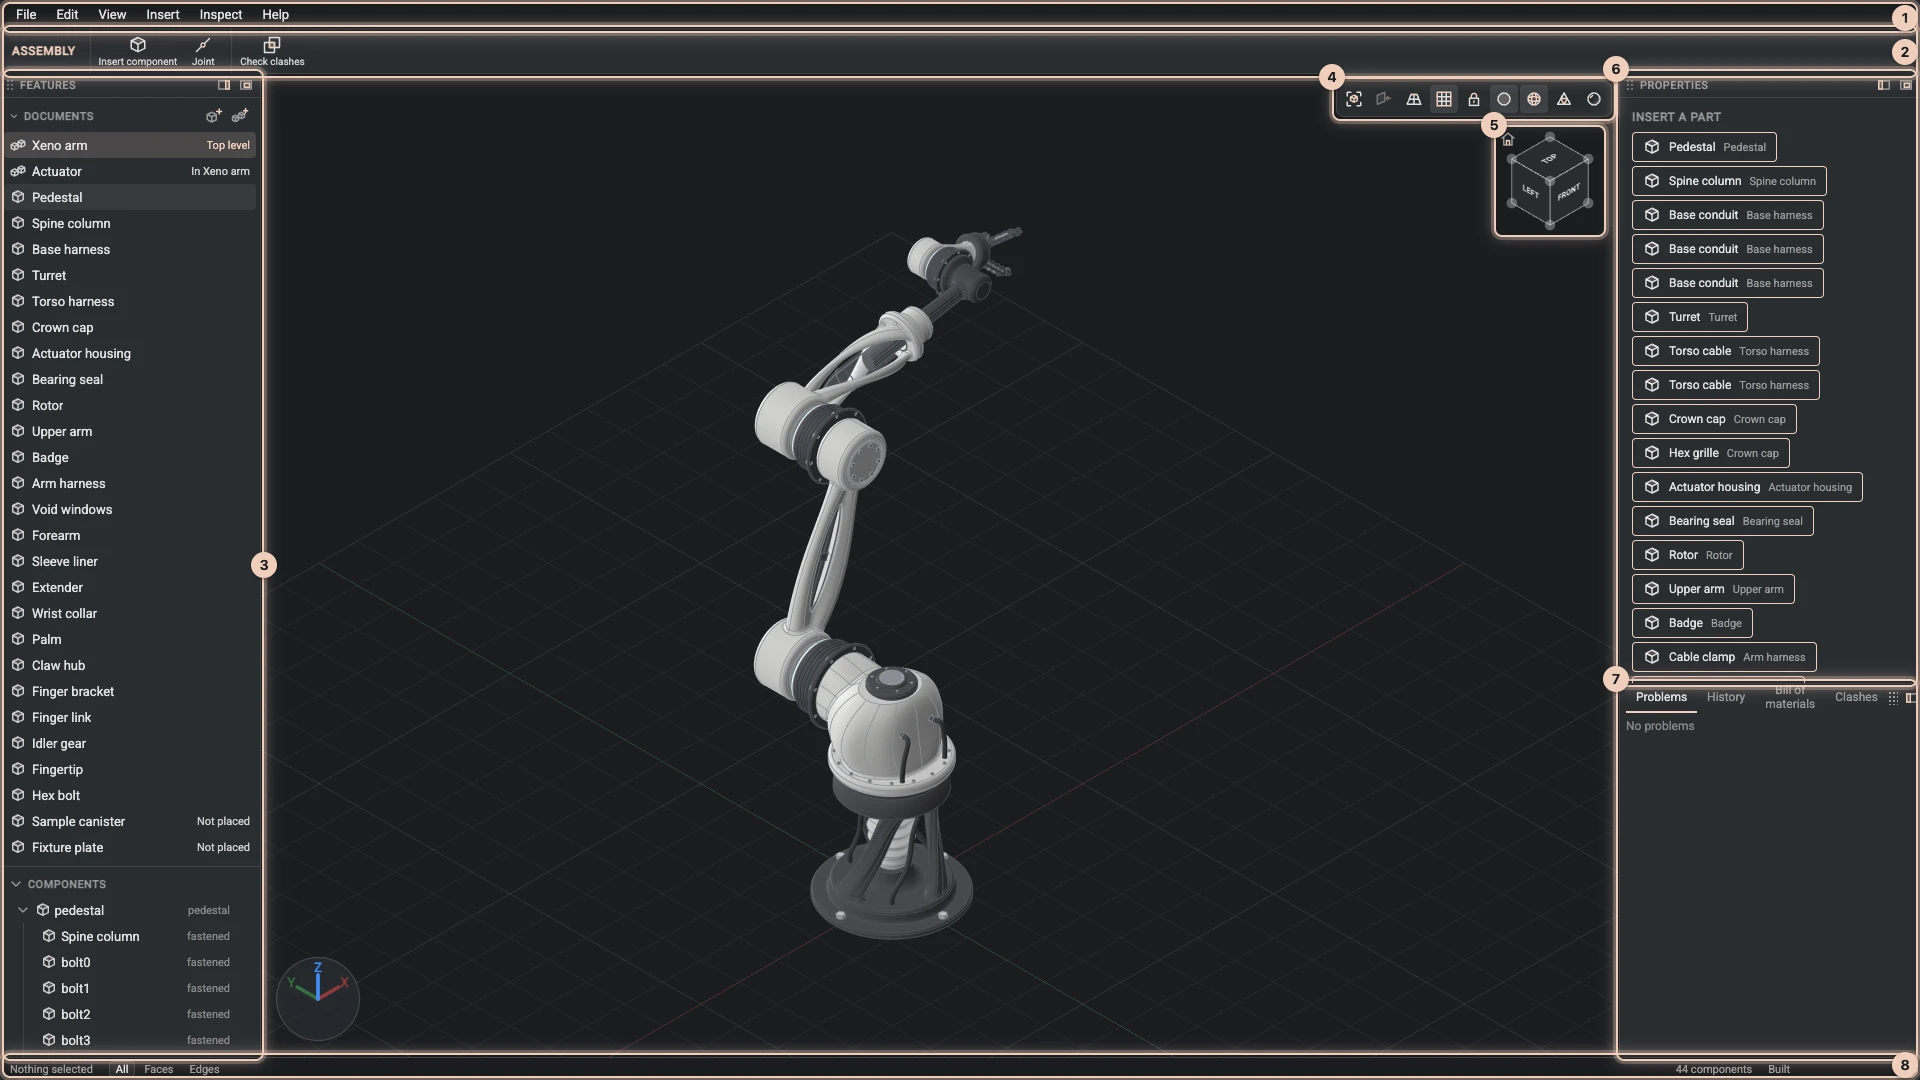
The Designer is made for two kinds of author at once. You work with the mouse and the keyboard, and an AI agent can work in the same document through the tools the Designer offers it. You see what the agent changes as it happens, and you keep or undo each change.
What you can make
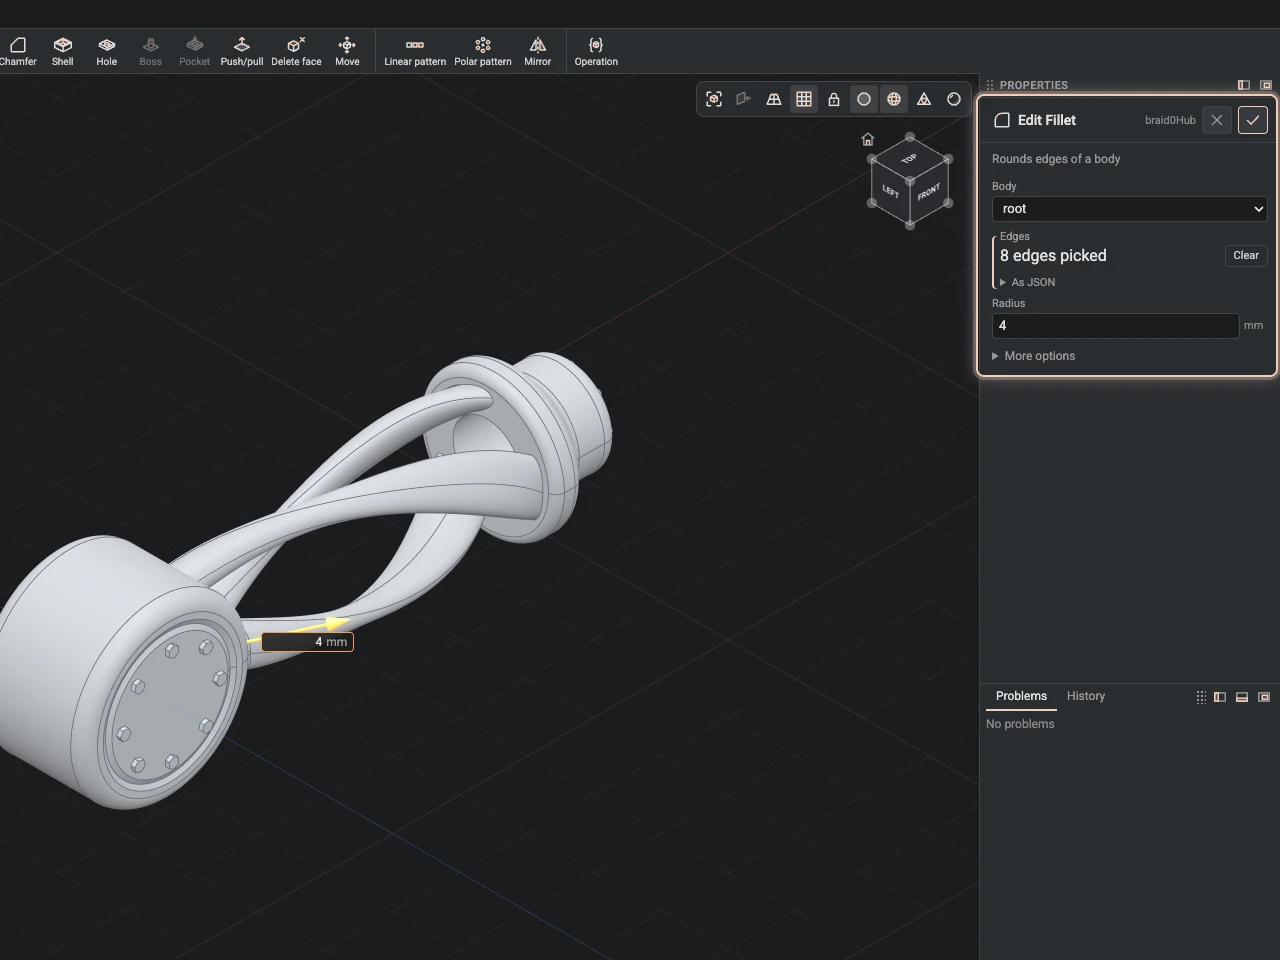
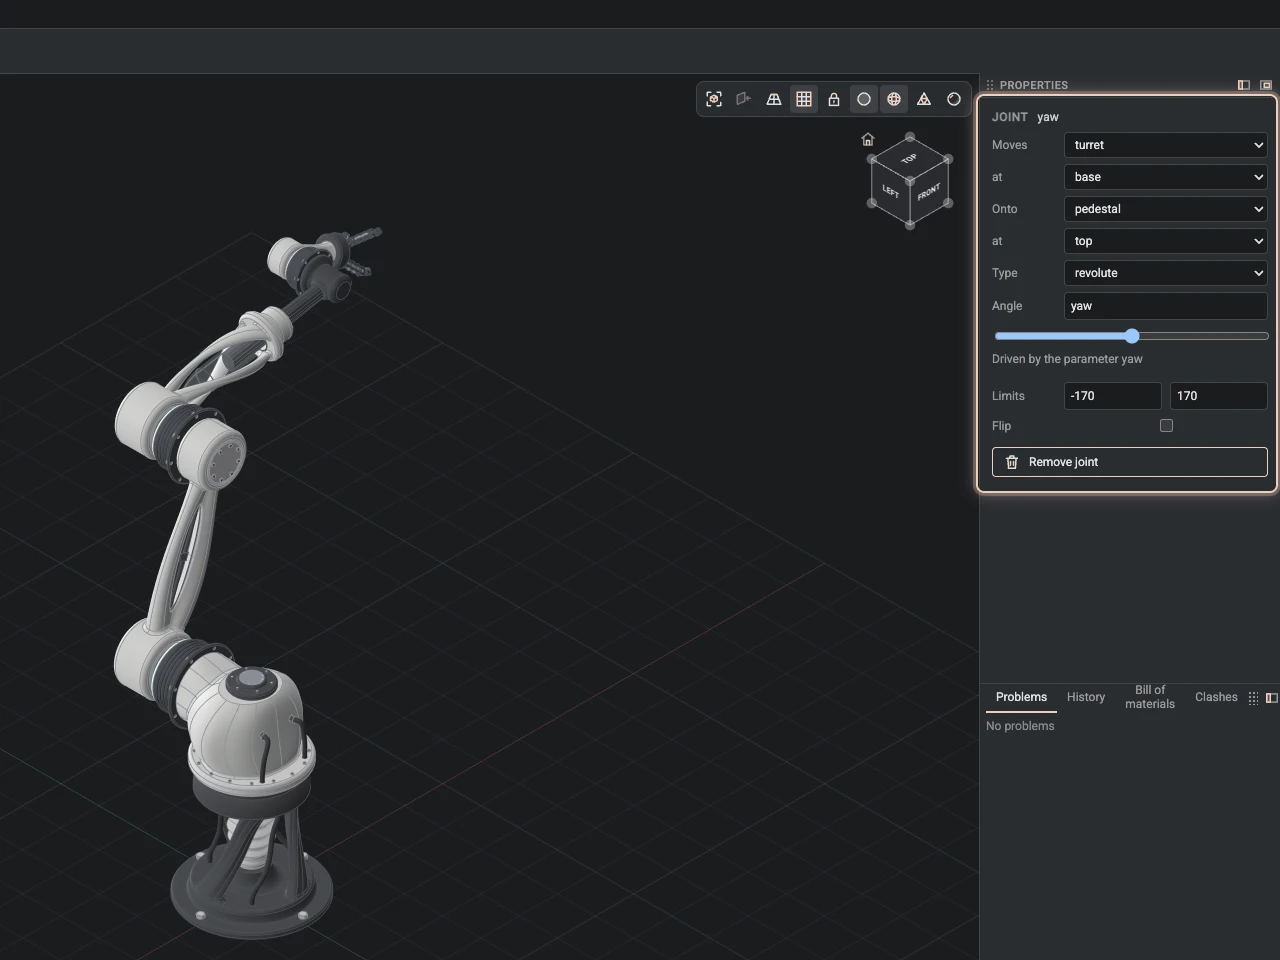
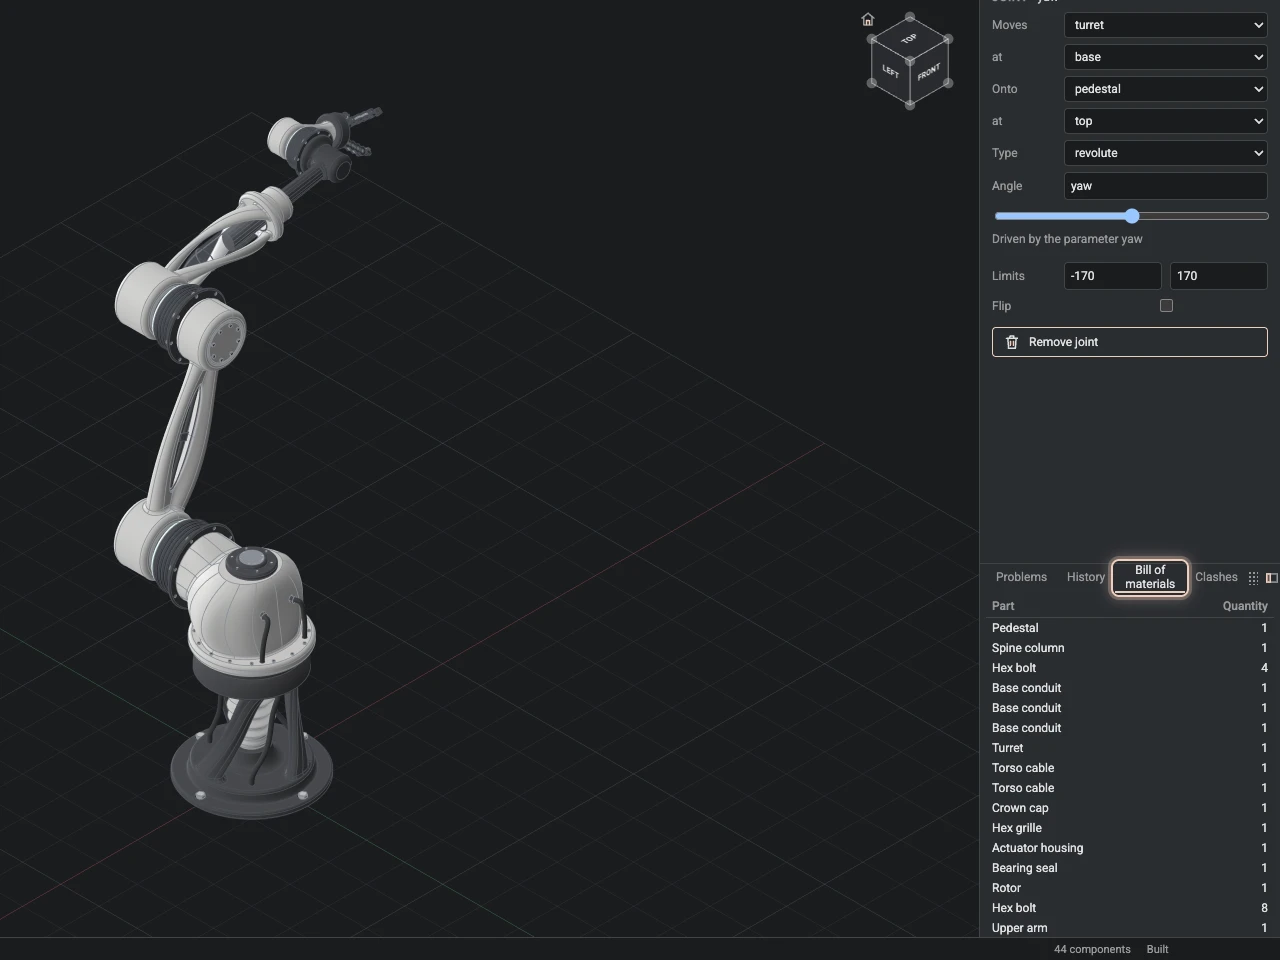
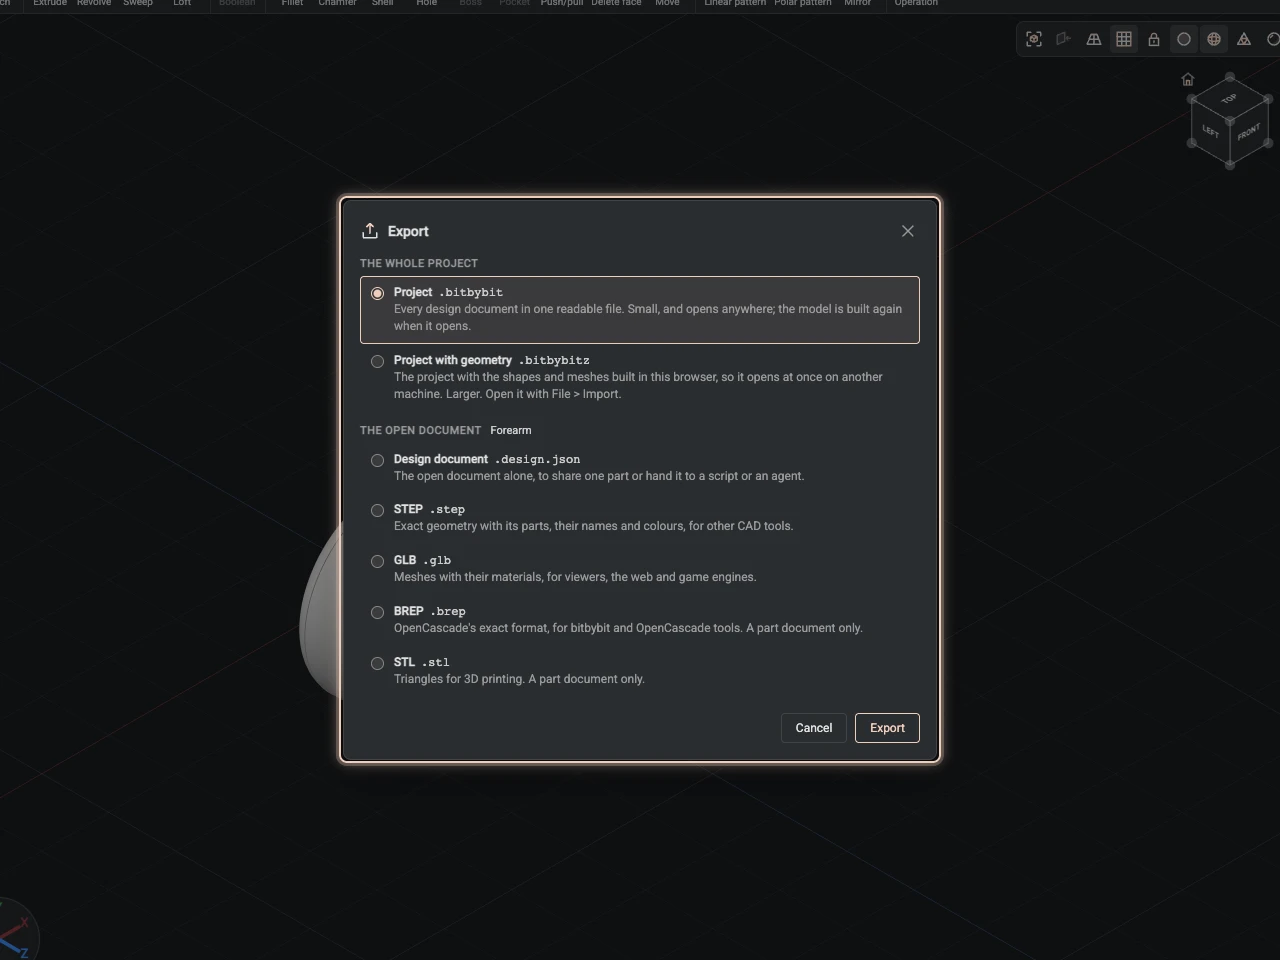
- Parts from features. Sketch an outline, then extrude, revolve, loft or sweep it, and round, chamfer, shell, drill and pattern the result. Each feature keeps its dialog, so you edit it later as you made it.
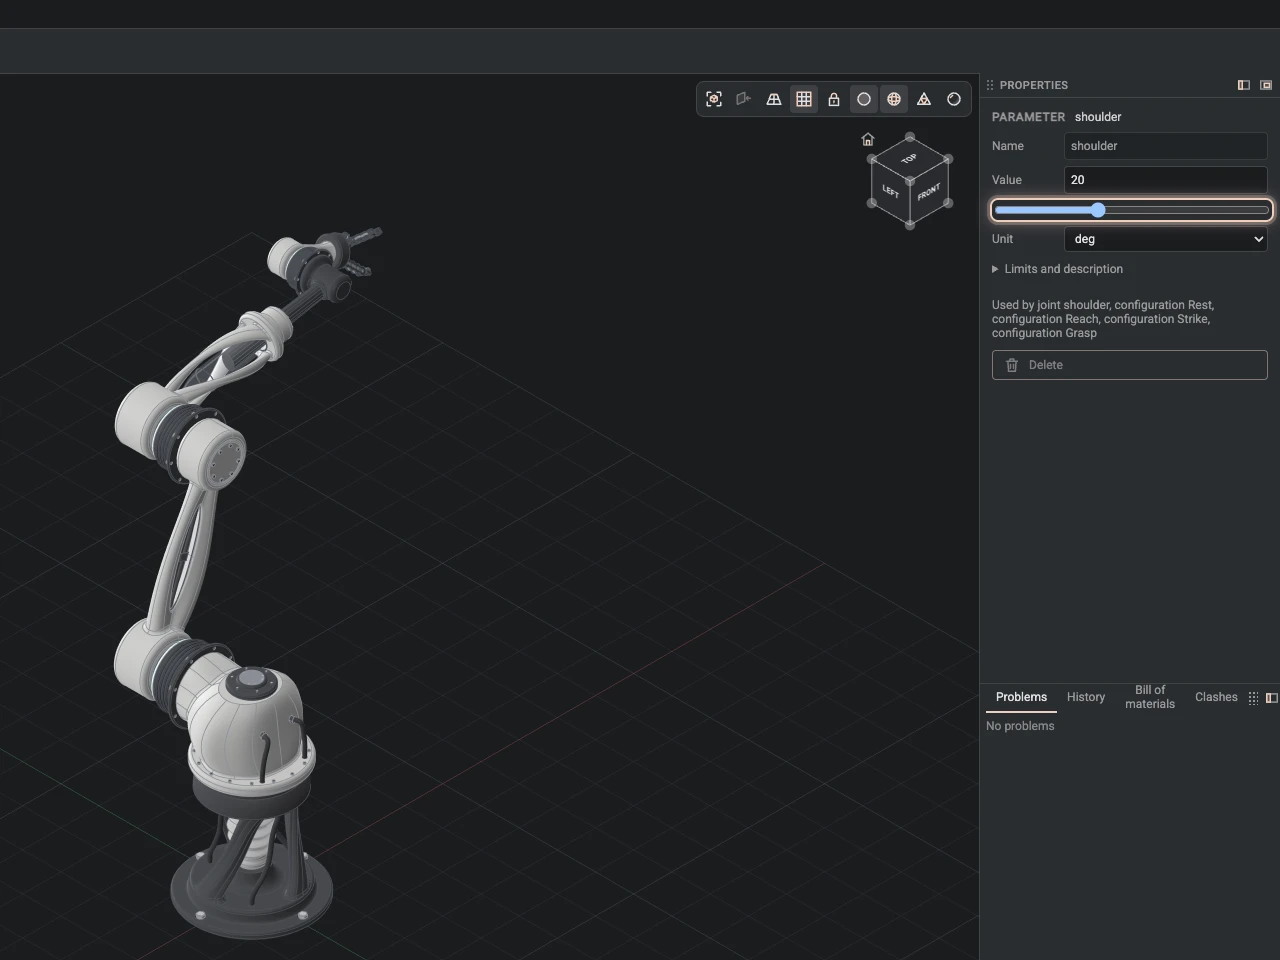
- Parameters and configurations. Name the sizes that matter, write others as expressions of them, and drag a slider to see the part follow. A configuration keeps a set of values under a name.
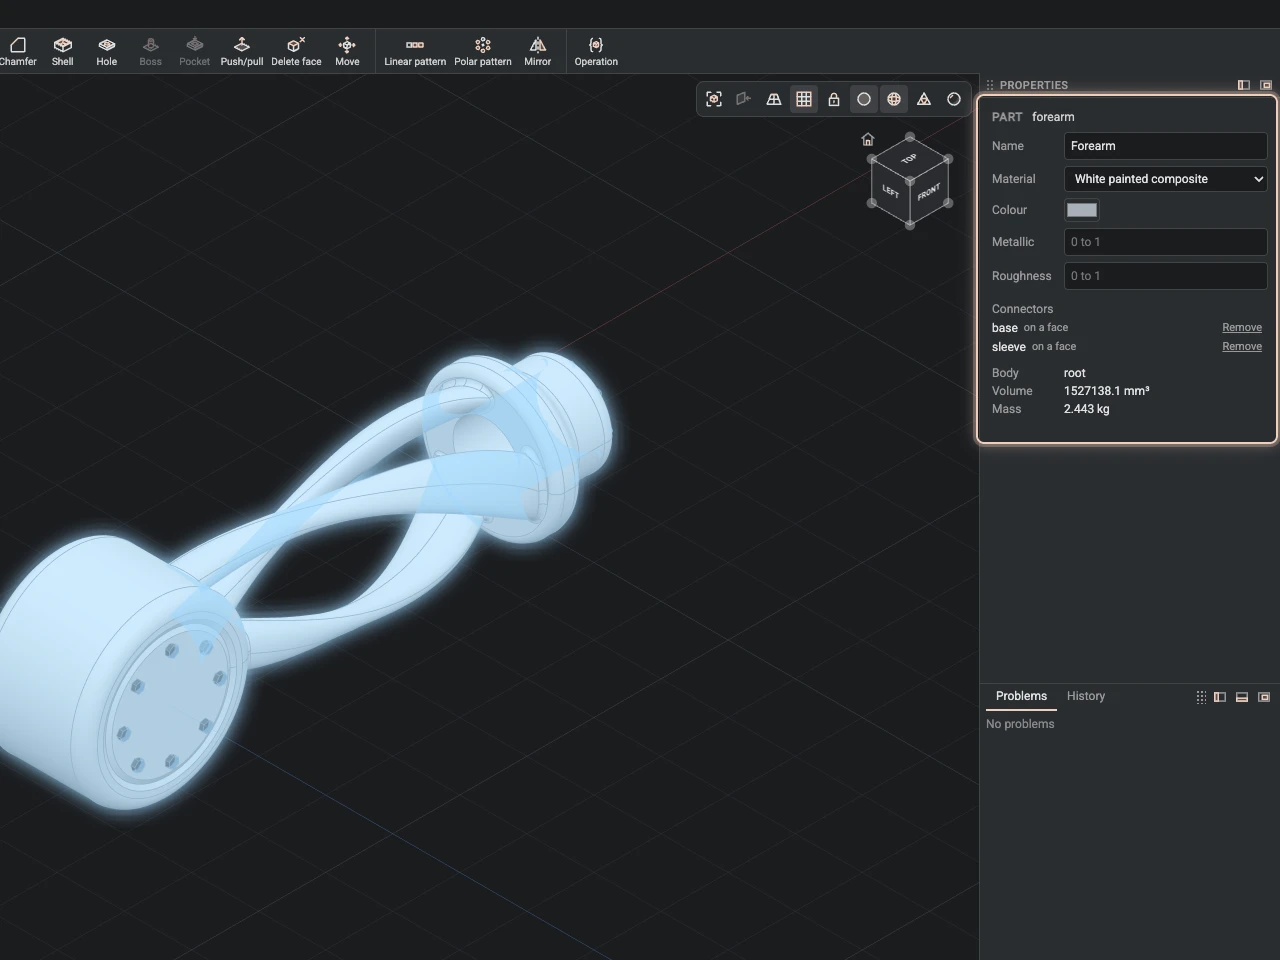
- Parts with materials. A part has a name, a material and a colour, and the Designer works out its volume and mass.
- Assemblies with joints. Place parts as components, join them at connectors with joints that turn or slide within limits, and pose the whole assembly.
- Checks. The bill of materials counts every part, and the clash check finds parts that overlap.
- Files for other programs. Export STEP with the assembly tree, names and colours, or GLB, BREP and STL; keep the whole project as one file.
How the Designer works explains the ideas behind all of it.
Showcases
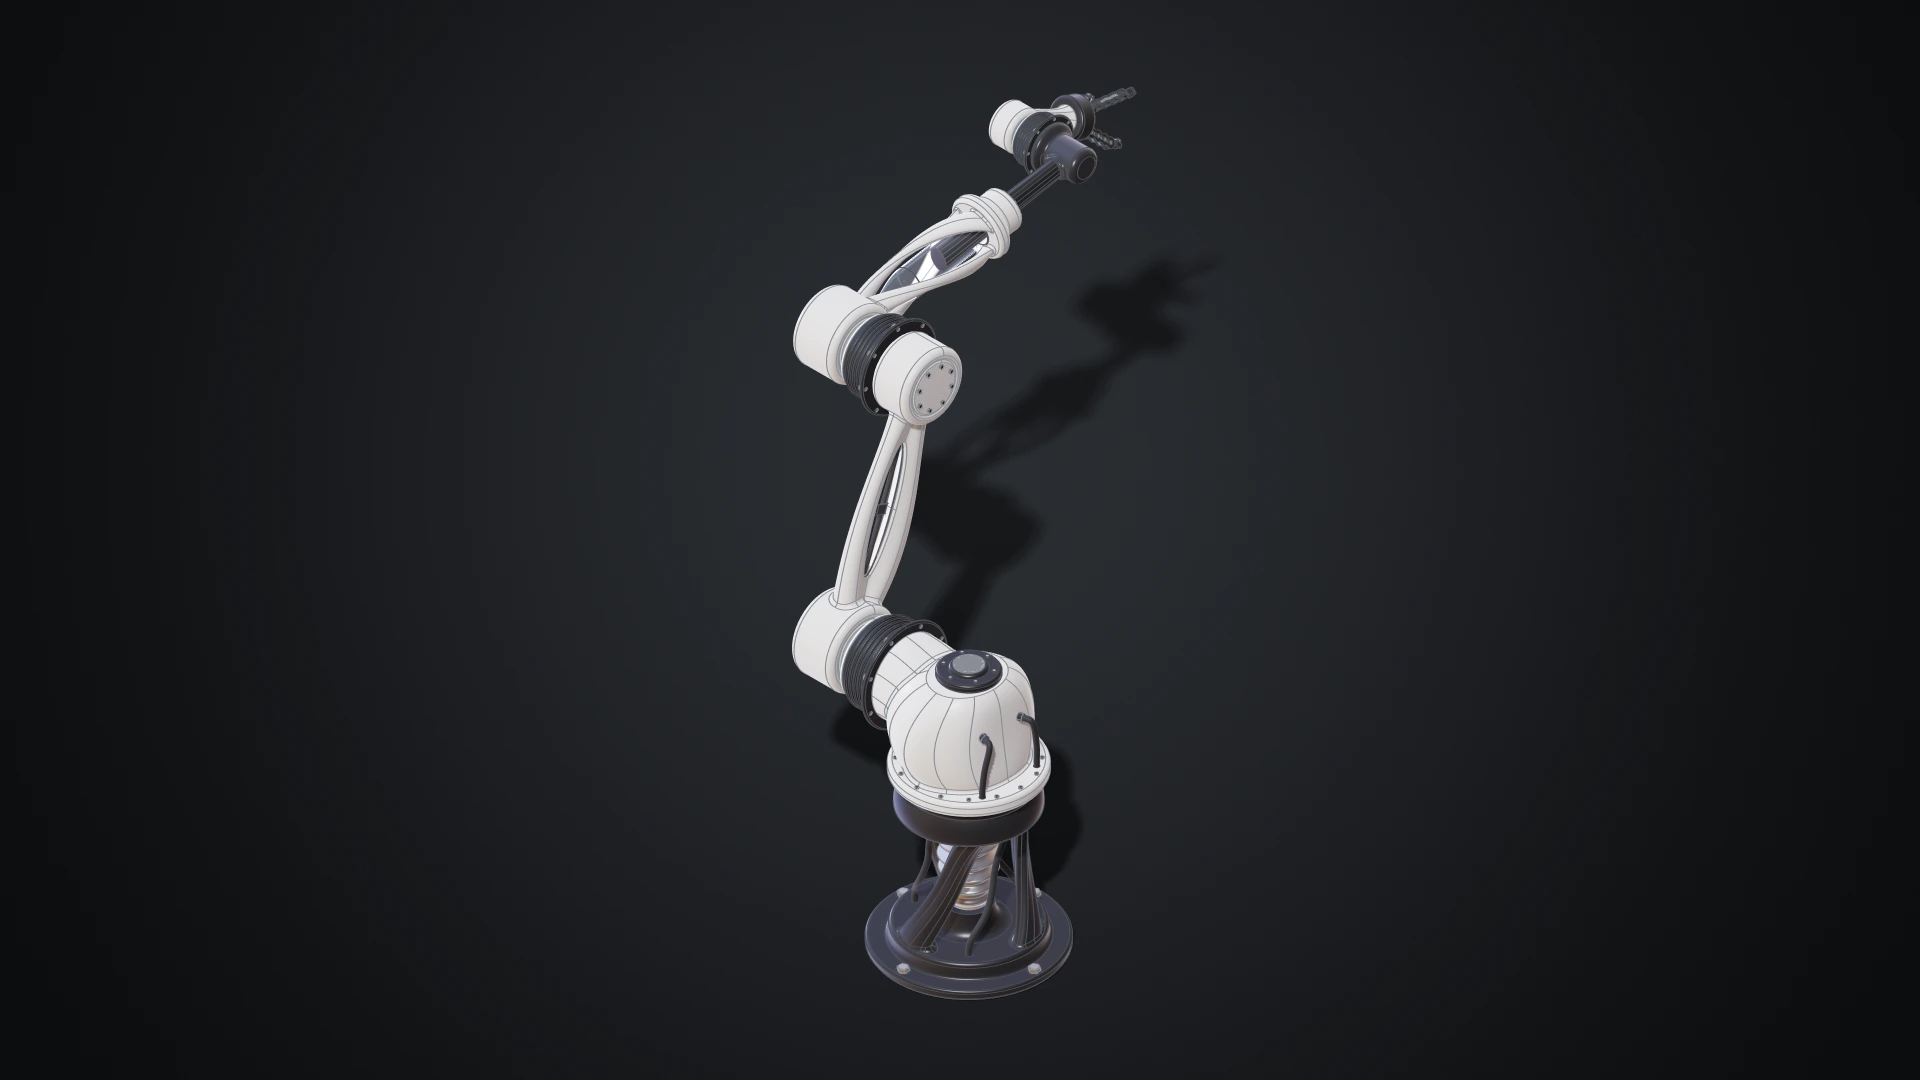
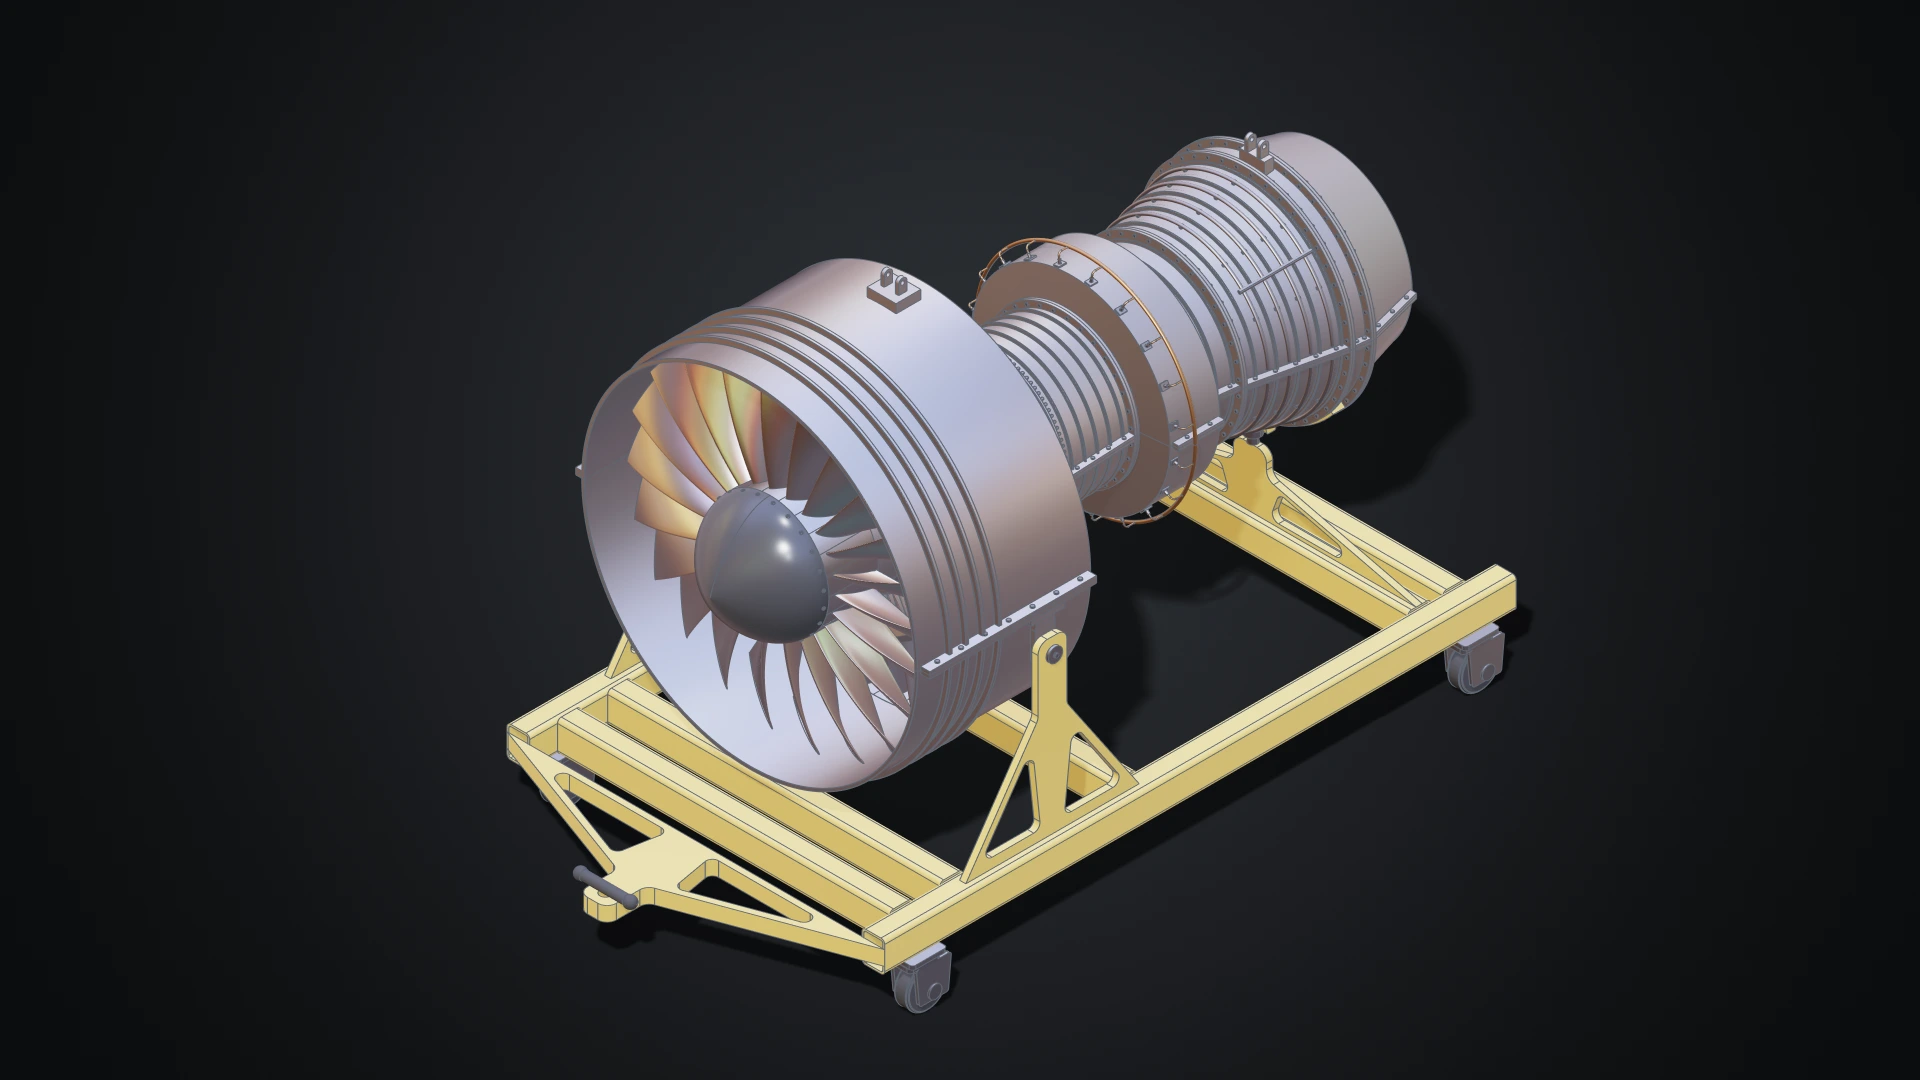
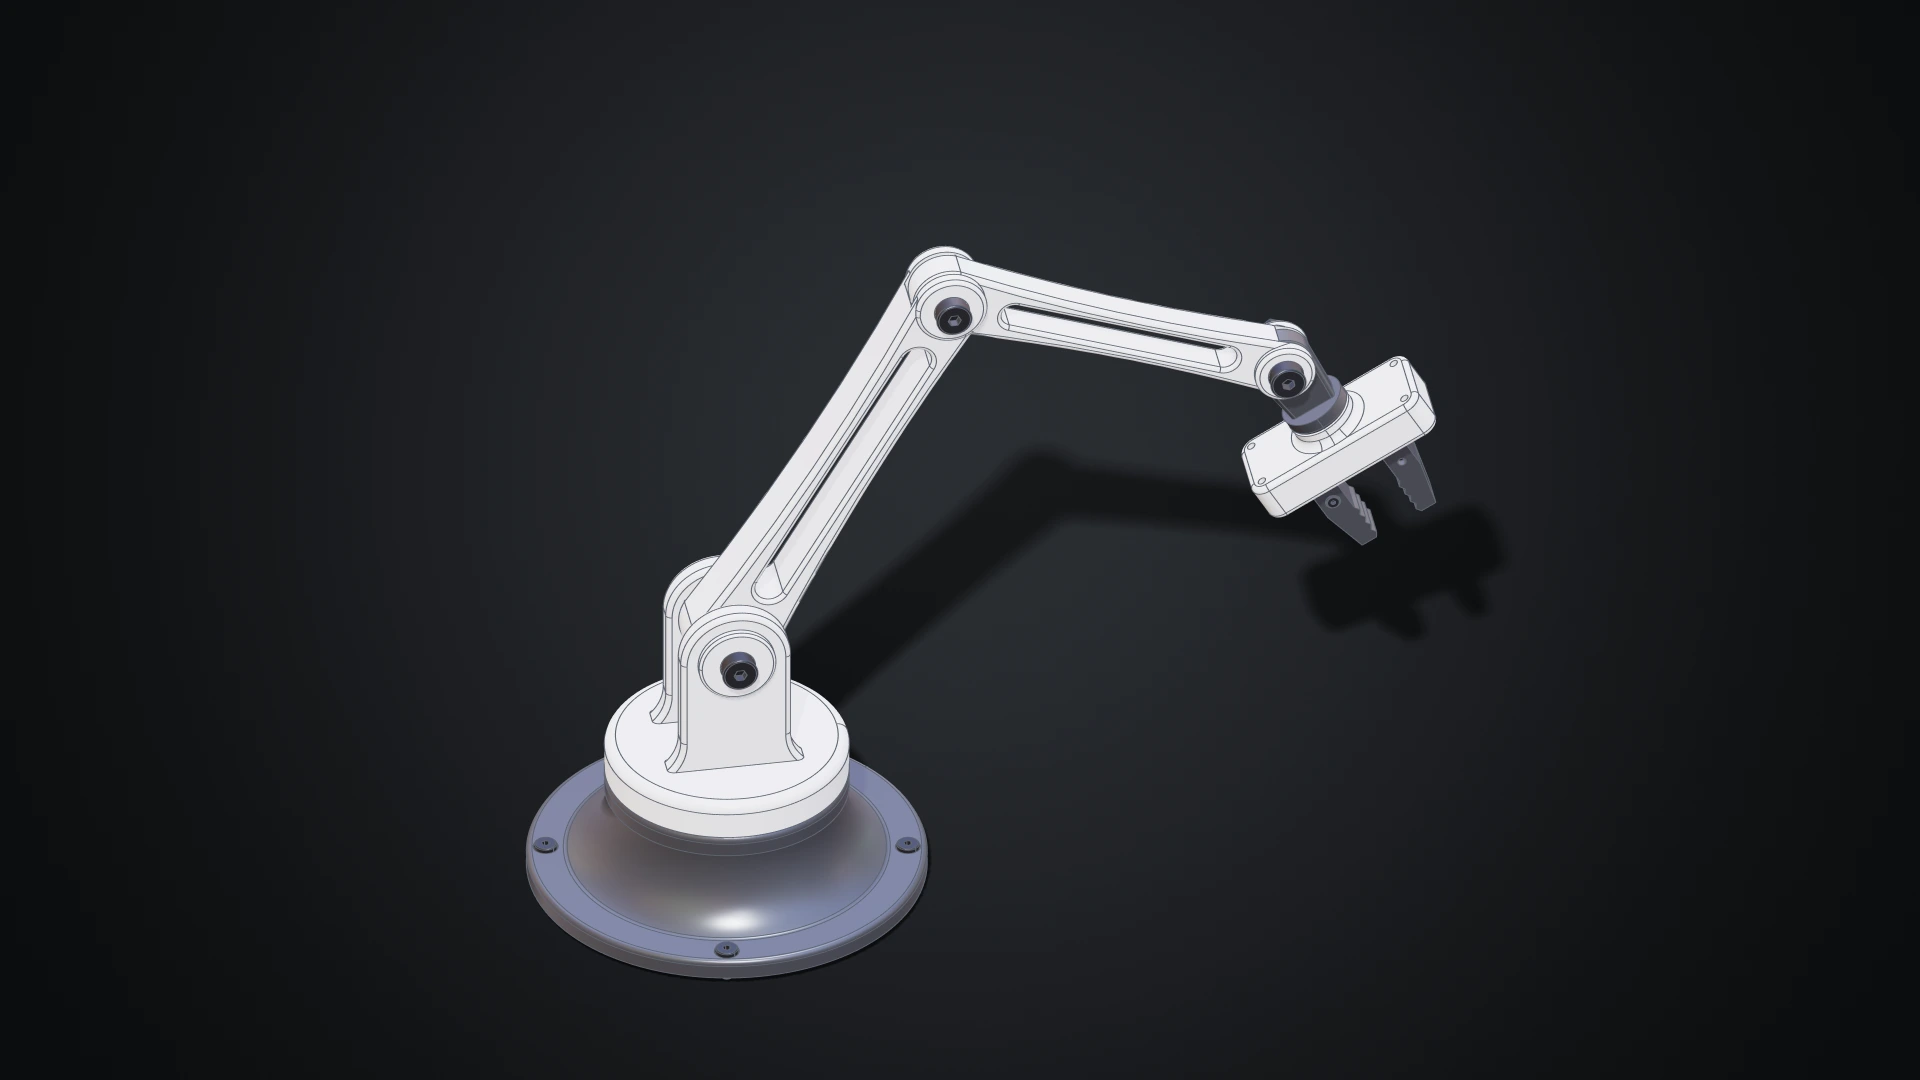
A six-axis robot arm, a turbofan engine and the desk arm of the tutorial, each modelled in the Designer. The showcases say what each one shows, and offer them to download and open.
Open the Designer
Making and changing designs is part of the Gold plan; a design someone shares opens for everyone to view. On bitbybit.dev:
- open Apps > Designer in the header, or
- press Launch Designer on the Designer's card, where bitbybit.dev asks which editor to start and on its homepage, or
- in My Projects, make a New project and pick Designer as the editor of its first script.
A Designer project is one script that holds all of its documents, and it always opens in the Designer. It is saved with the project like any other script; Get started shows each step.
Find your way around
Menus and a toolbar along the top, the Features panel on the left, the view in the middle, Properties and the dock on the right, and a status bar along the bottom. The tour goes through the window part by part.
Get help while you work
- Help > Tutorials plays a tutorial in the Designer. A card shows each step and rings the control to use; make the step yourself or press Do it.
- Help > Find a command (Ctrl+K, ⌘K on macOS) finds any command by name and runs it.
- Hover over a button to see what it does and its key. A command that cannot run yet says why.
Where to go next
- Make your first part: a plate with rounded edges and holes, driven by parameters. Start here.
- Model a desk robot arm: eight parts, an assembly, joints with limits, and fasteners on every hole, a picture for every step.
- How the Designer works: documents, features, references, parameters, parts and assemblies.
- Working with agents: how an agent works beside you, and how you review what it does.
- The reference: every command, every keyboard shortcut, and every tool for agents.
The Designer saves your work as design documents, plain JSON that the @bitbybit-dev/occt package builds in code too, so a model made here can also be built in your own app.
Verified against the product in October 2026