Model a desk robot arm: the screw
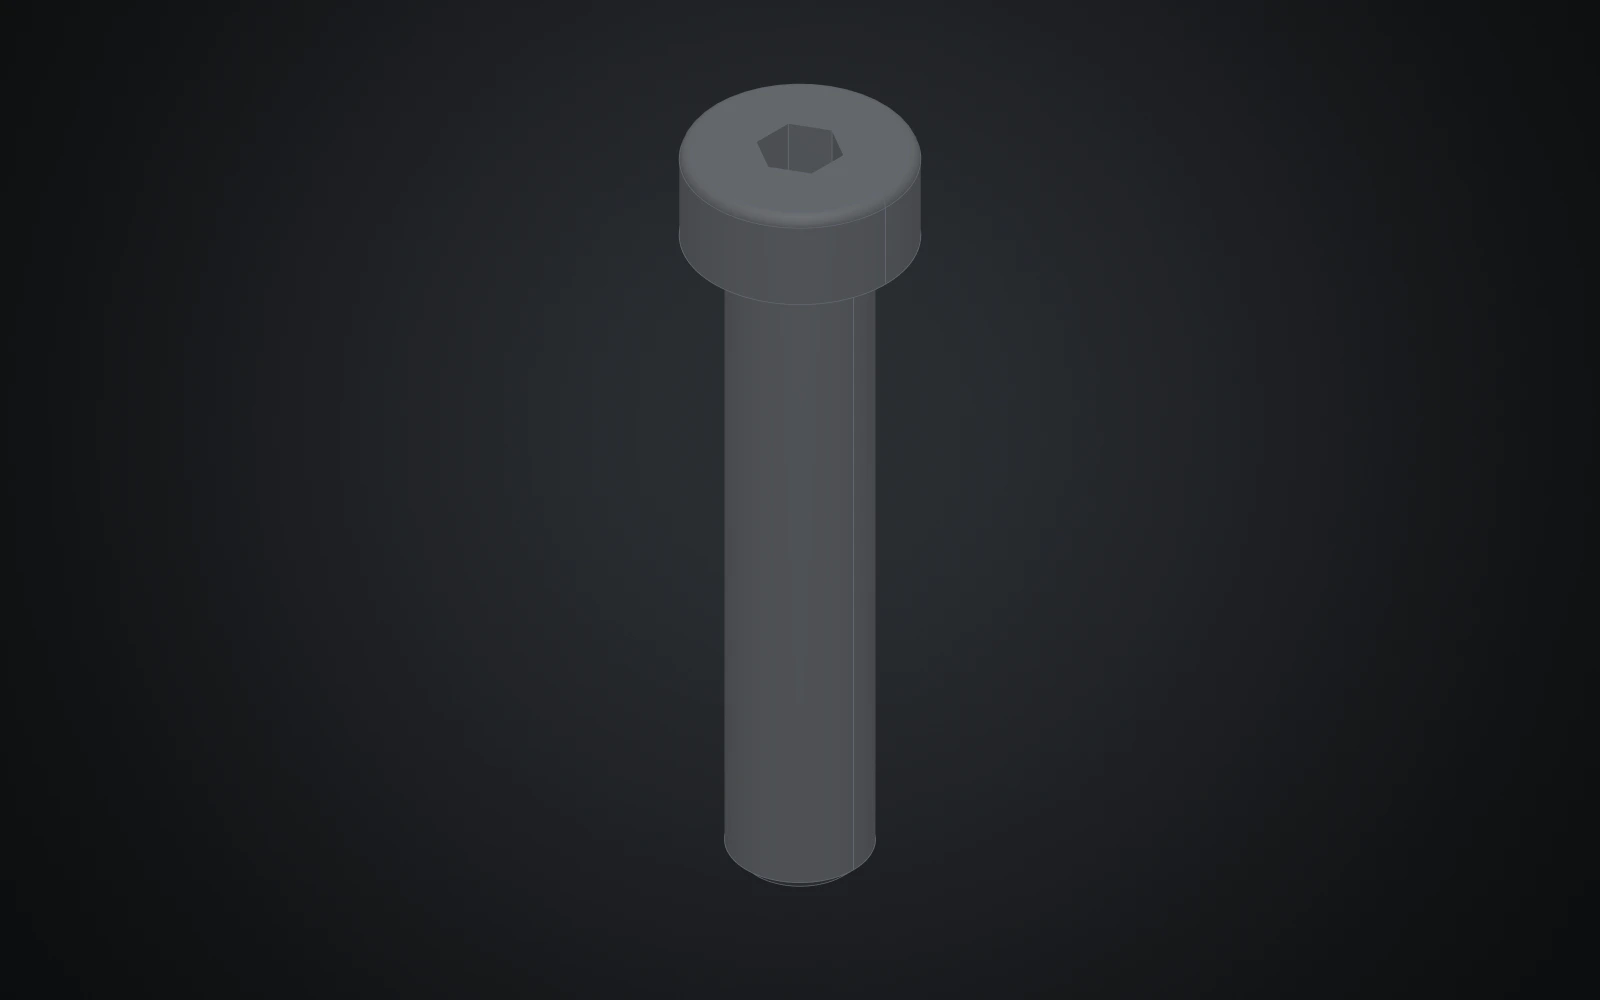
Every bolt and screw in the arm is this document. Its sizes are expressions of d and length, so the assembly can insert it at any diameter and length it needs.
Each step shows the Designer as you make it: a feature's dialog filled in with the step's values, with the tutorial card ringing OK, or what the step made. The first time a command appears, a picture shows where it is. The step numbers match the card's in Help > Tutorials.
-
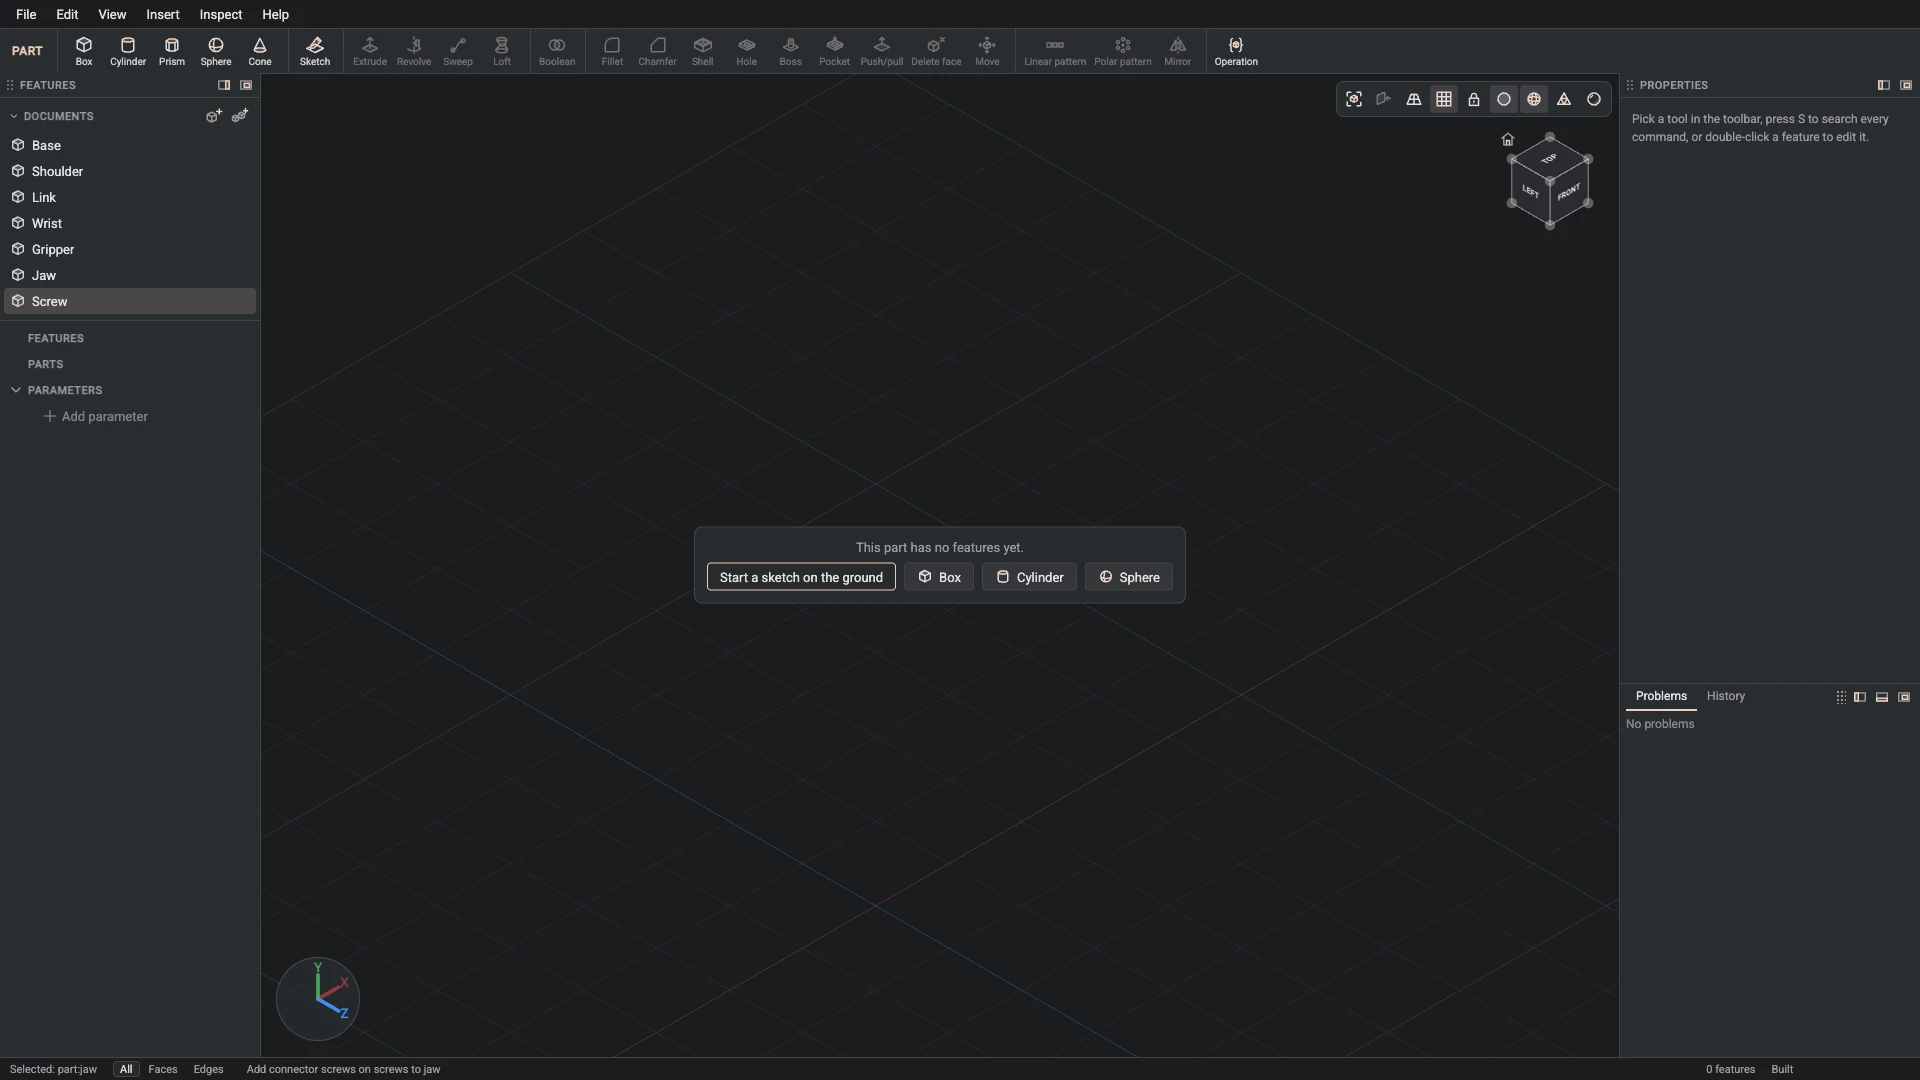
New part, from File > New part: name Screw.
A socket-head screw, parametric in its diameter and length, so every bolt in the arm is this one document.
-
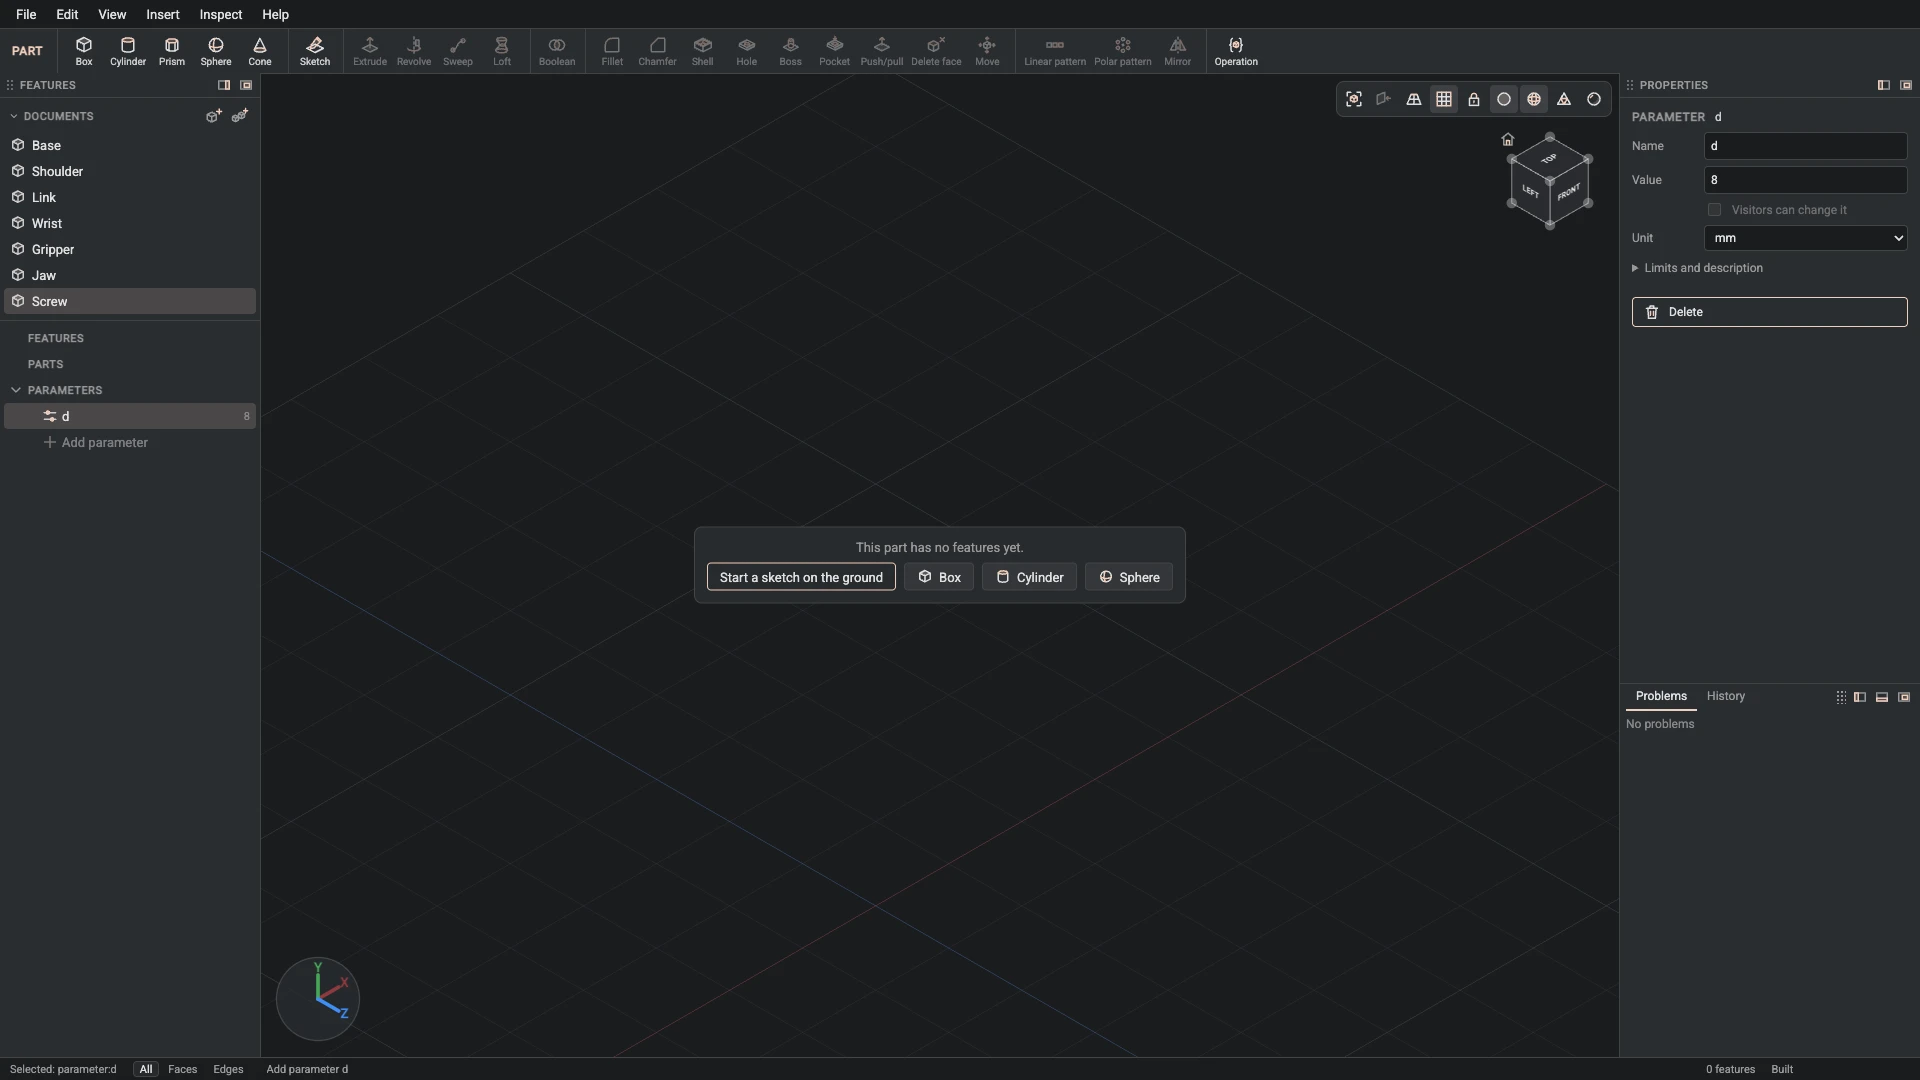
Parameter, from Insert > Parameter: name d, value 8, unit mm.
Add the parameter d, 8 mm: the screw's diameter.
-
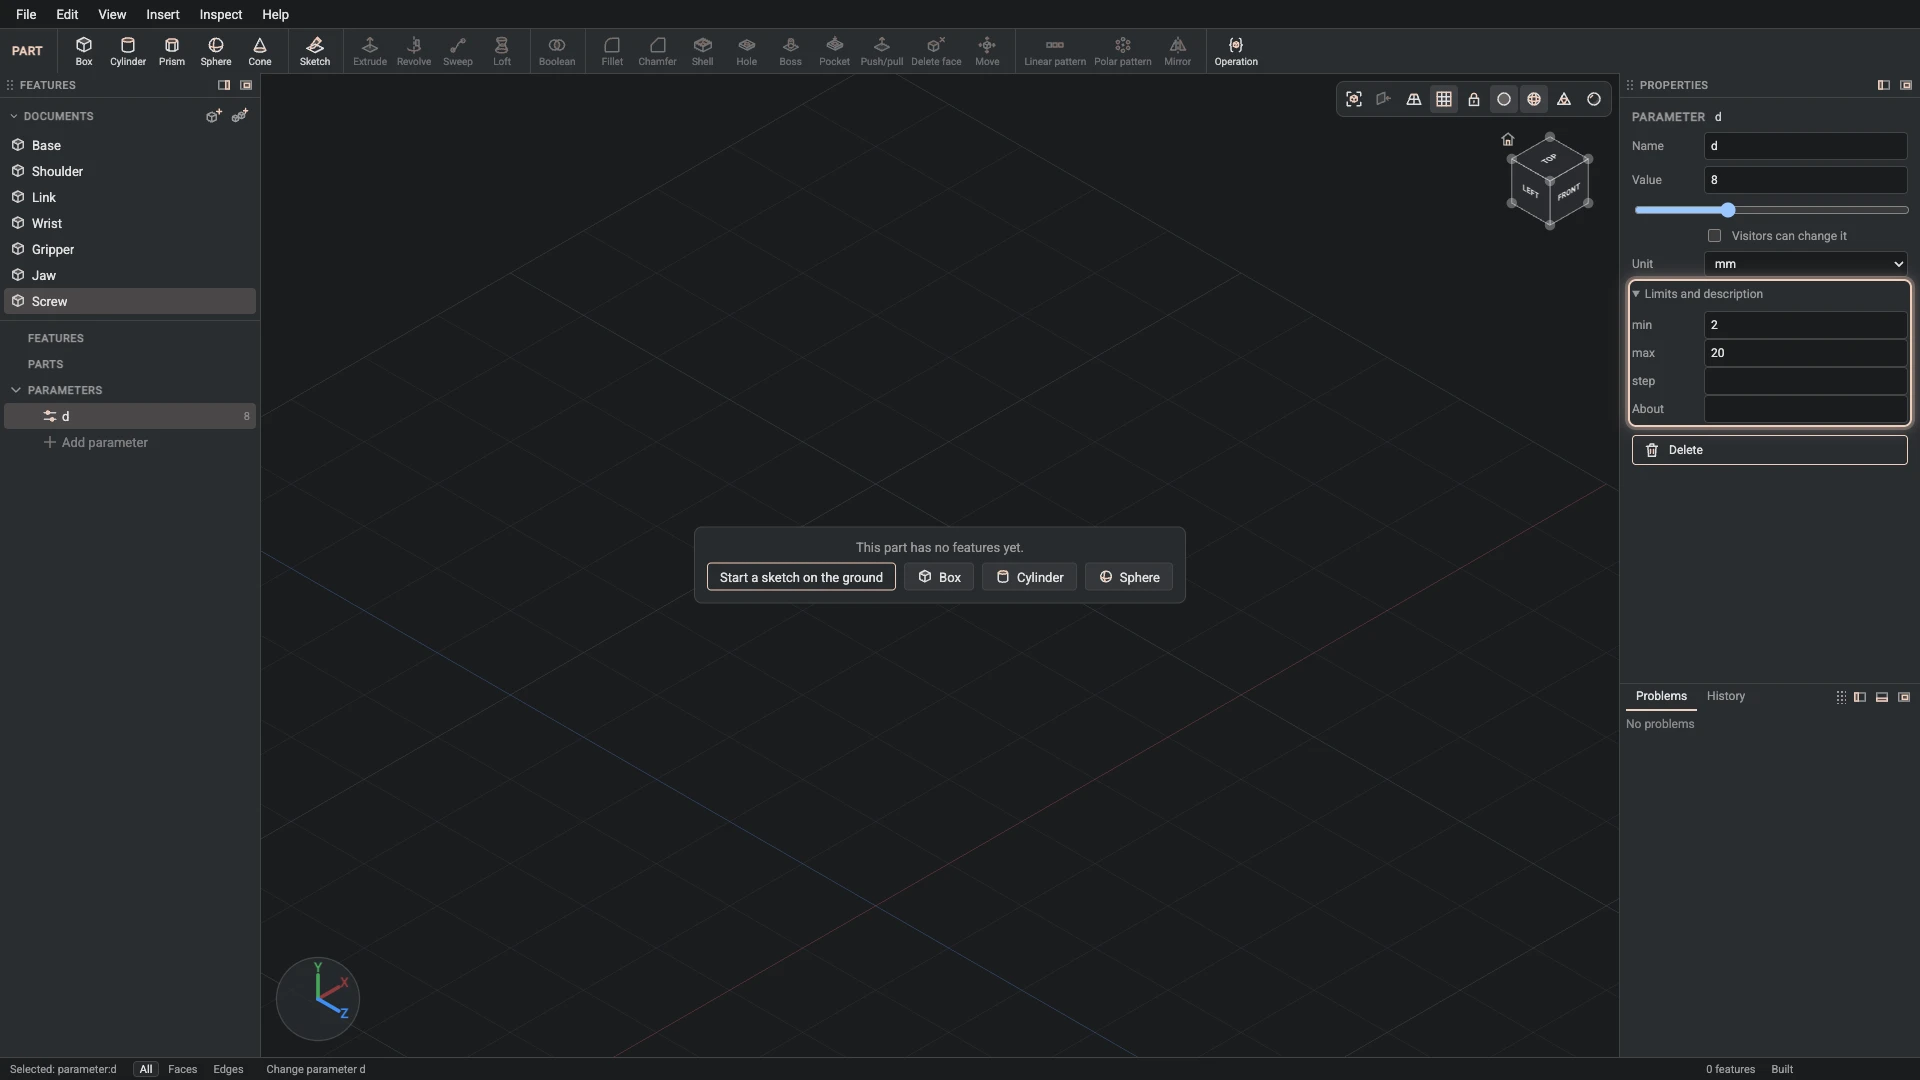
Change parameter, from the Properties panel: name d, min 2, max 20.
Give d its range, 2 to 20 mm: the values the design is drawn for.
-
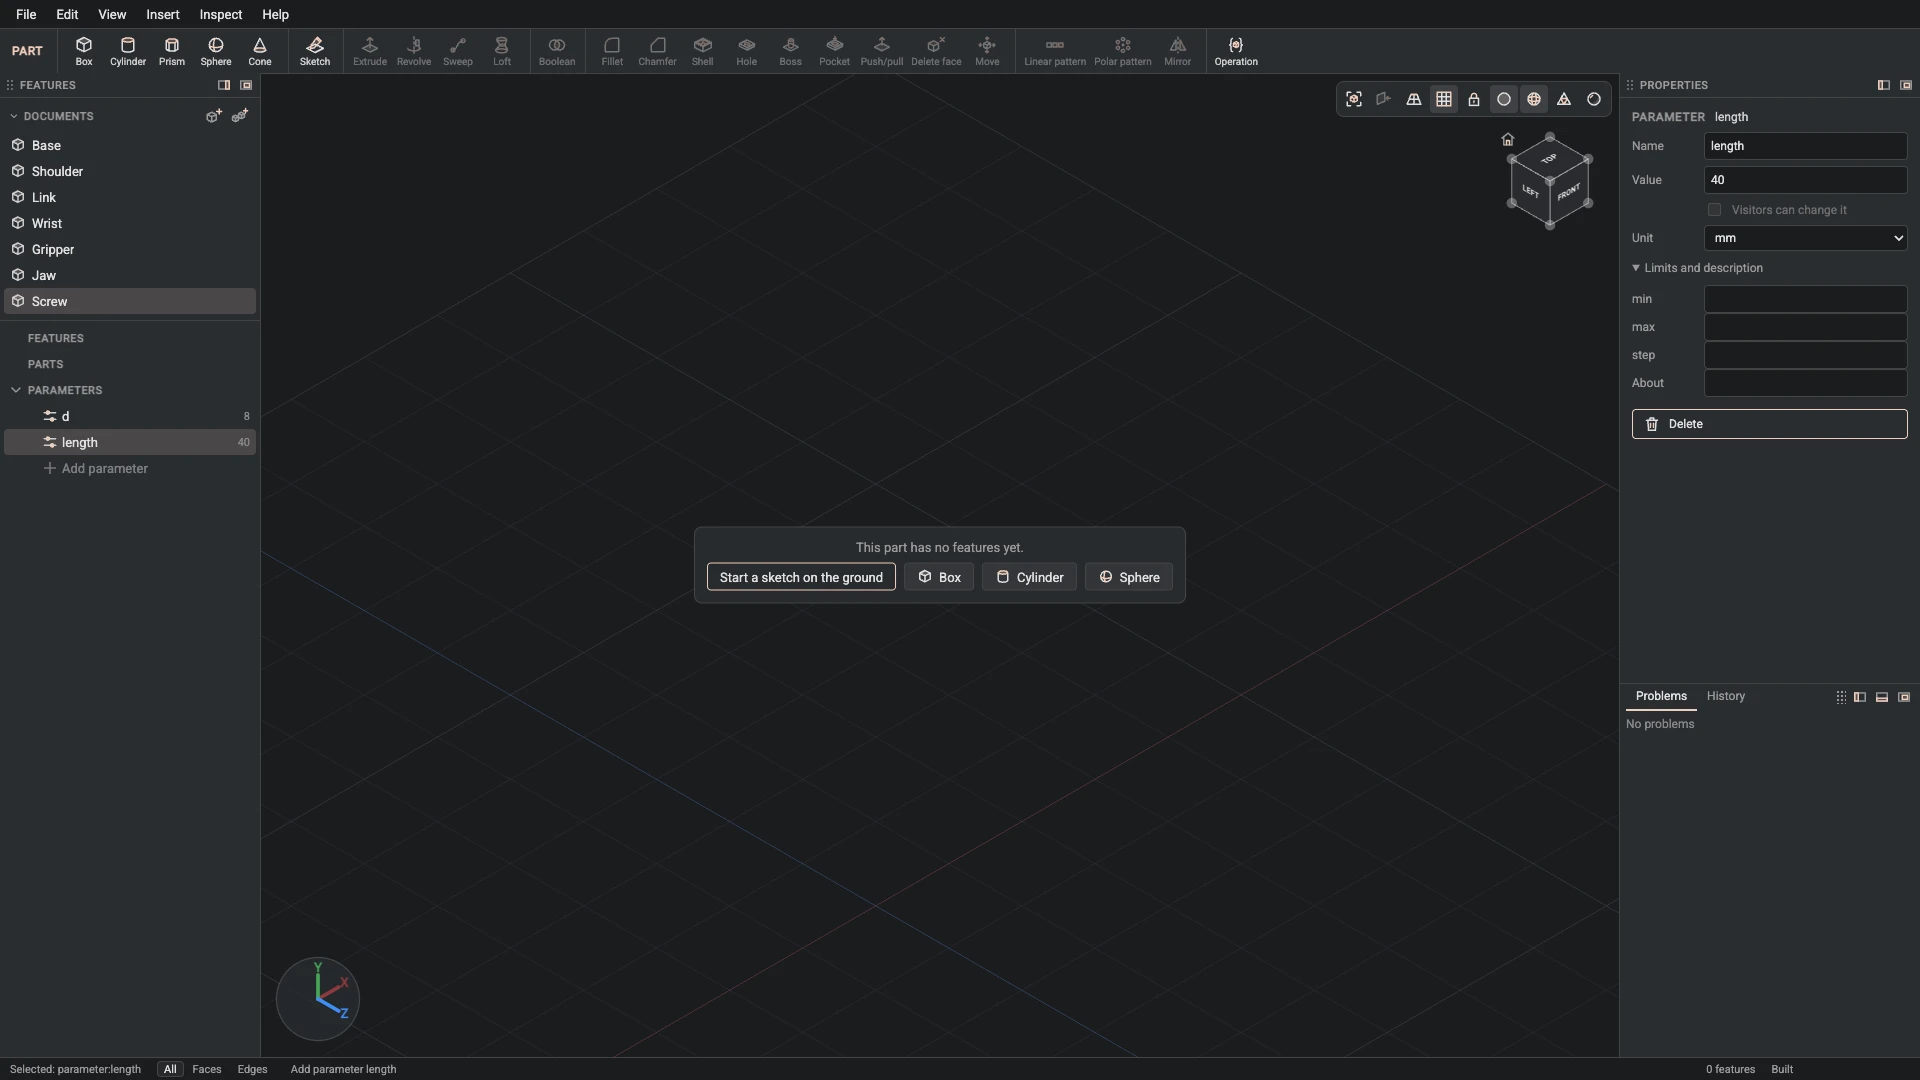
Parameter, from Insert > Parameter: name length, value 40, unit mm.
Add the parameter length, 40 mm: how long its shank is.
-
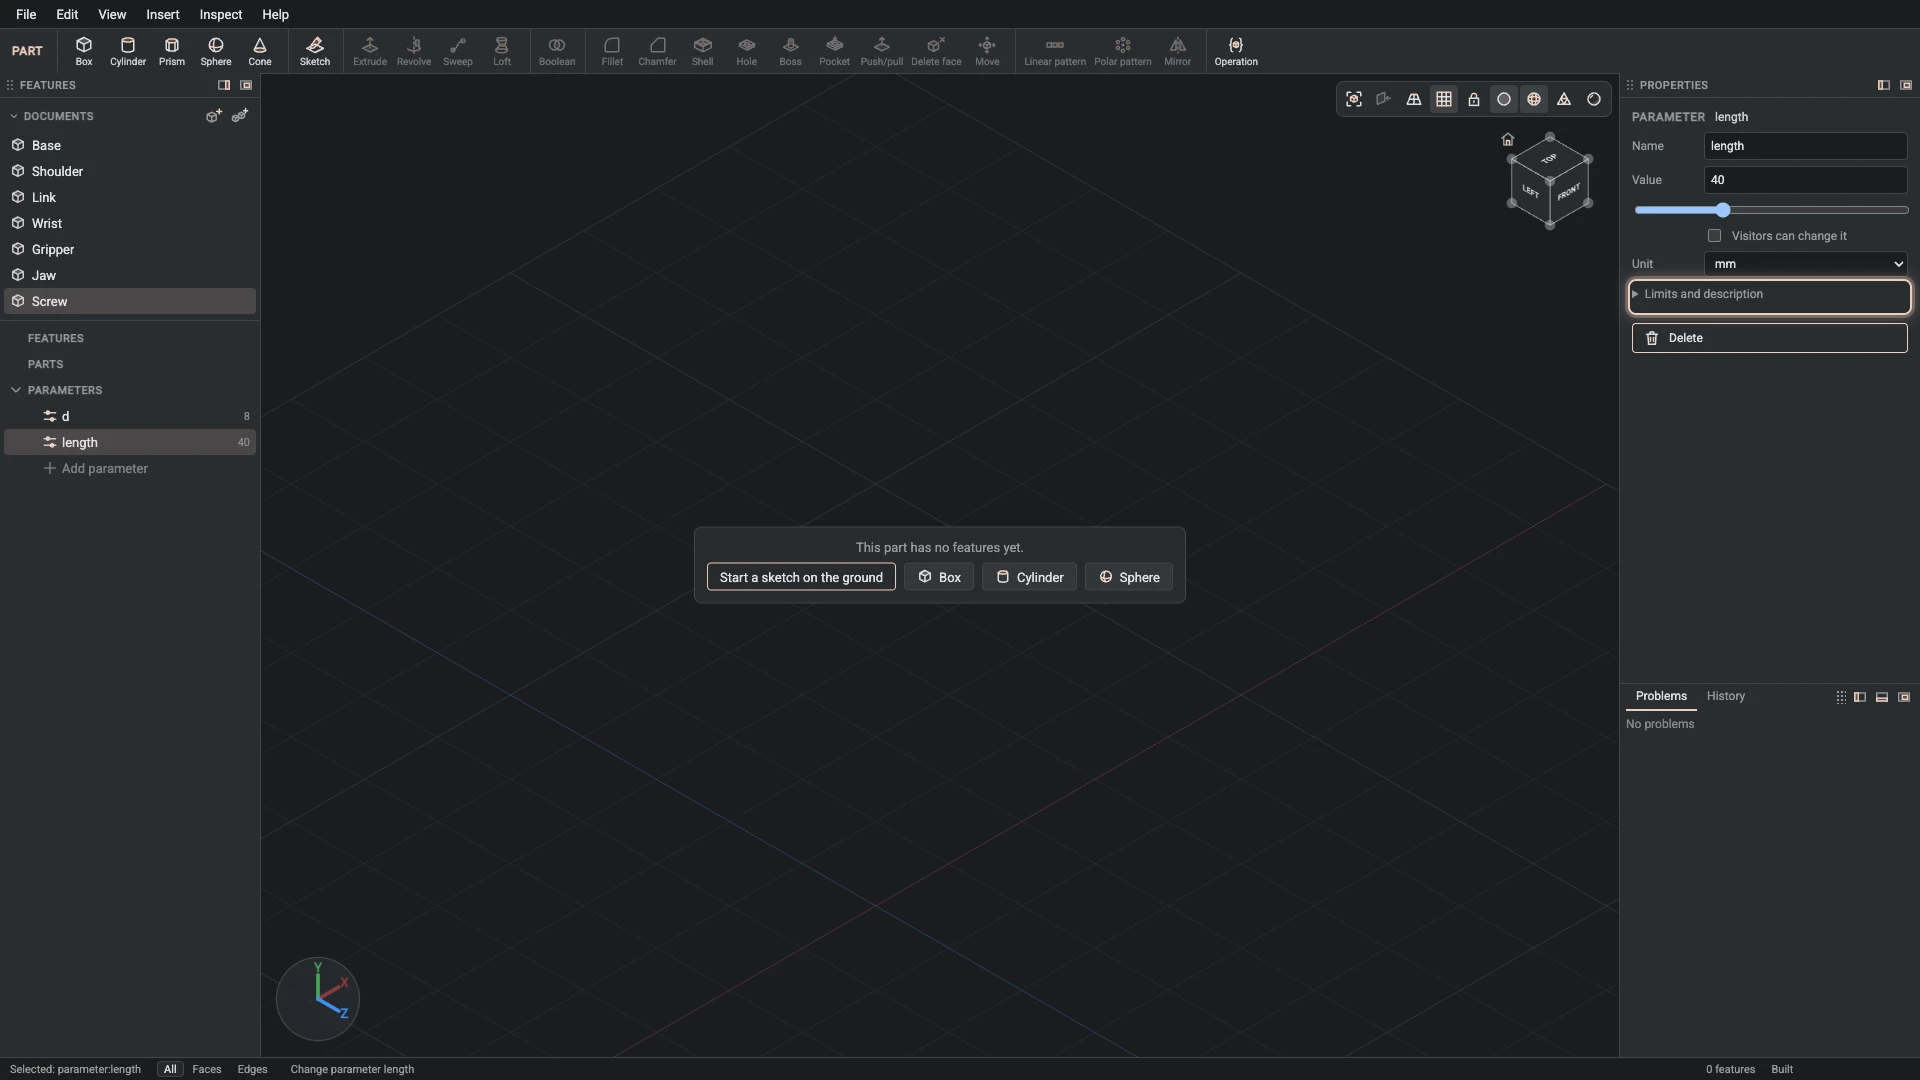
Change parameter, from the Properties panel: name length, min 4, max 120.
Give length its range, 4 to 120 mm: the values the design is drawn for.
-
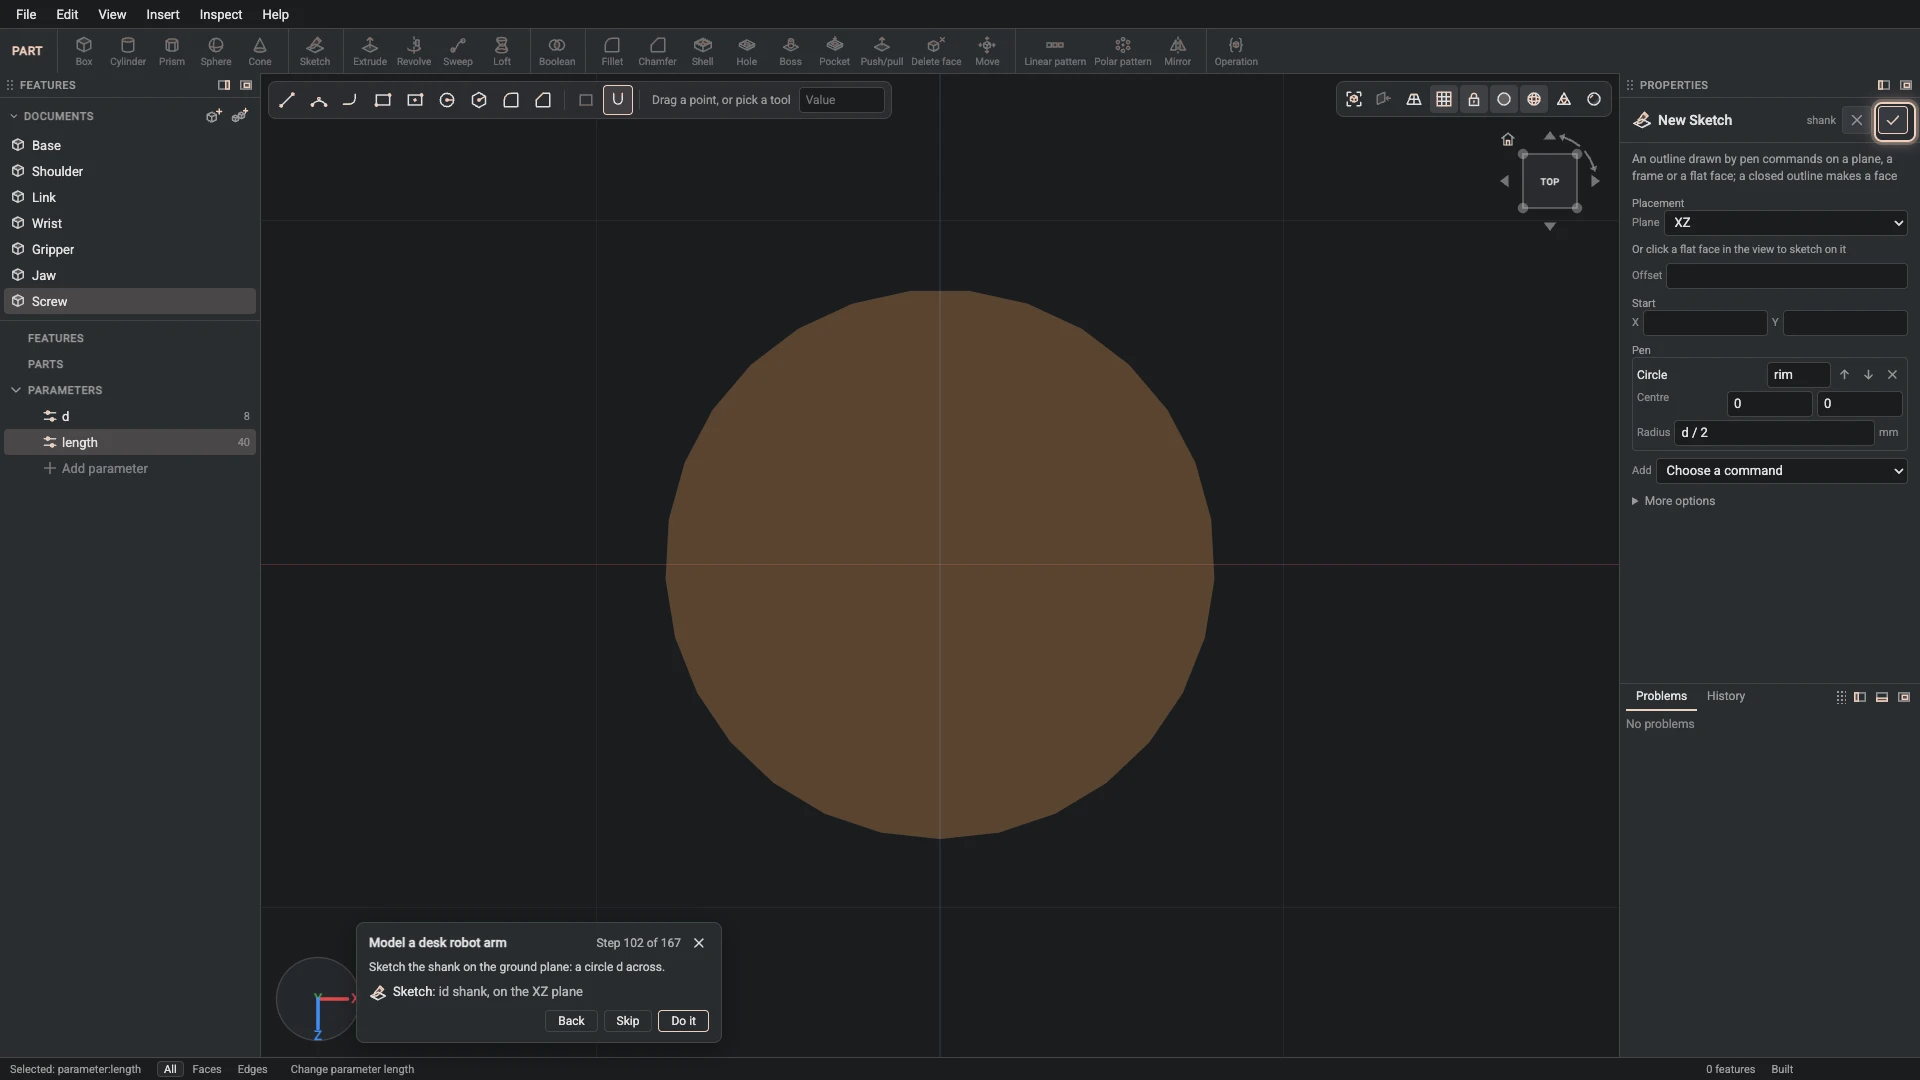
Sketch, from Insert > Sketch: id shank, on the XZ plane.
Sketch the shank on the ground plane: a circle d across.
-
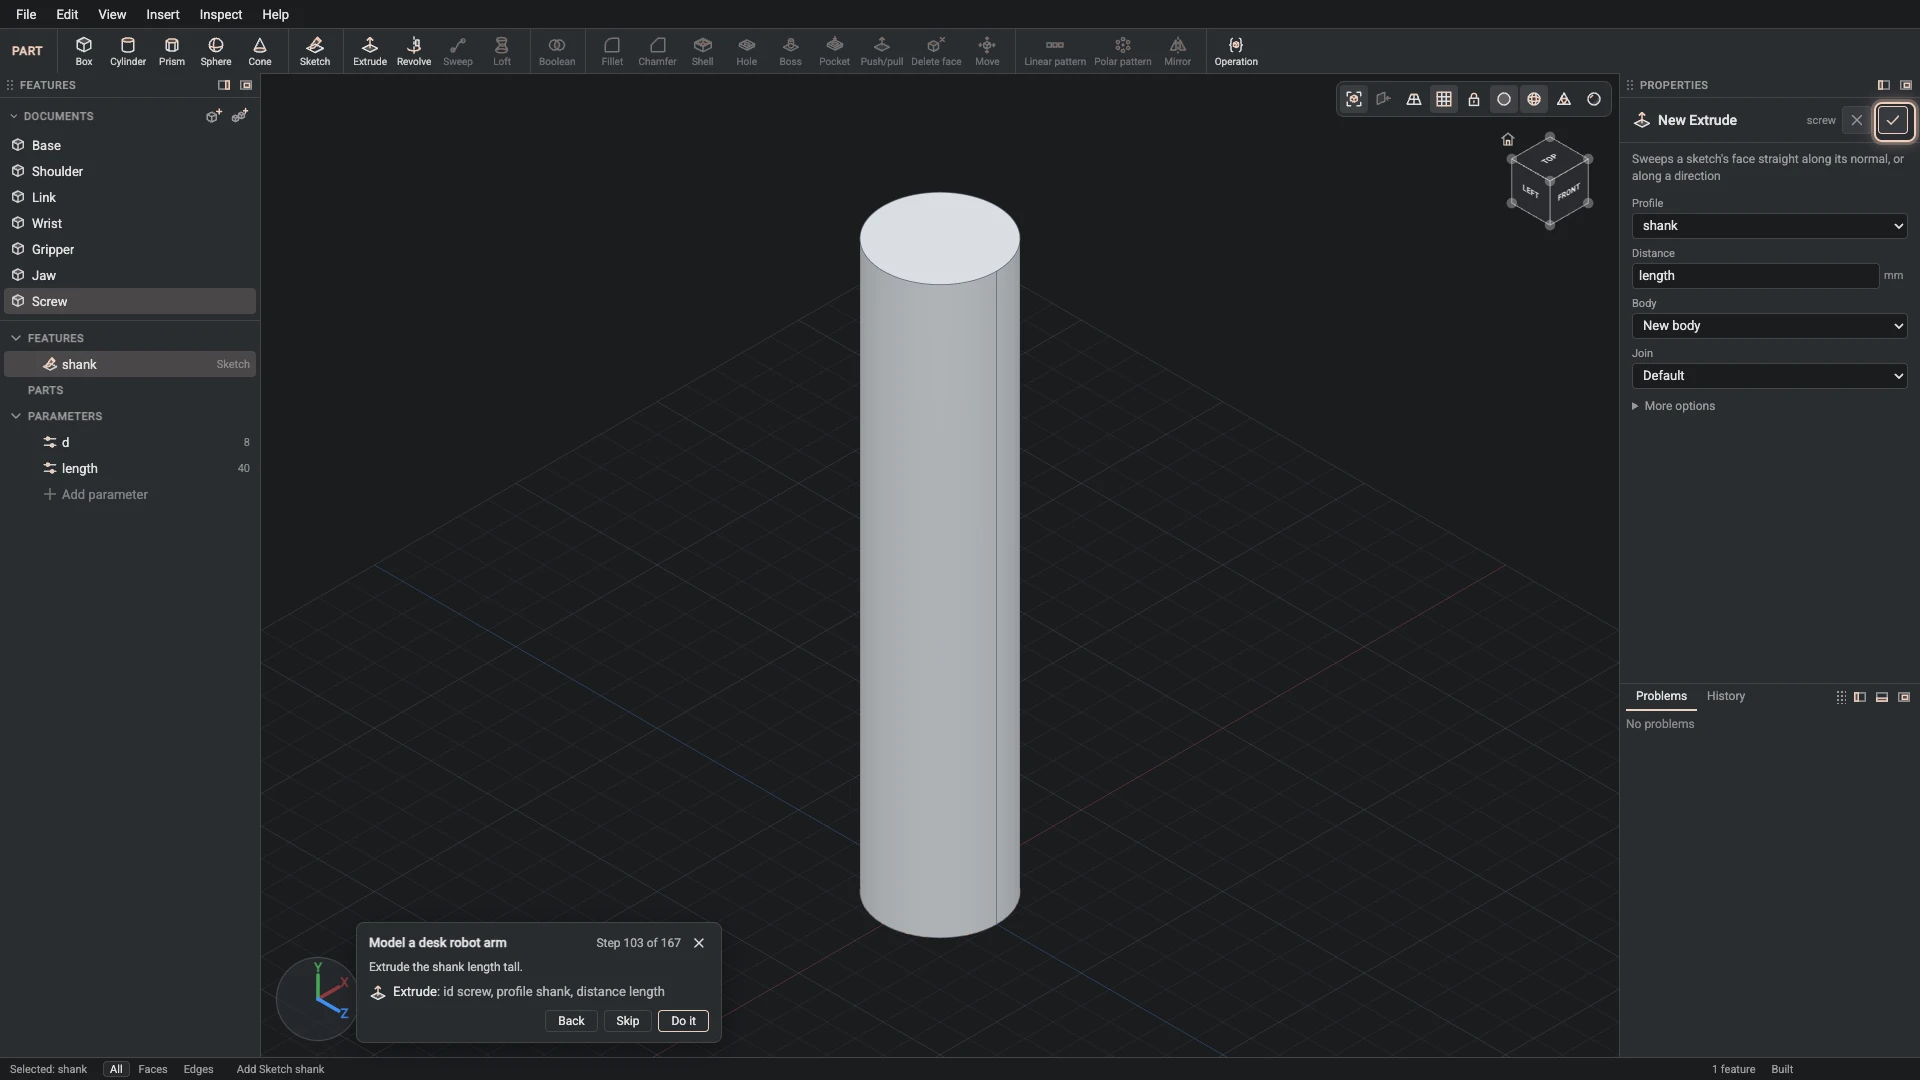
Extrude, from Insert > Extrude: id screw, profile shank, distance length.
Extrude the shank length tall.
-
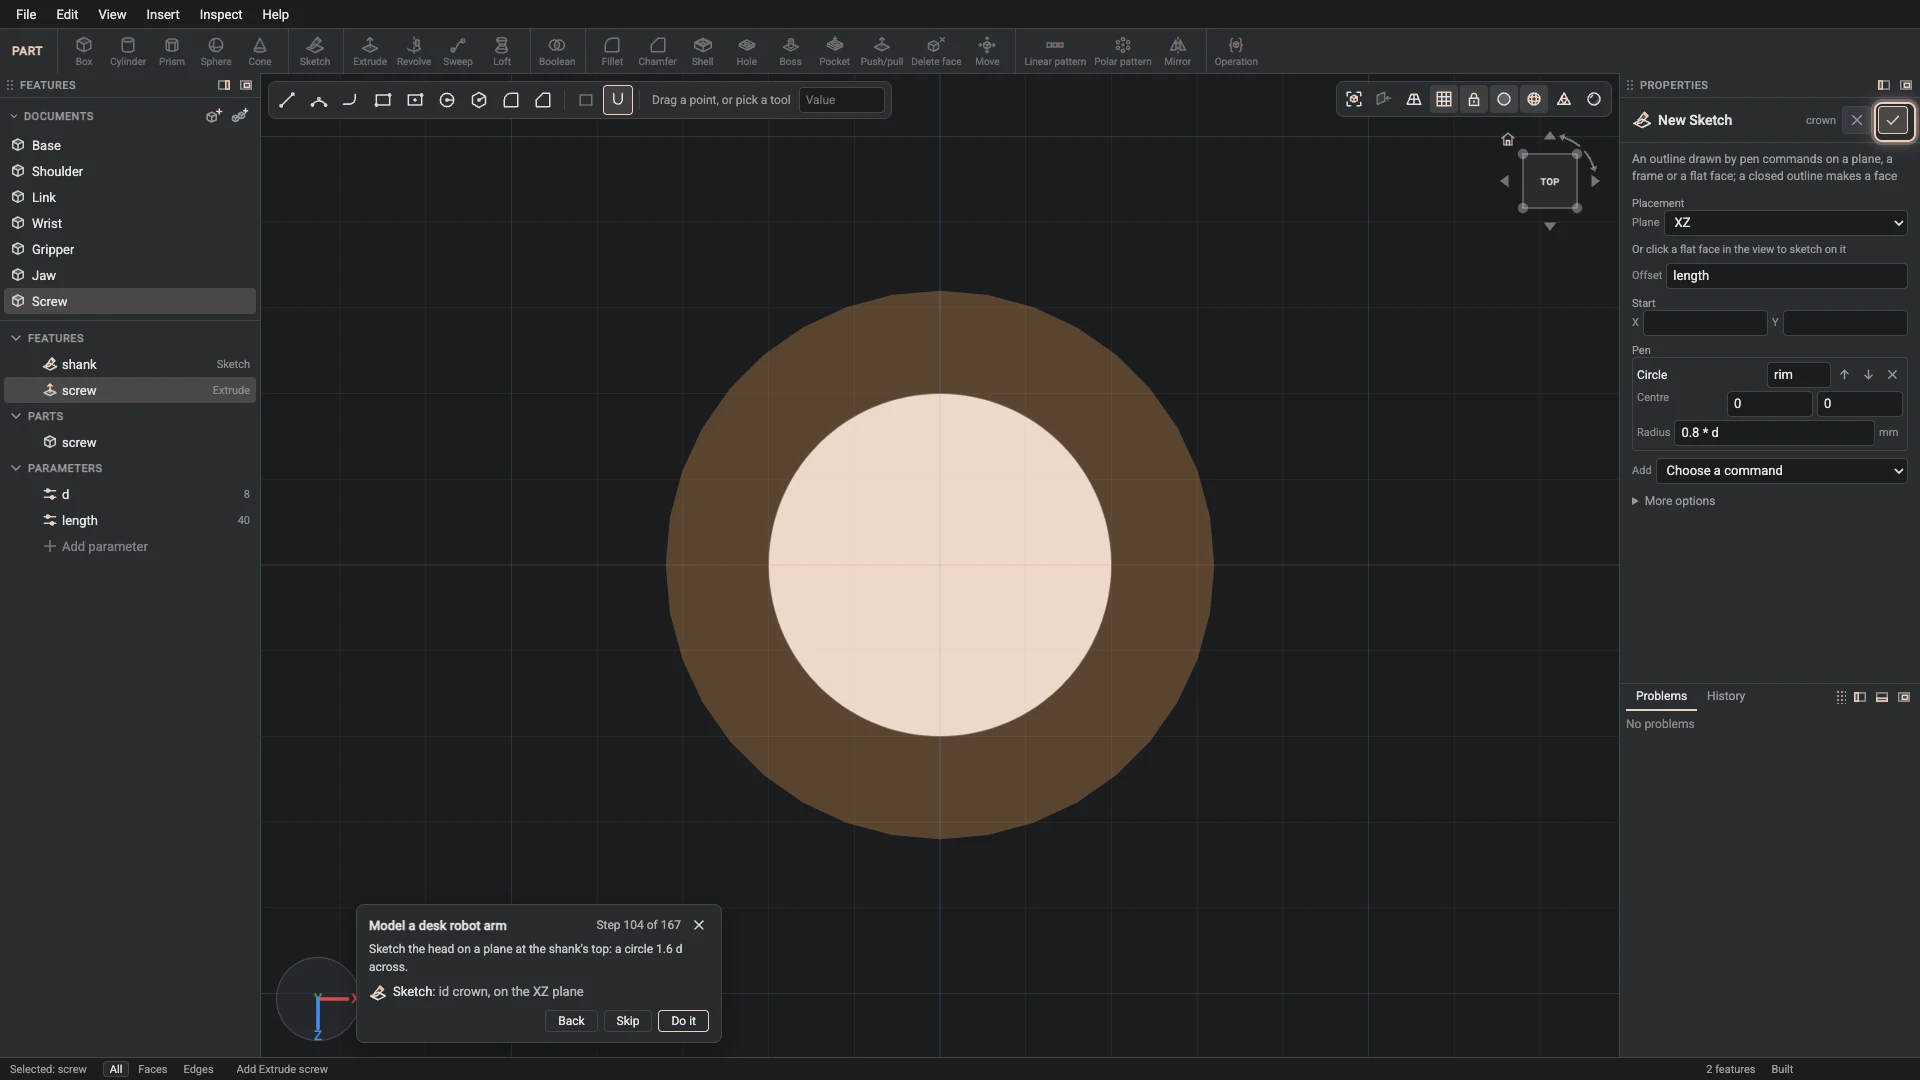
Sketch, from Insert > Sketch: id crown, on the XZ plane.
Sketch the head on a plane at the shank's top: a circle 1.6 d across.
-
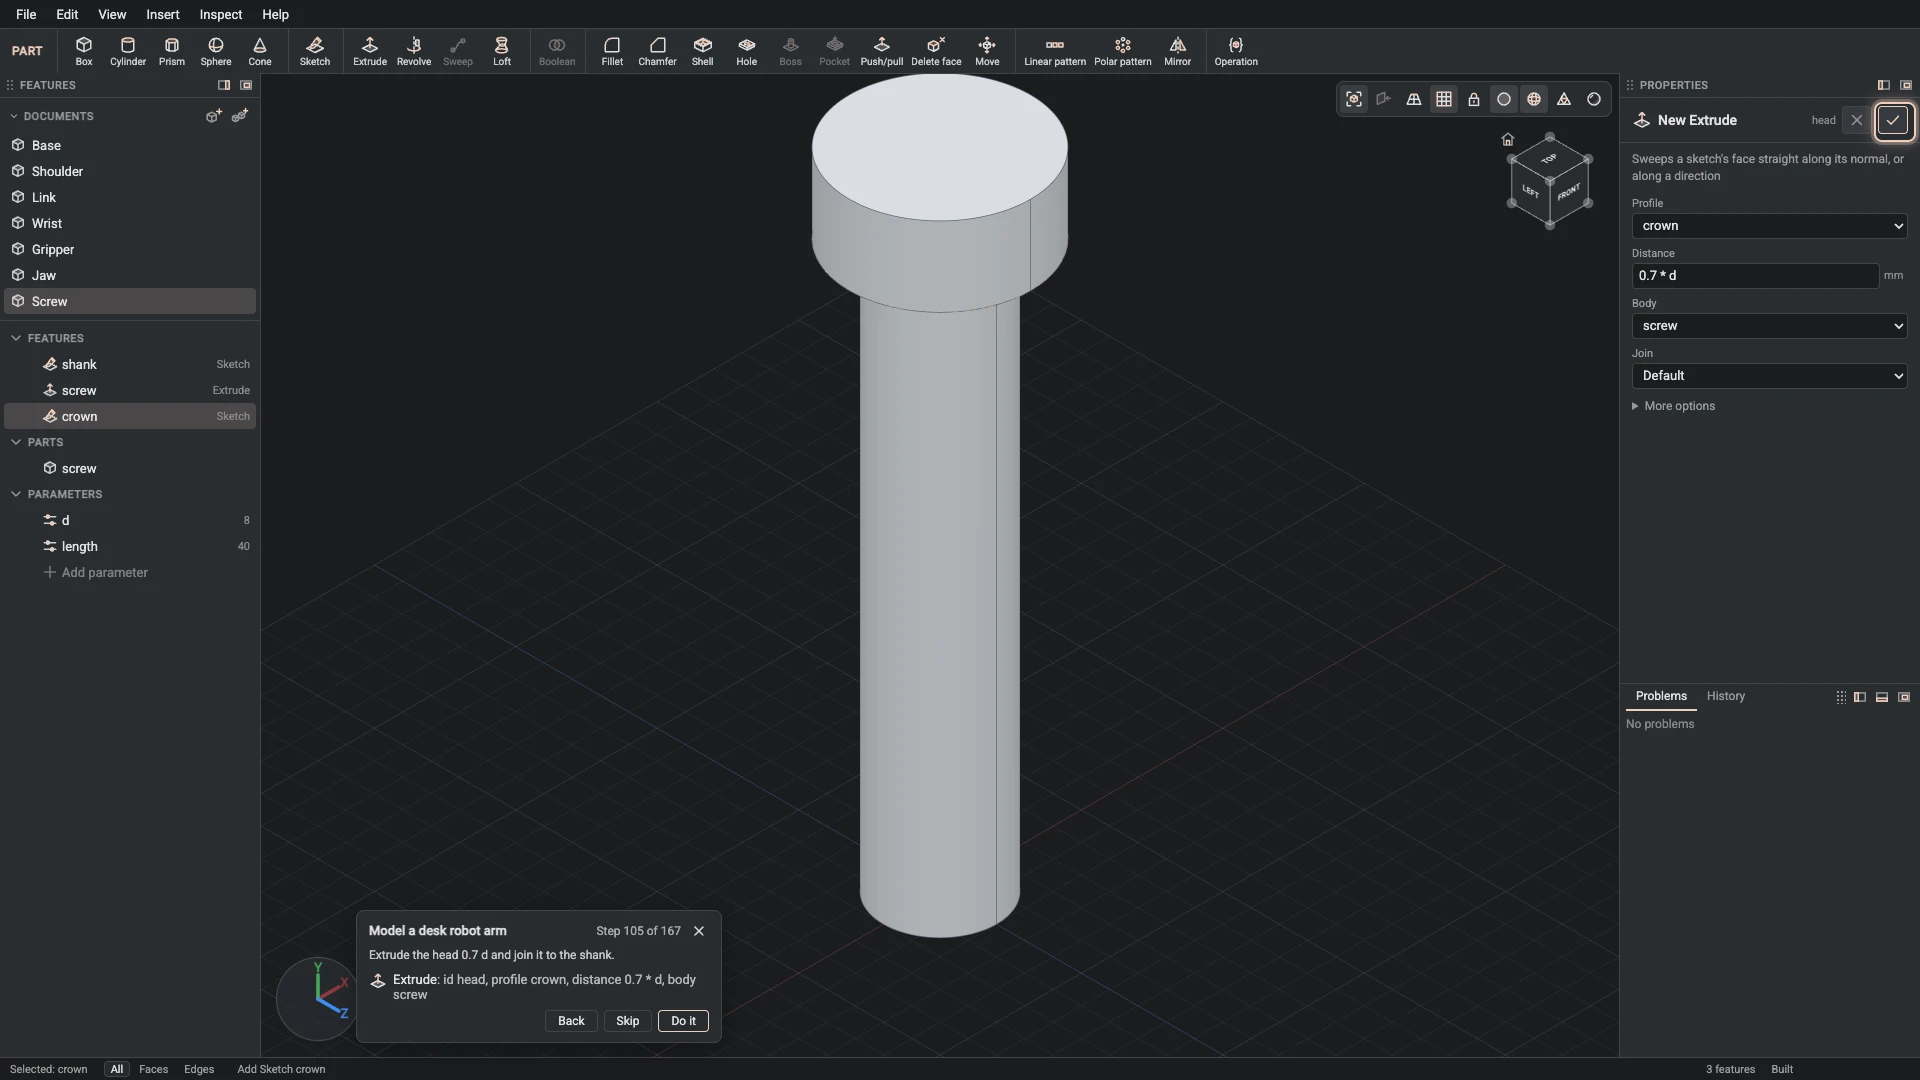
Extrude, from Insert > Extrude: id head, profile crown, distance 0.7 * d, body screw.
Extrude the head 0.7 d and join it to the shank.
-
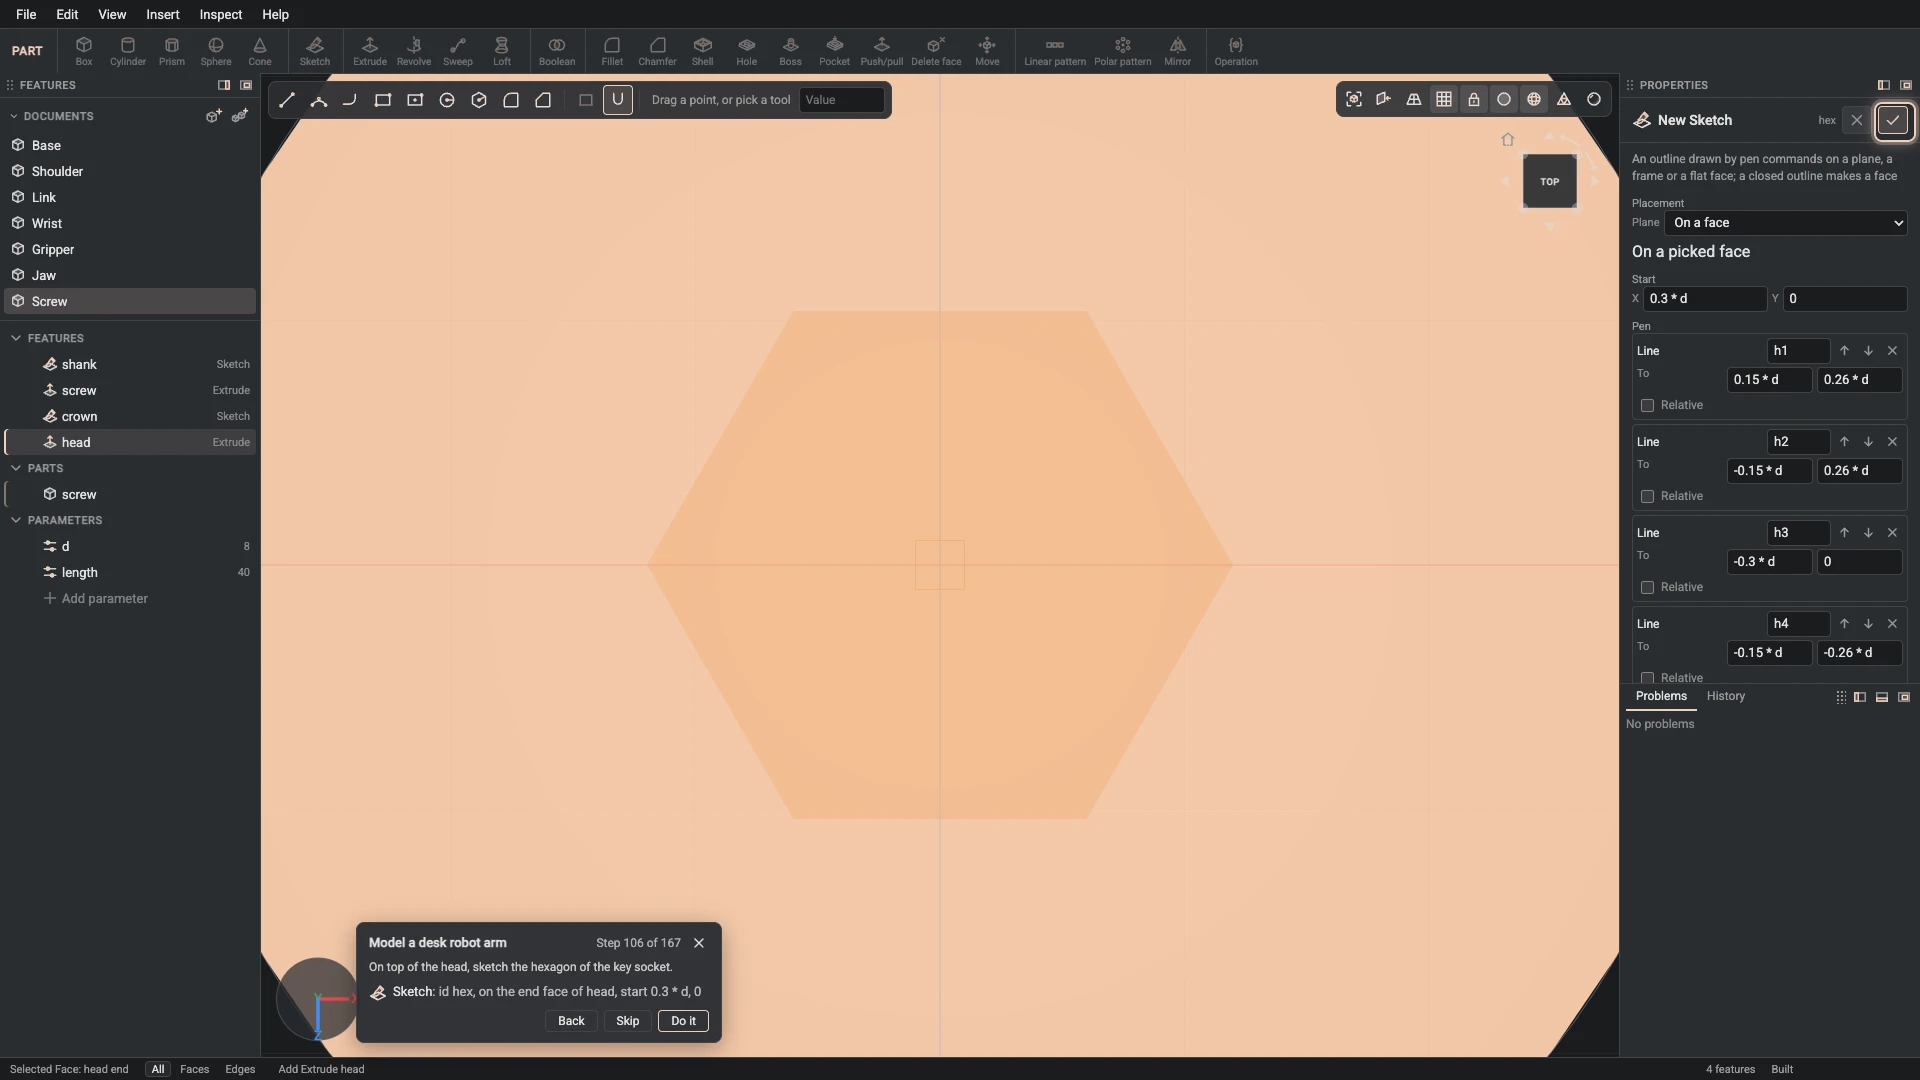
Sketch, from Insert > Sketch: id hex, on the end face of head, start 0.3 * d, 0.
On top of the head, sketch the hexagon of the key socket.
-
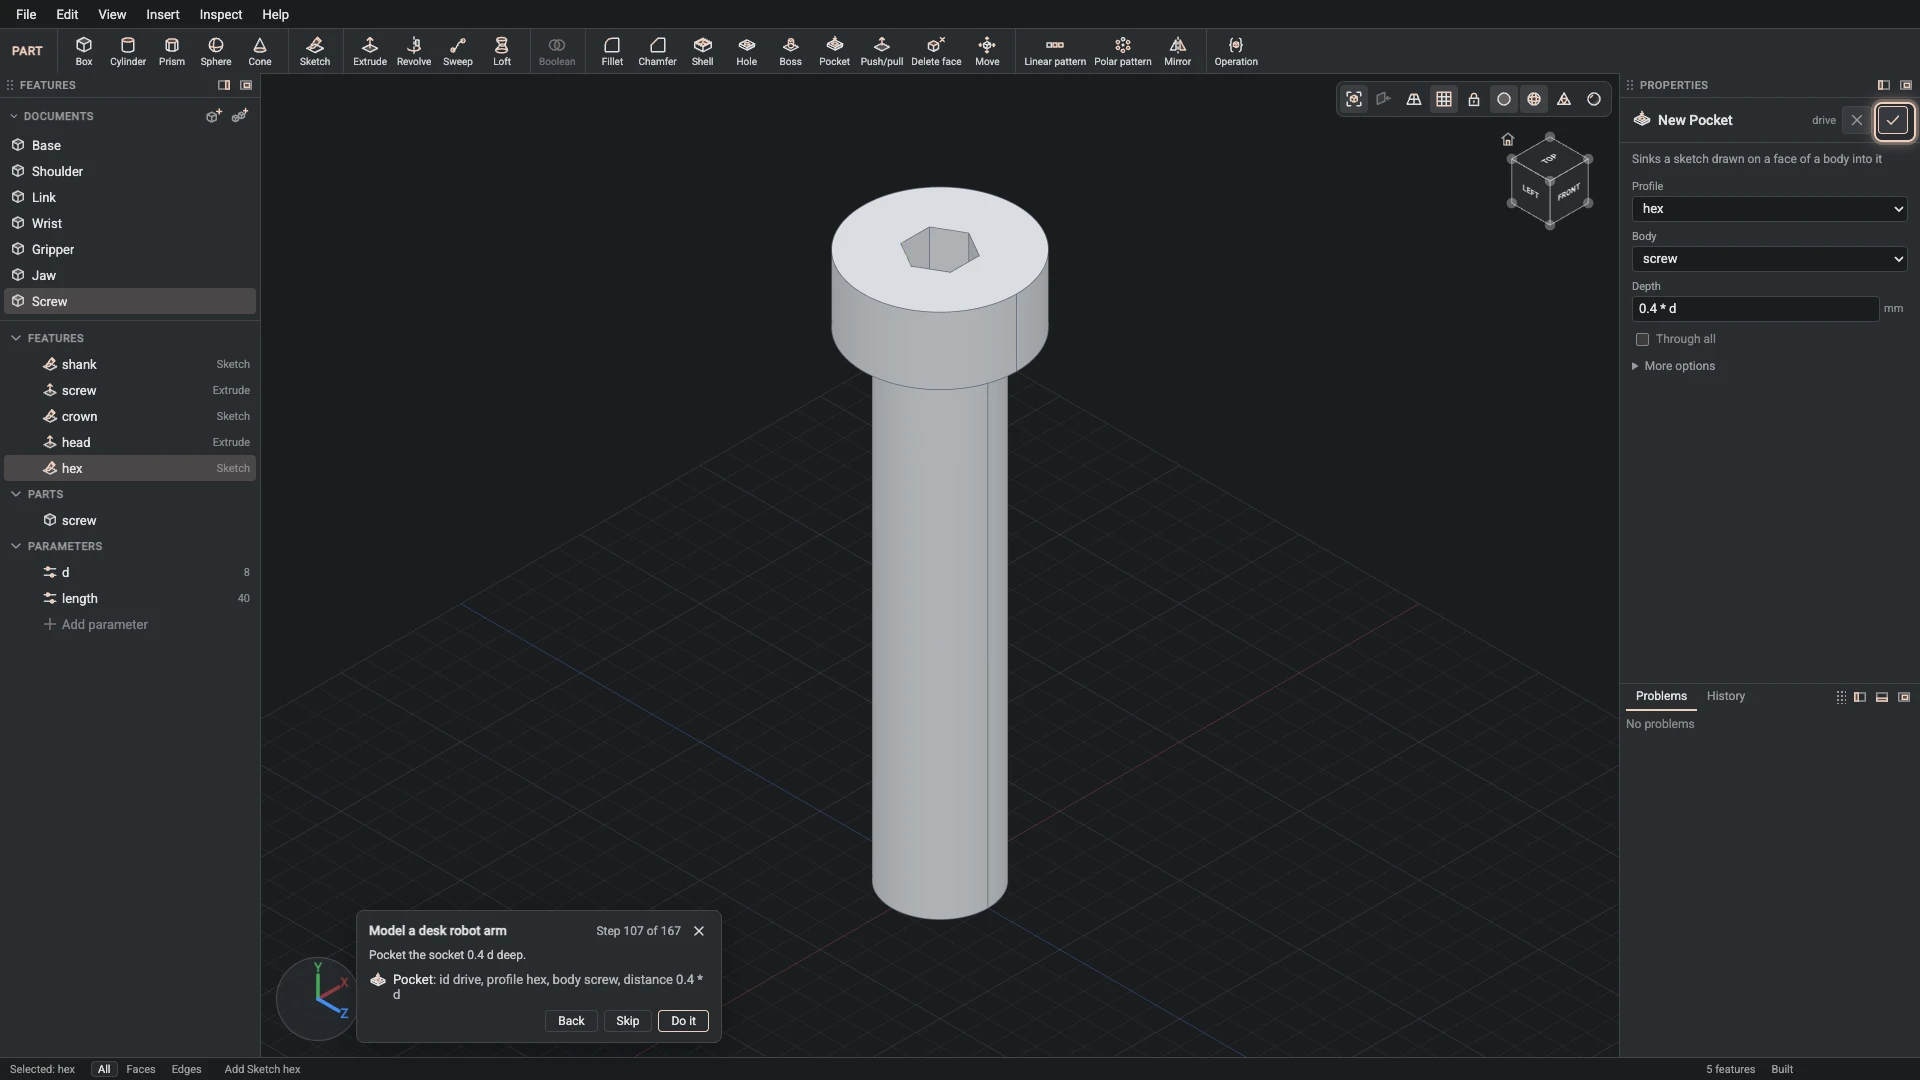
Pocket, from Insert > Pocket: id drive, profile hex, body screw, distance 0.4 * d.
Pocket the socket 0.4 d deep.
-
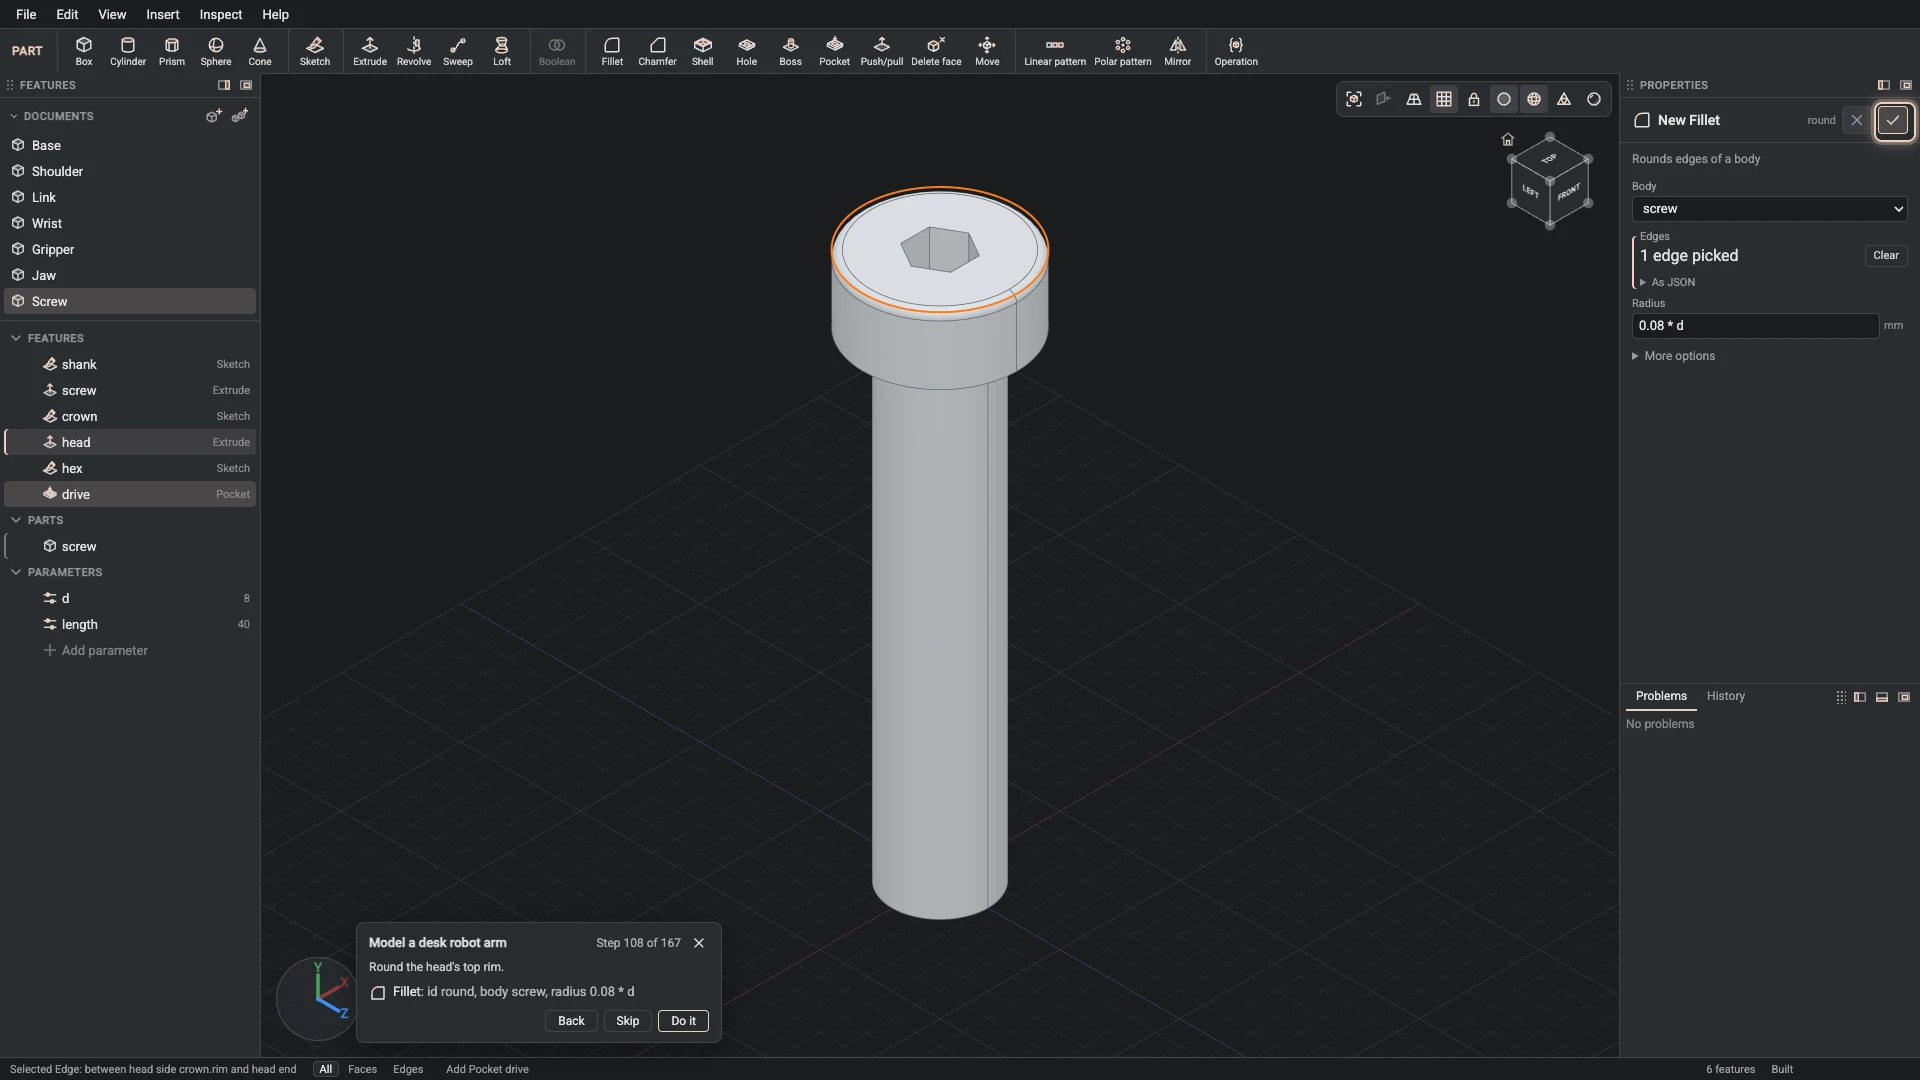
Fillet, from Insert > Fillet: id round, body screw, radius 0.08 * d.
Round the head's top rim.
-
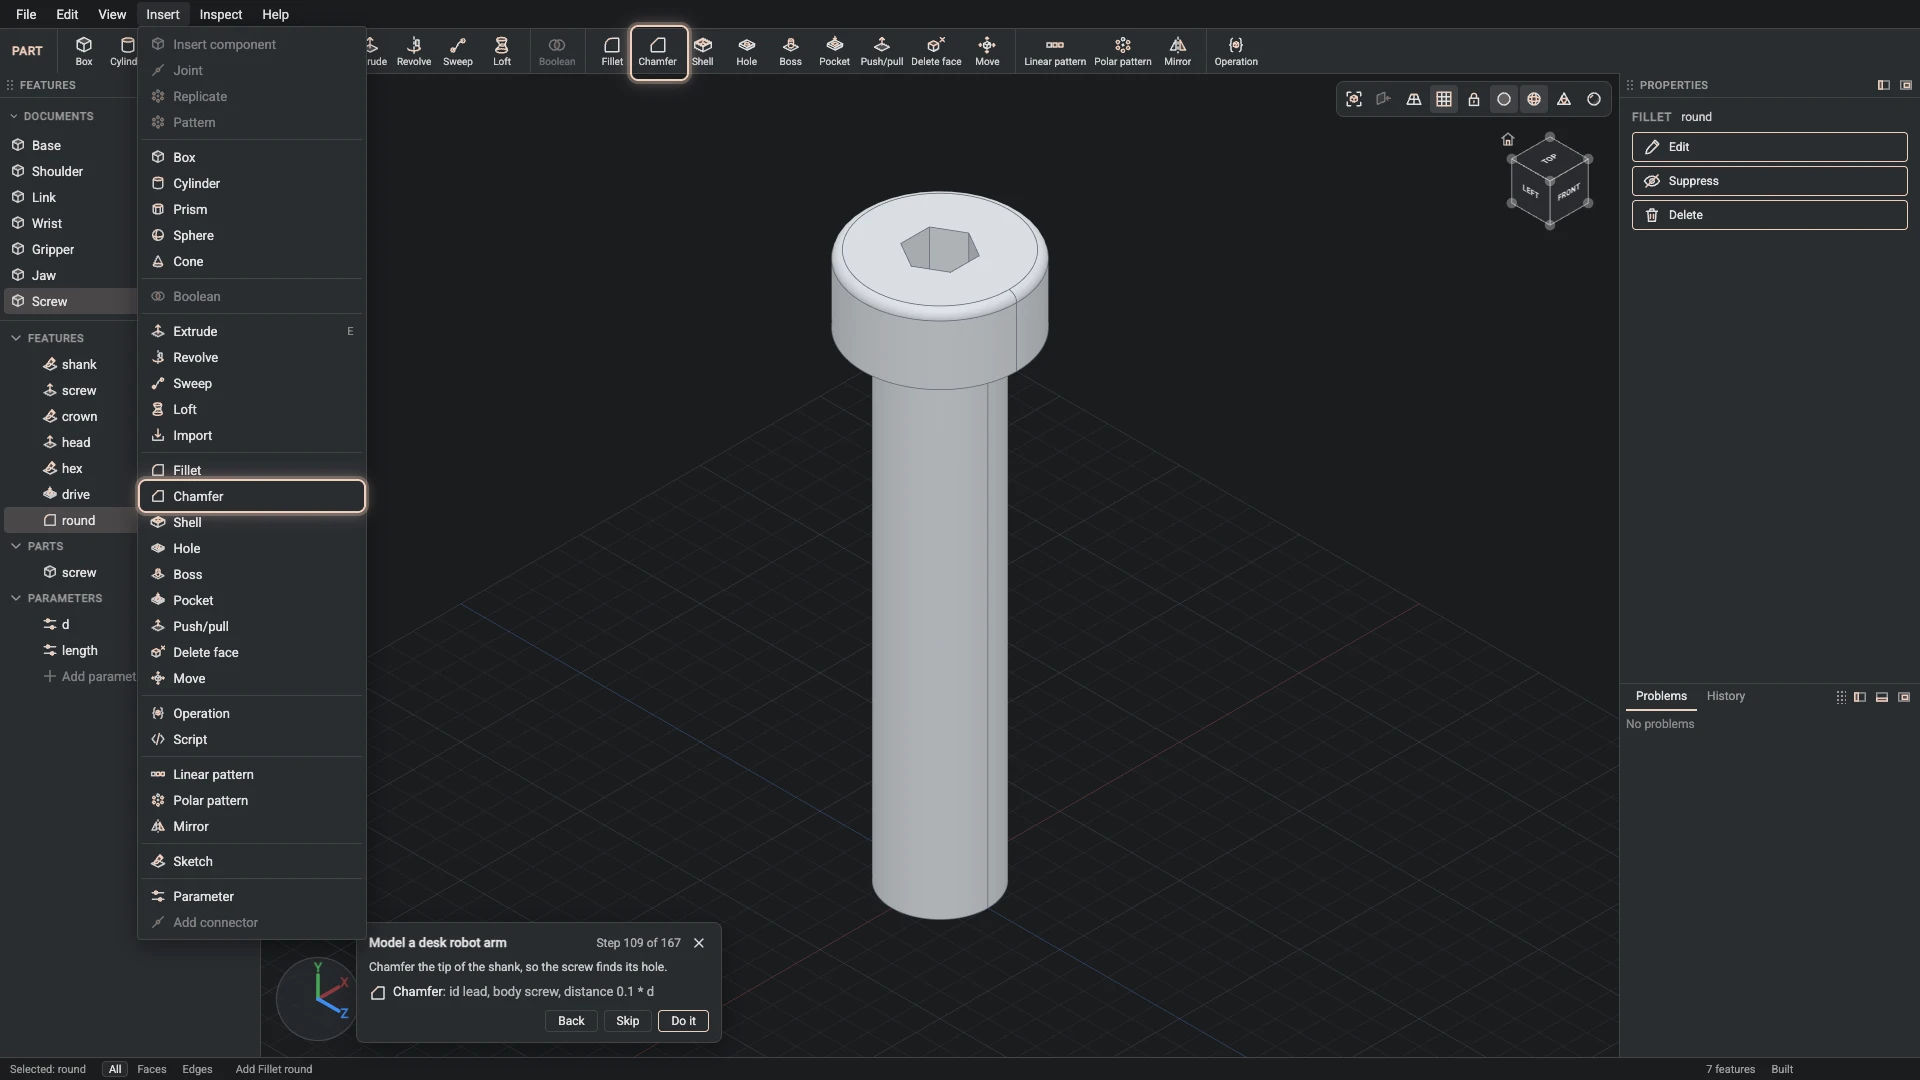
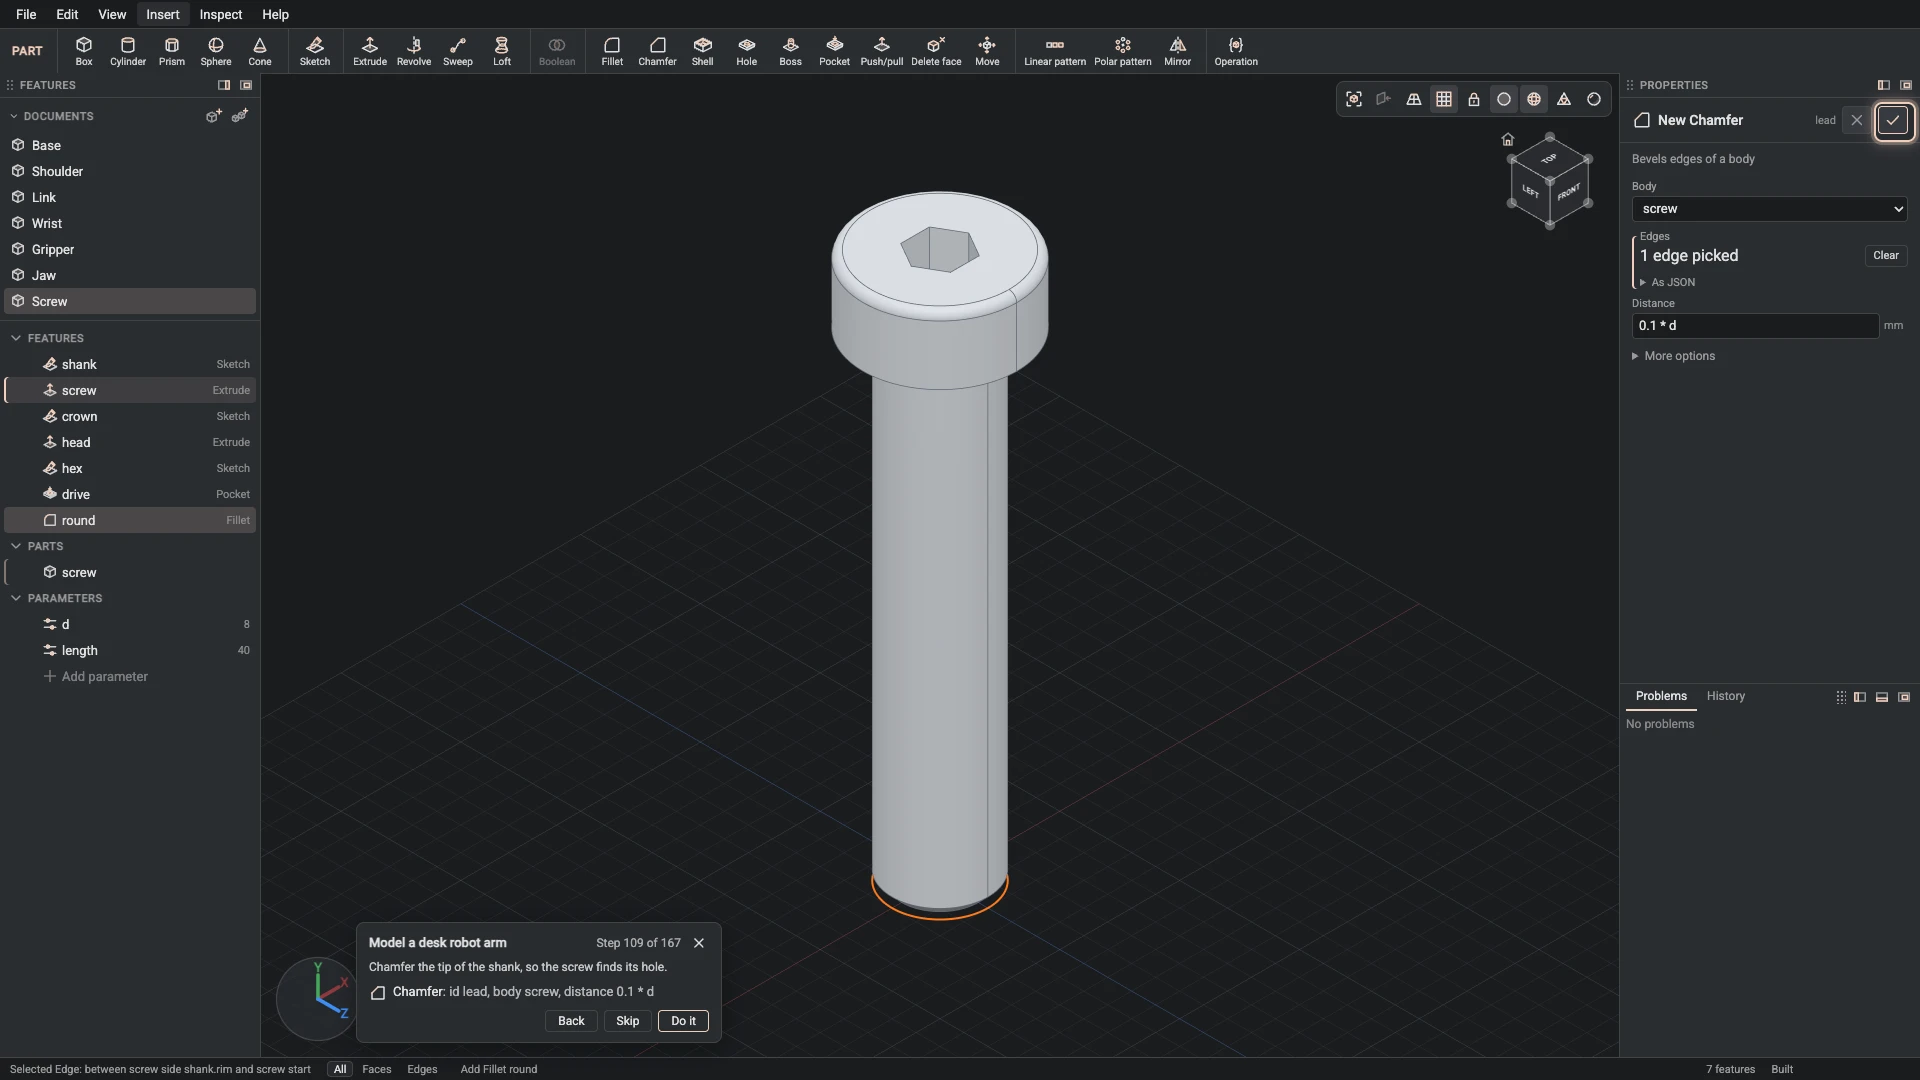
Chamfer, from Insert > Chamfer: id lead, body screw, distance 0.1 * d.
Chamfer the tip of the shank, so the screw finds its hole.
-
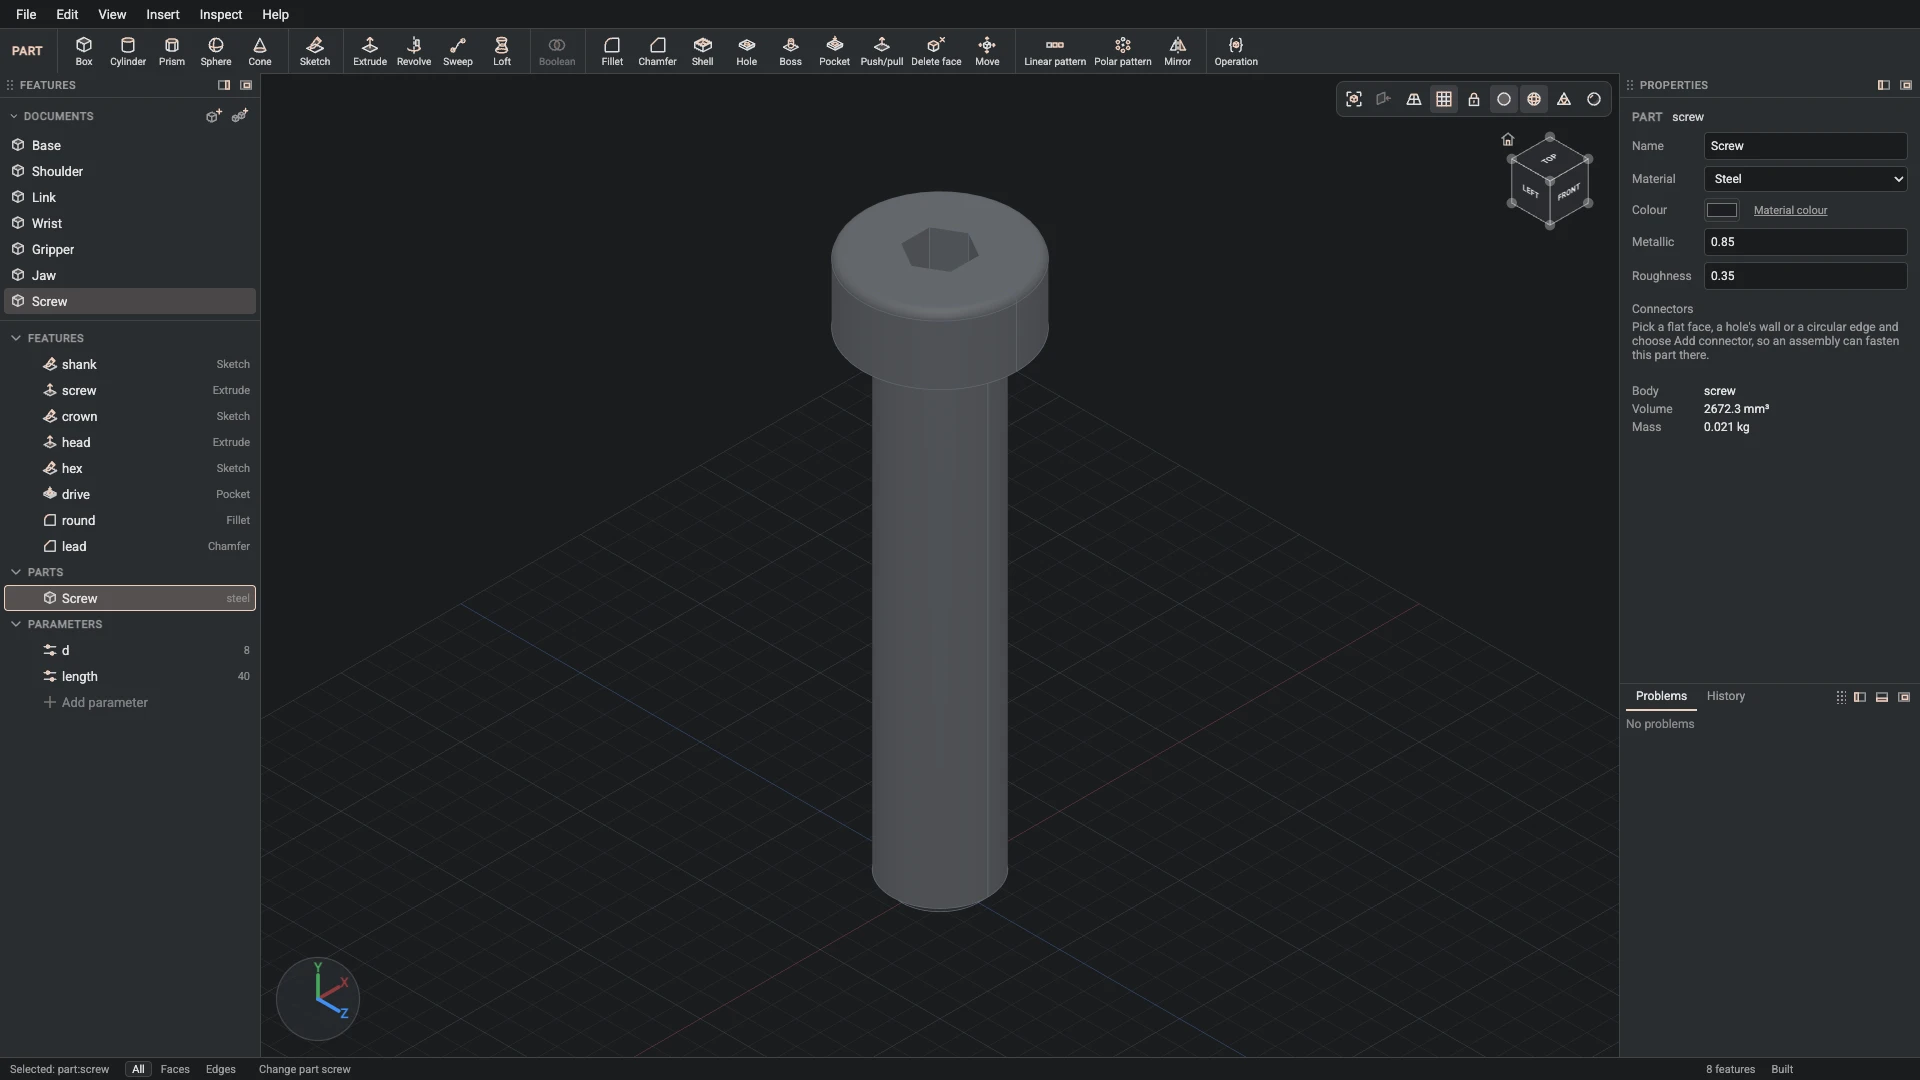
Part properties, from the Properties panel: id screw, name Screw, material steel, color #1d1f22, metallic 0.85, roughness 0.35.
Name the part Screw: black steel.
-
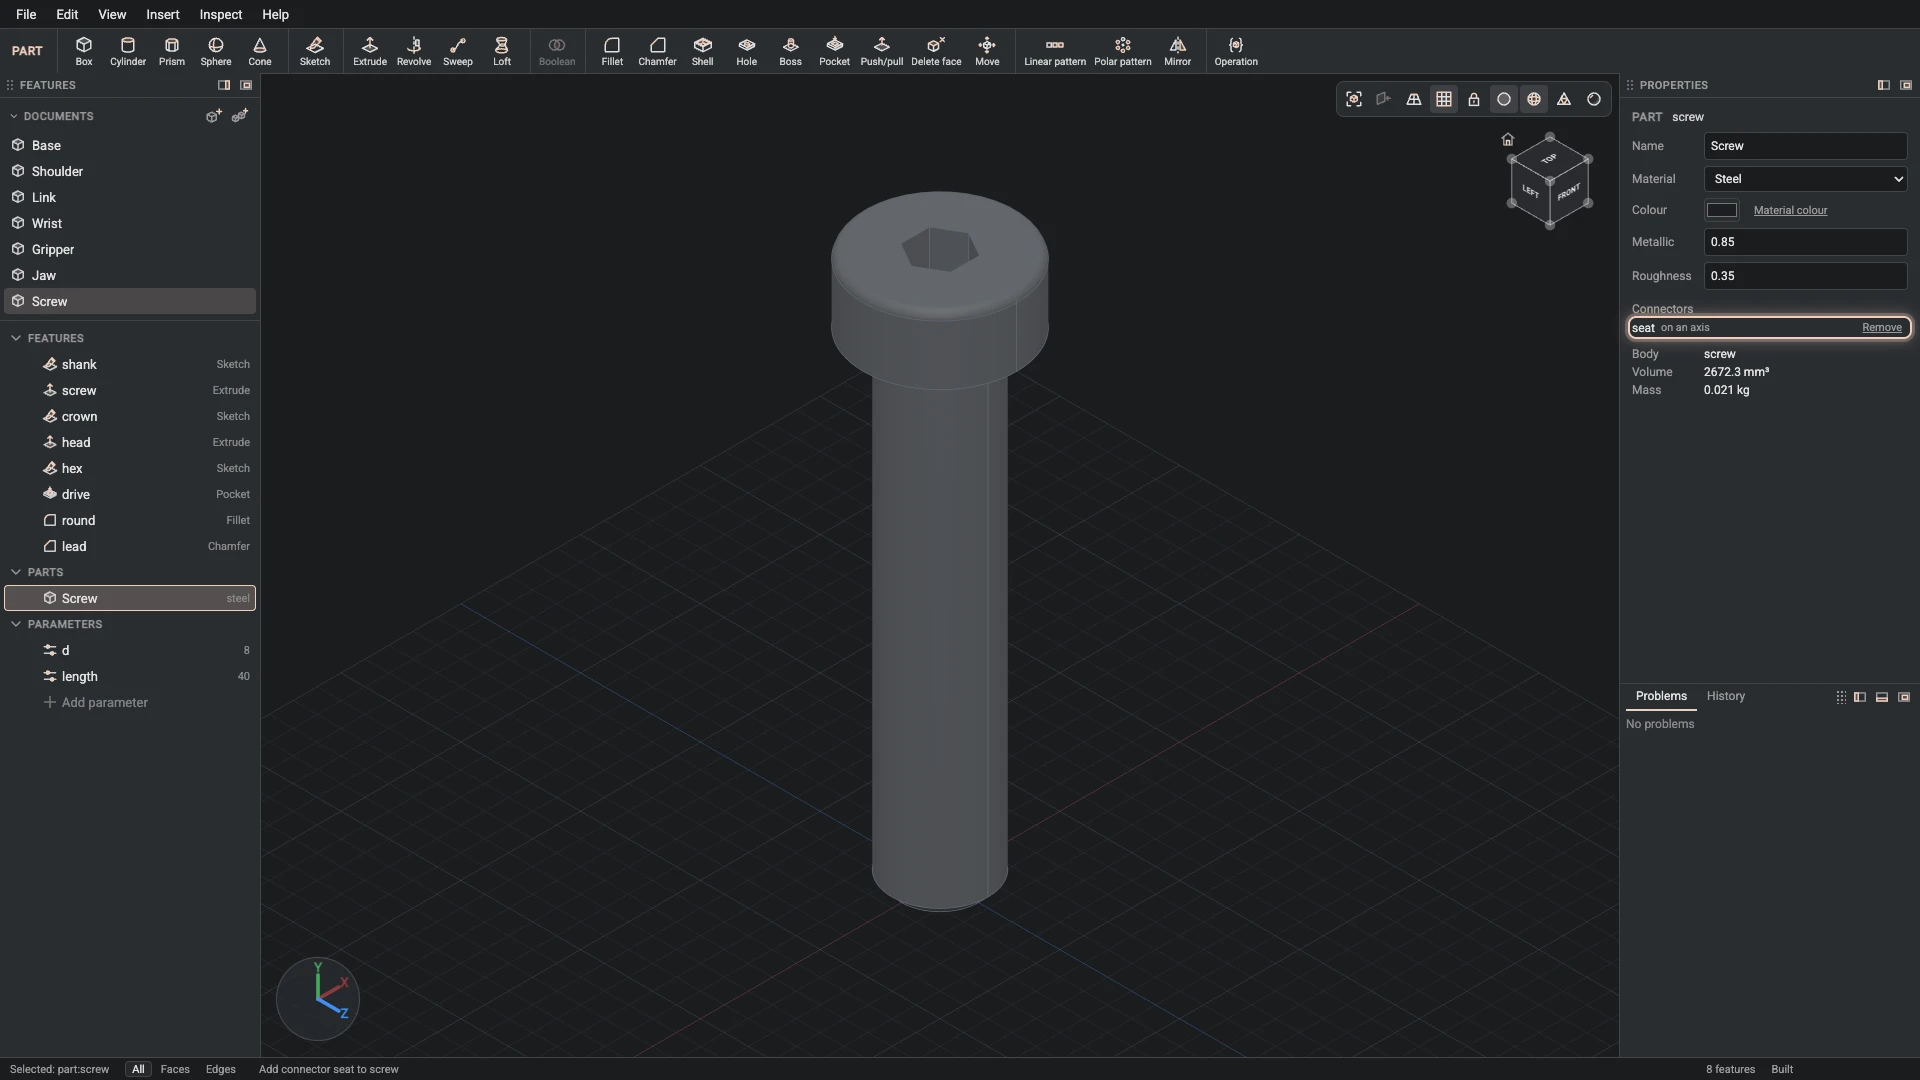
Add connector, from Insert > Add connector: part screw, id seat, on the start face of head, axis the side face of screw.
Add a connector under the head, its axis along the shank: where the head sits on what it holds. Replicating the screw onto a connector on a set of holes puts one copy in each.
Verified against the product in October 2026