Hello World in 3D
The classic first program prints "Hello World". In Rete the words stand in 3D on a grid. You add three components, change a few of their values and draw your first wire. Every step shows the editor as it looks after it, and the finished script waits at the end, ready to run on this page.
Before you start
Open an empty Rete editor in your browser, or start a Rete script in one of your projects. The tour names every part of the window.
The steps
-
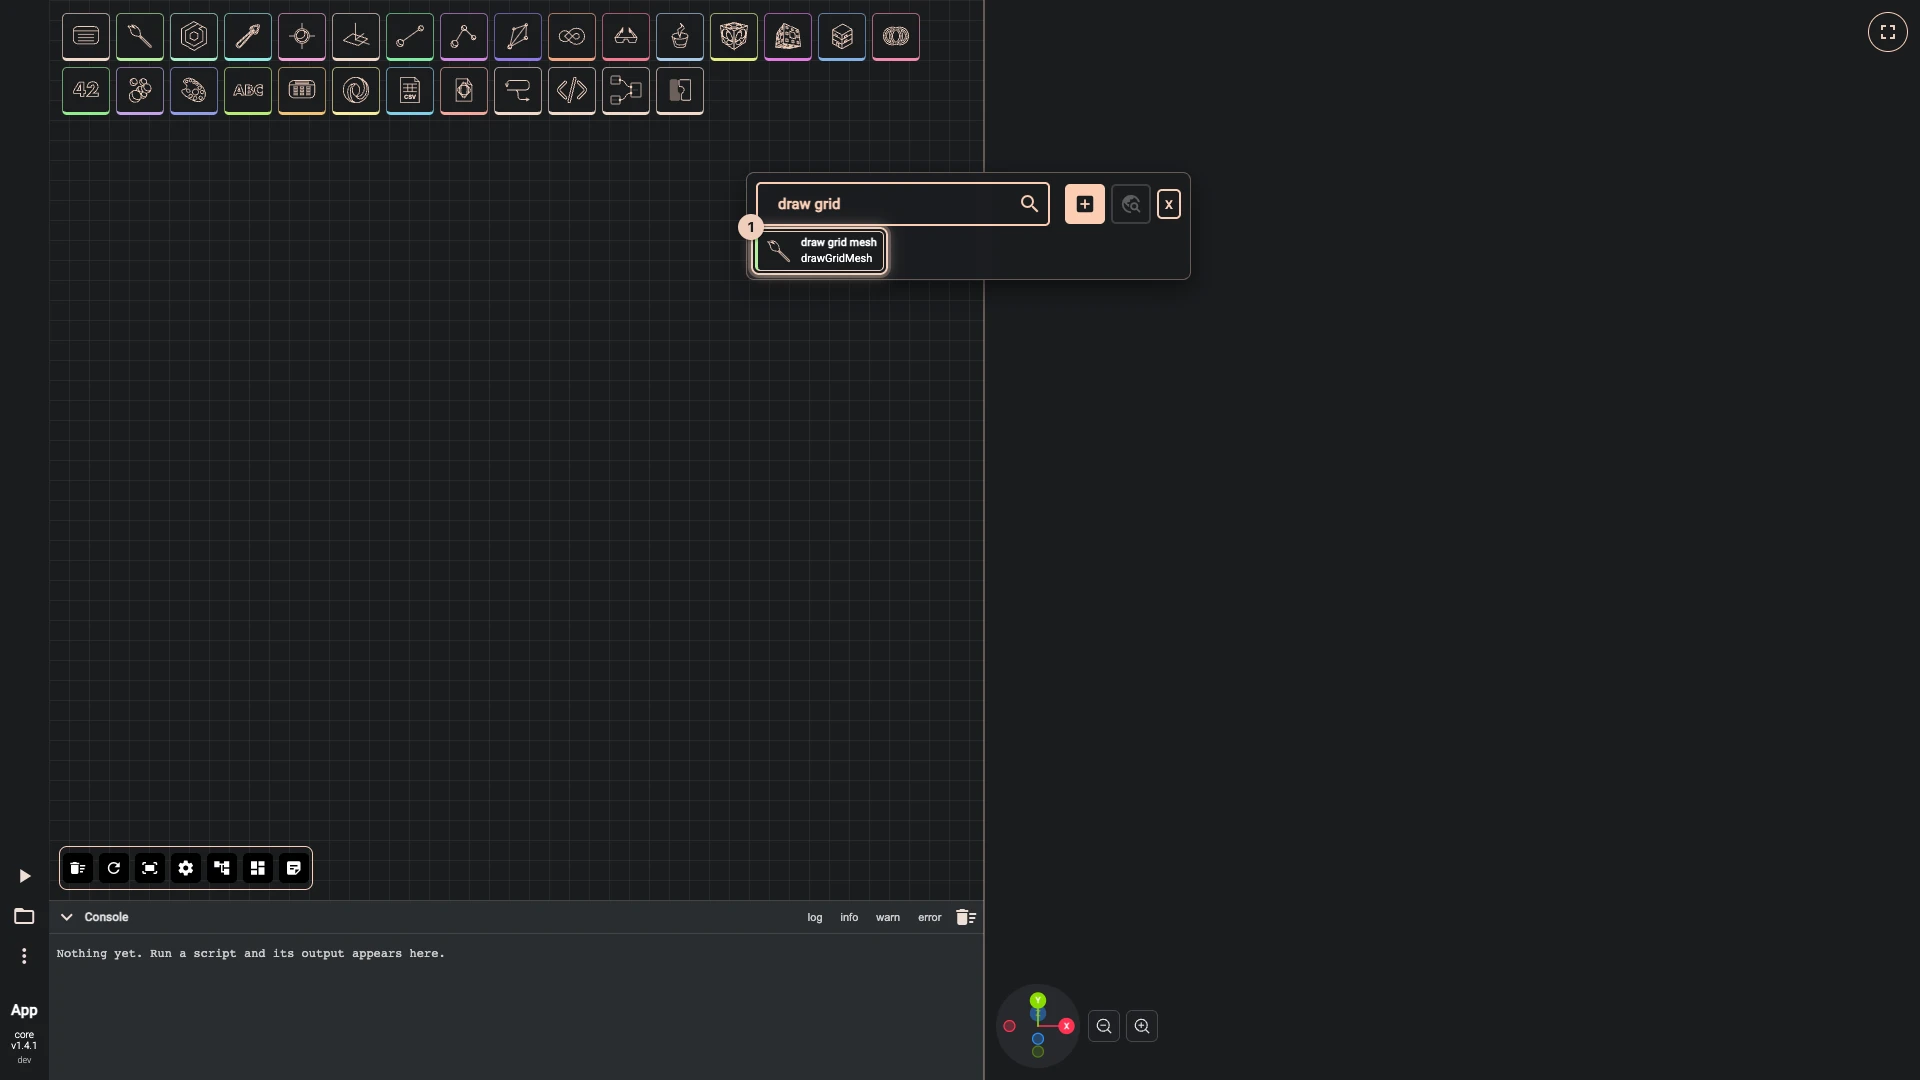
Add draw grid mesh. Right-click an empty spot on the canvas, type
draw gridinto Add components and pick draw grid mesh.A grid on the ground gives the scene a sense of scale. Its inputs already hold sensible values, so it needs no wires.
-
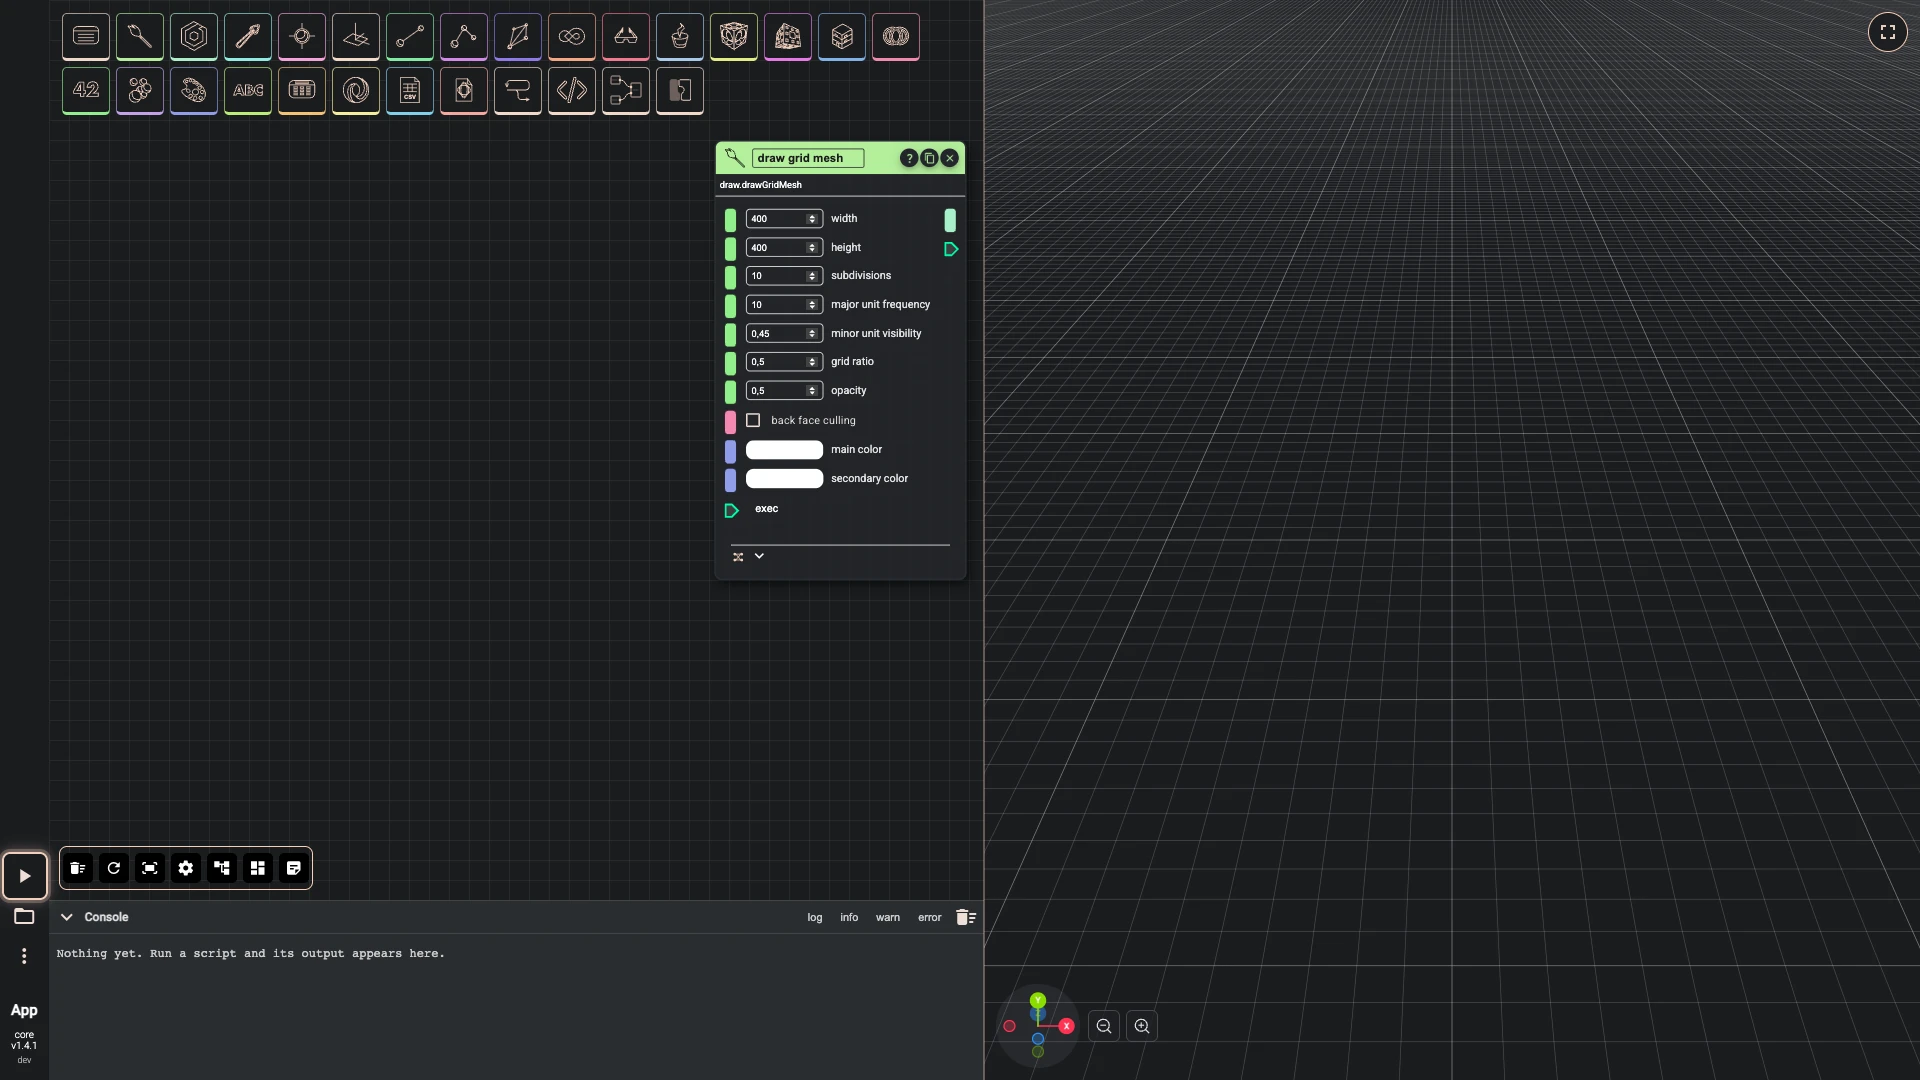
Run the script. Press Run The Code, the play button at the lower left.
A new script does not run by itself. Run it once, and from then on Rete runs again whenever you change a value or a wire.
-
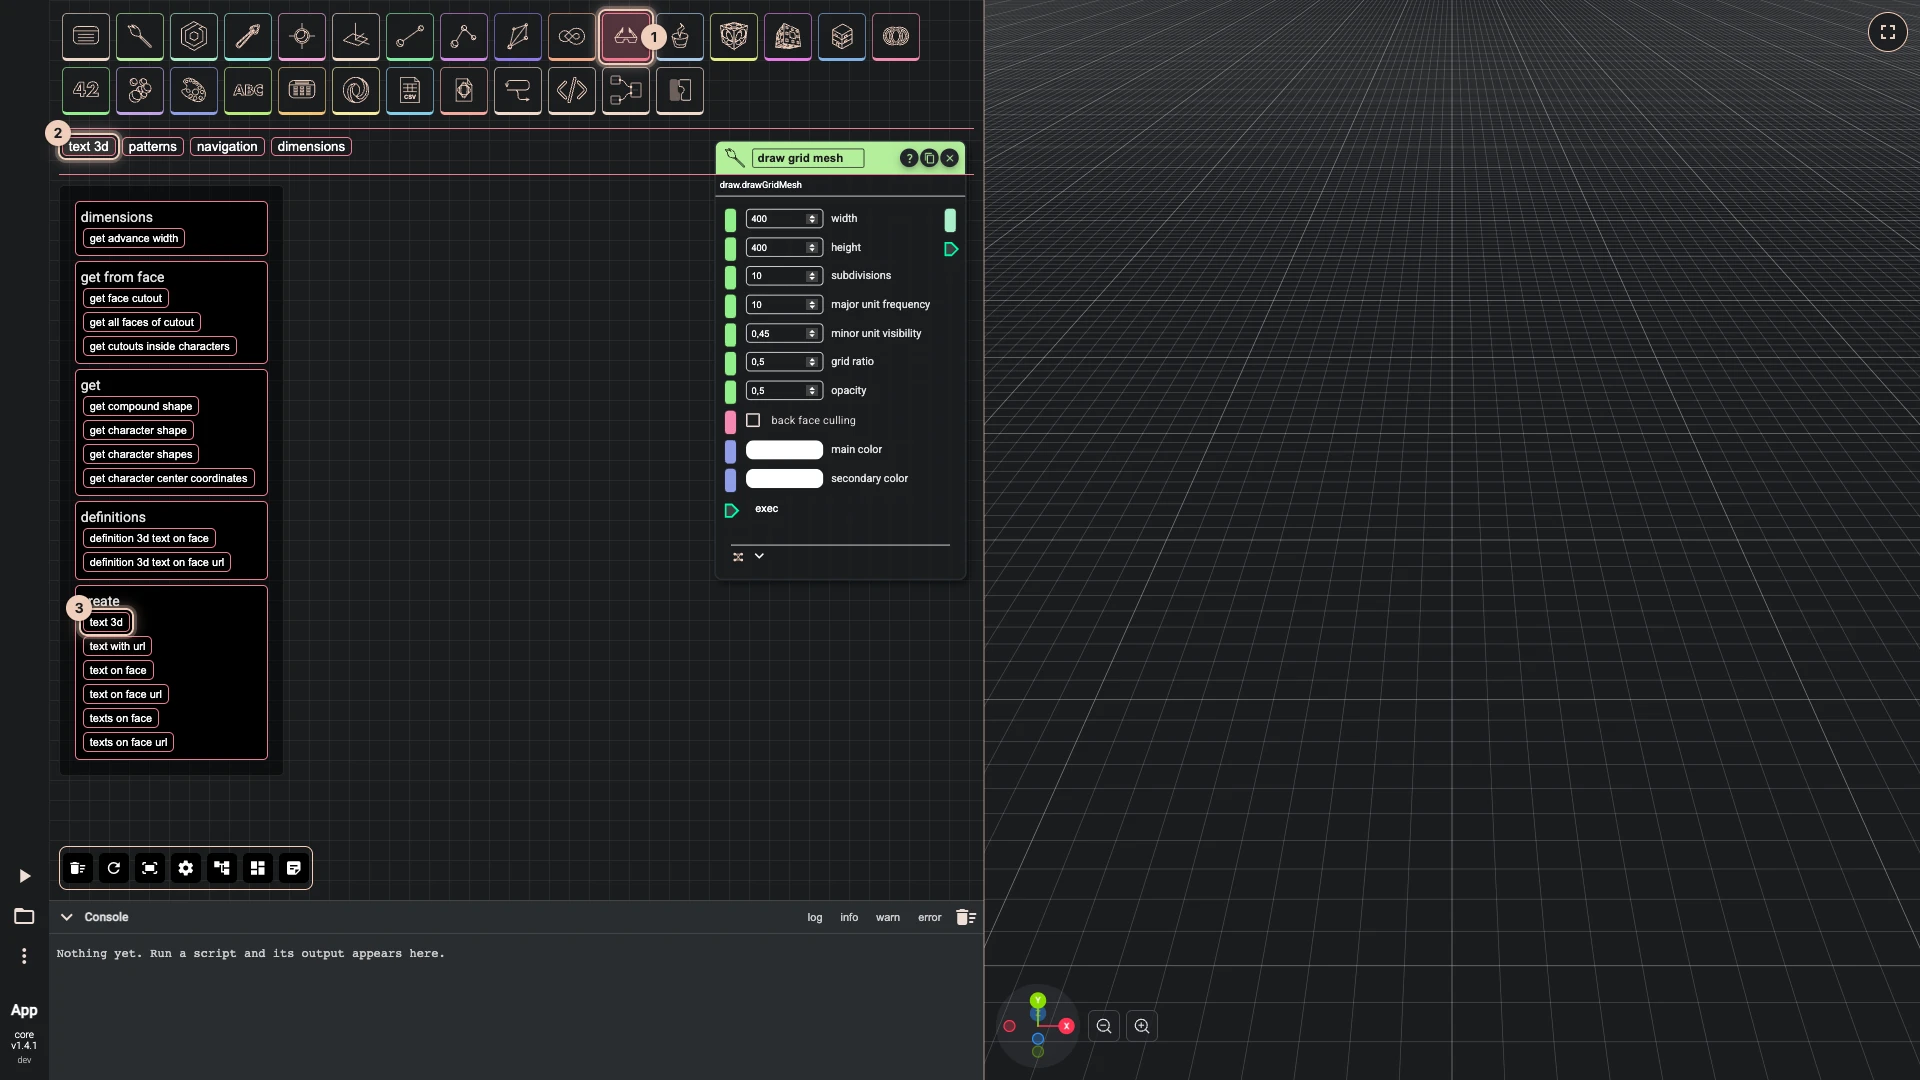
Add text 3d from the palette. Open advanced > text 3d along the top of the canvas and click text 3d under create.
This time take the component from the palette. Text 3d draws itself, so the words appear in the view as soon as it lands.
-
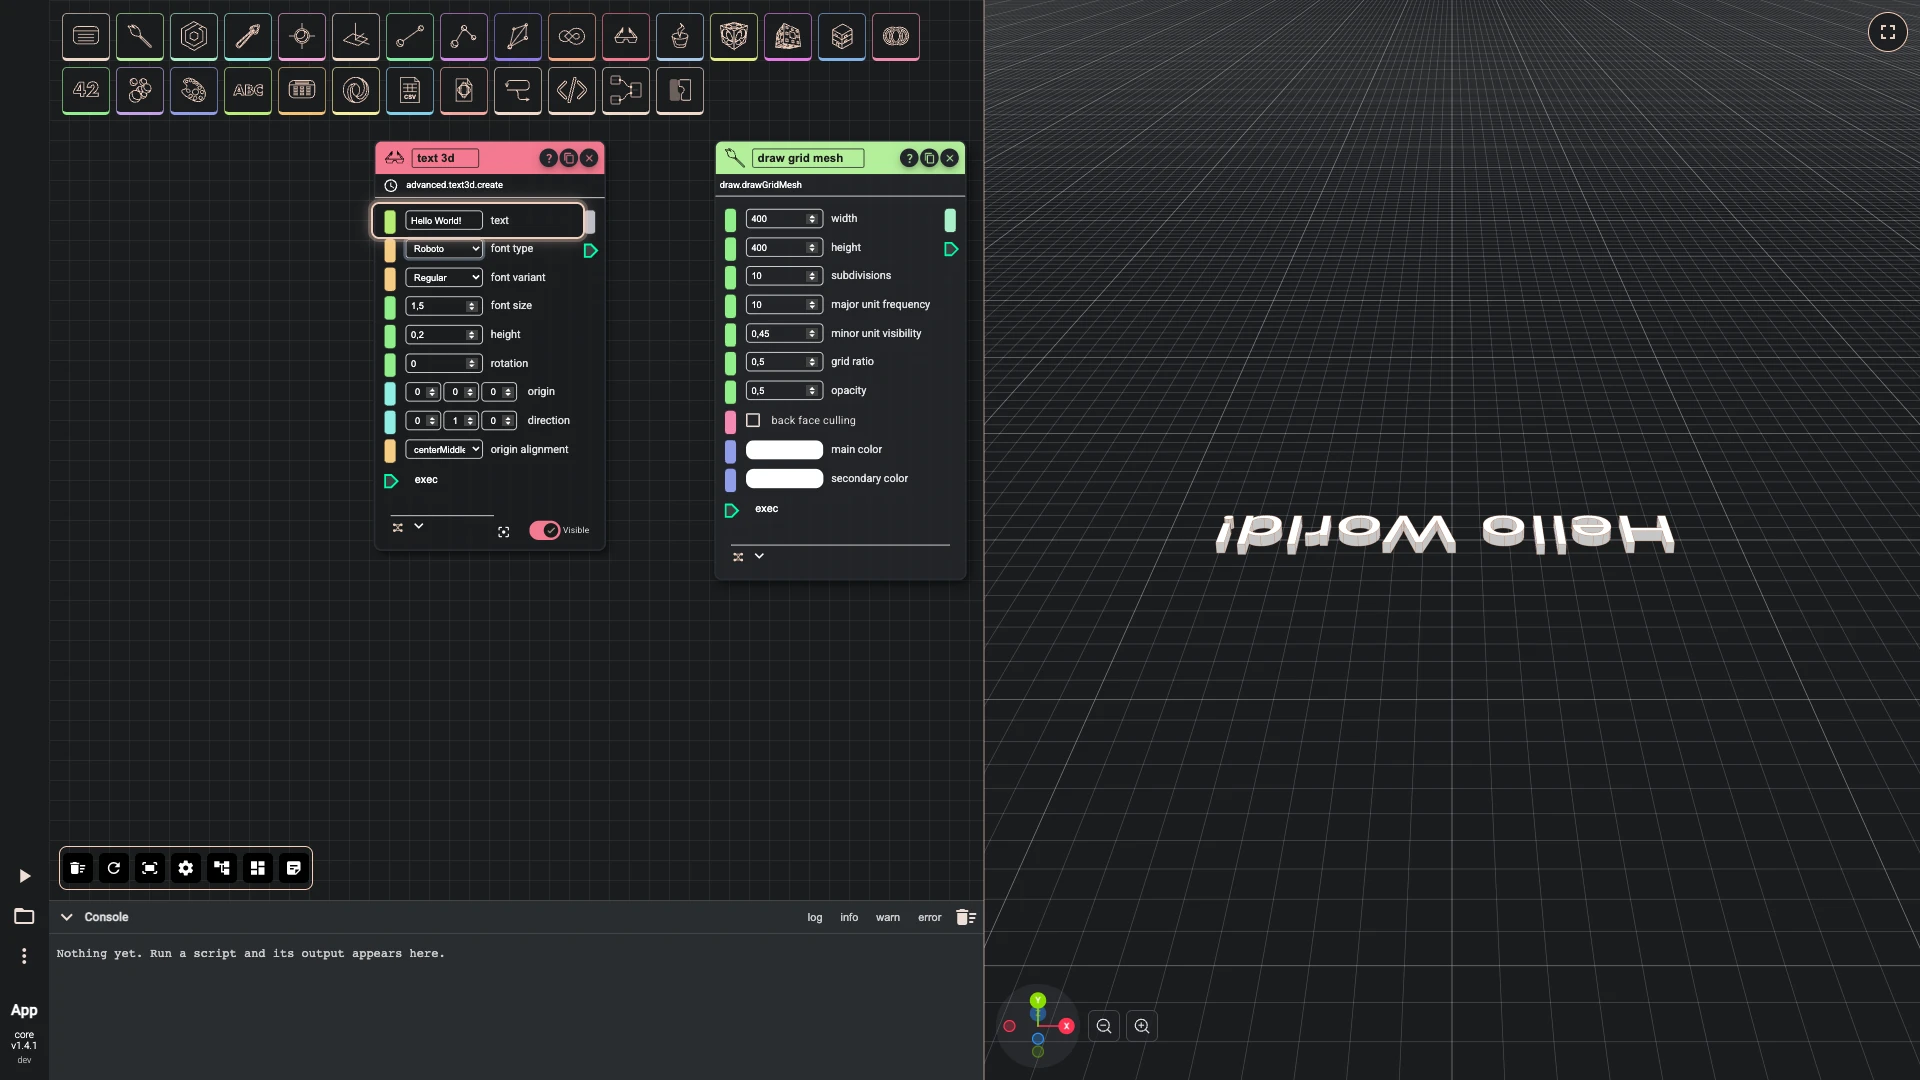
Set text to
Hello World!on text 3d.Every input without a wire has a field on the node. Type into it and the 3D text follows.
-
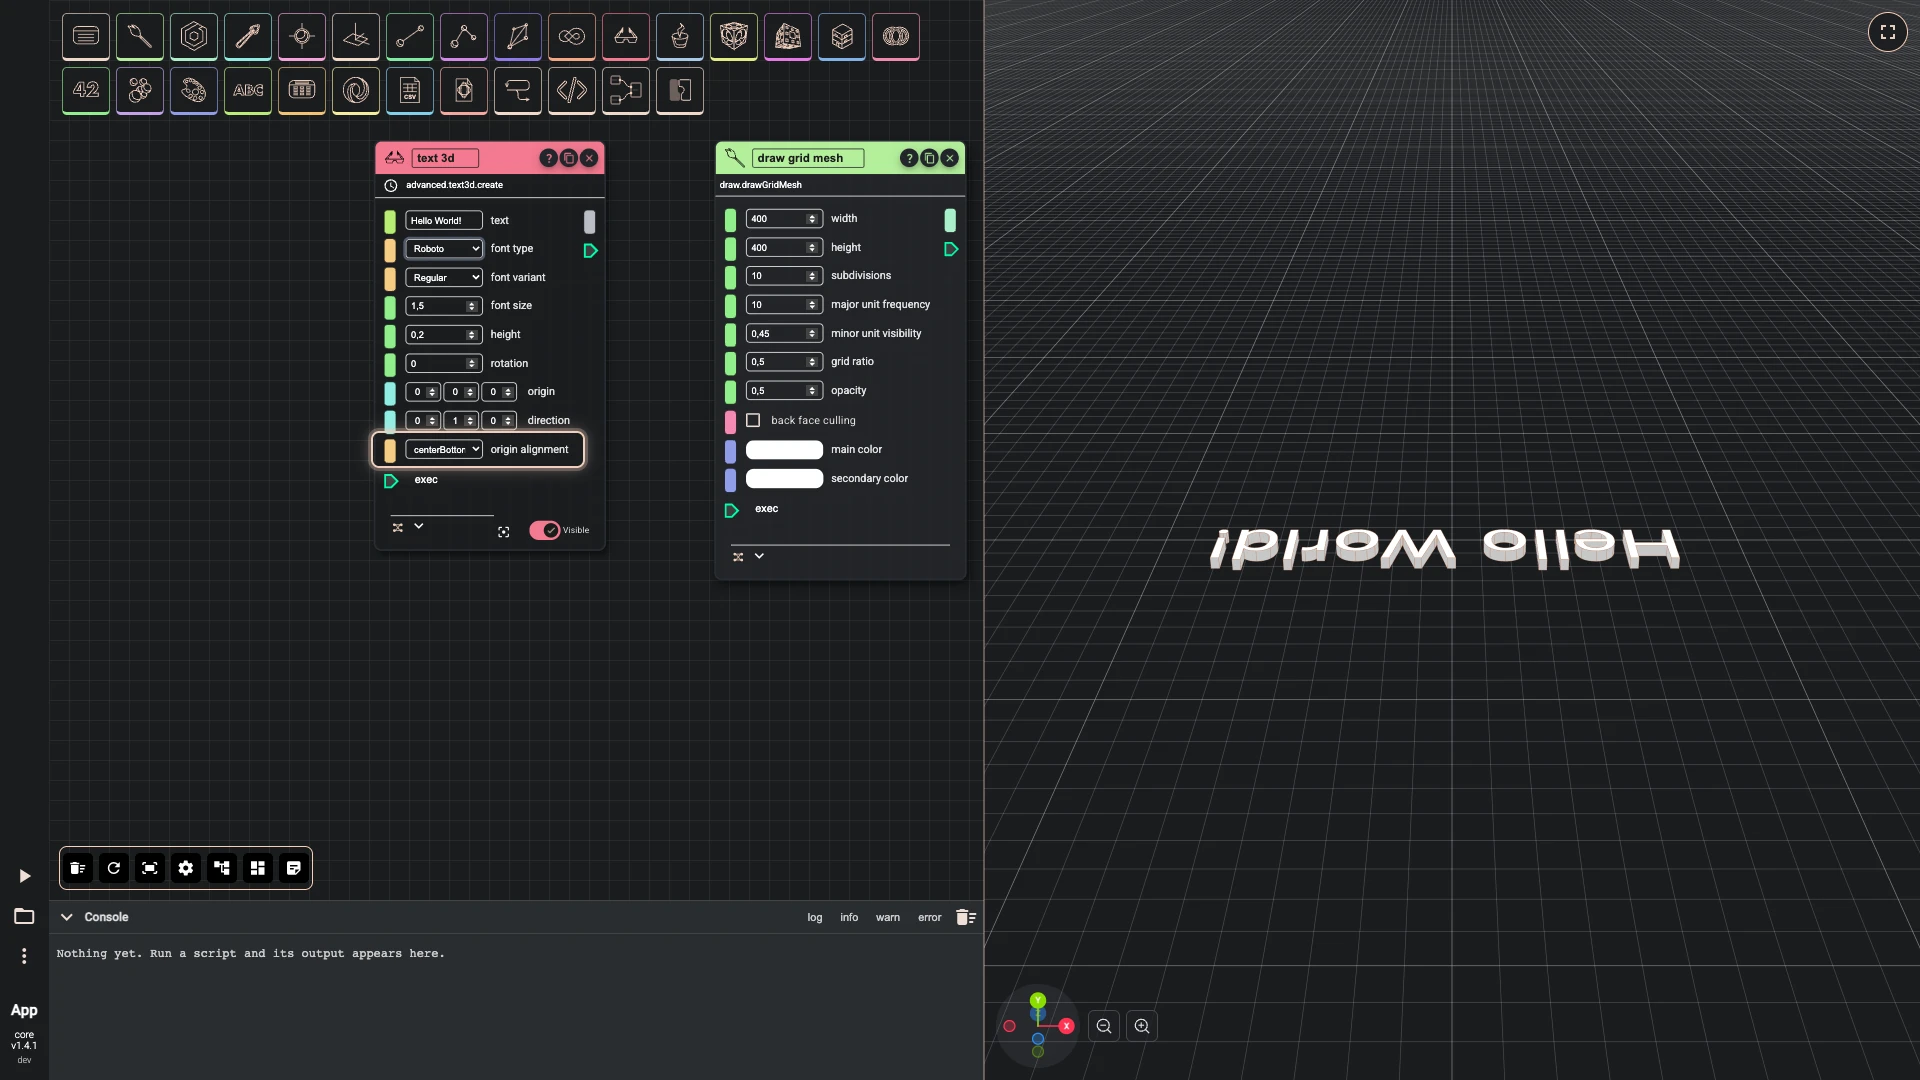
Set origin alignment to
centerBottomon text 3d.Centre the words over the origin, standing on their baseline.
-
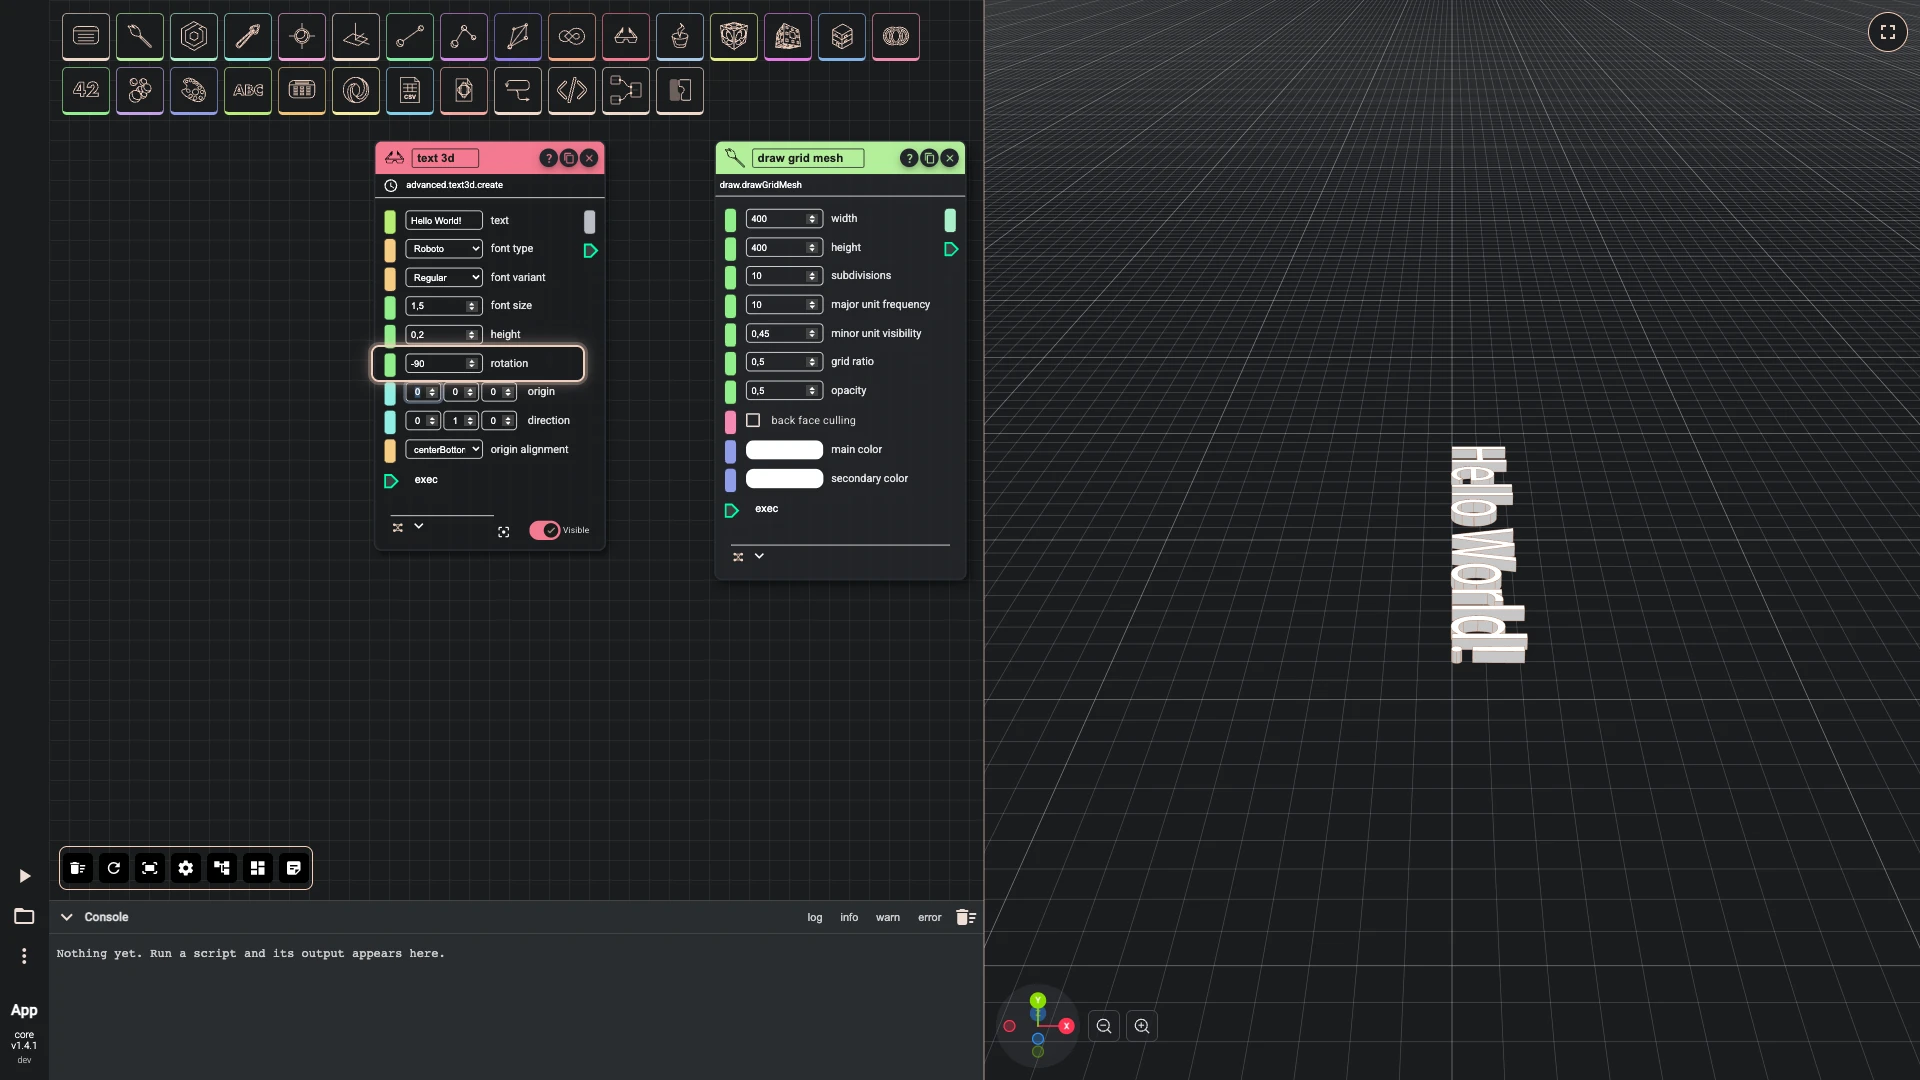
Set rotation to
-90on text 3d.Turn the text so that it stands up from the grid.
-
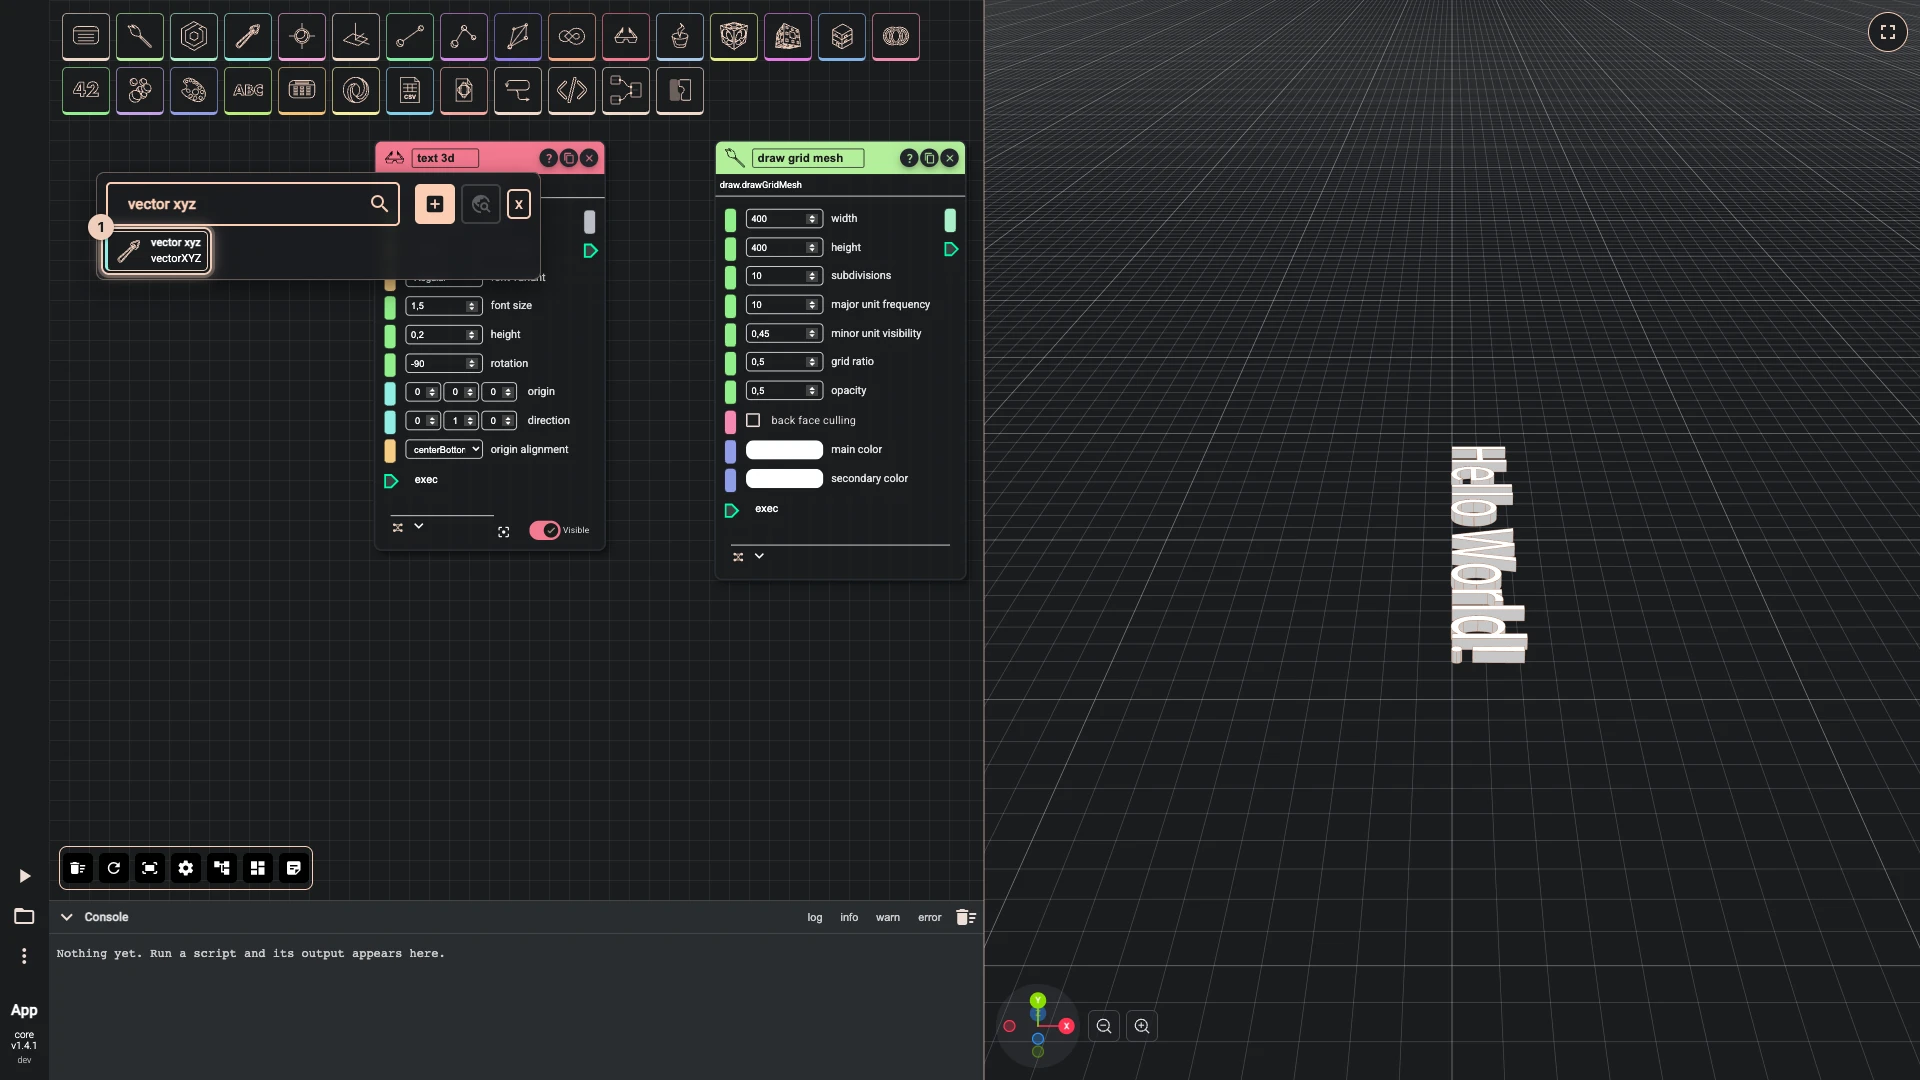
Add vector xyz. Right-click an empty spot on the canvas, type
vector xyzinto Add components and pick vector xyz.A vector says which way the text faces. Search finds a component by any part of its name or its path.
-
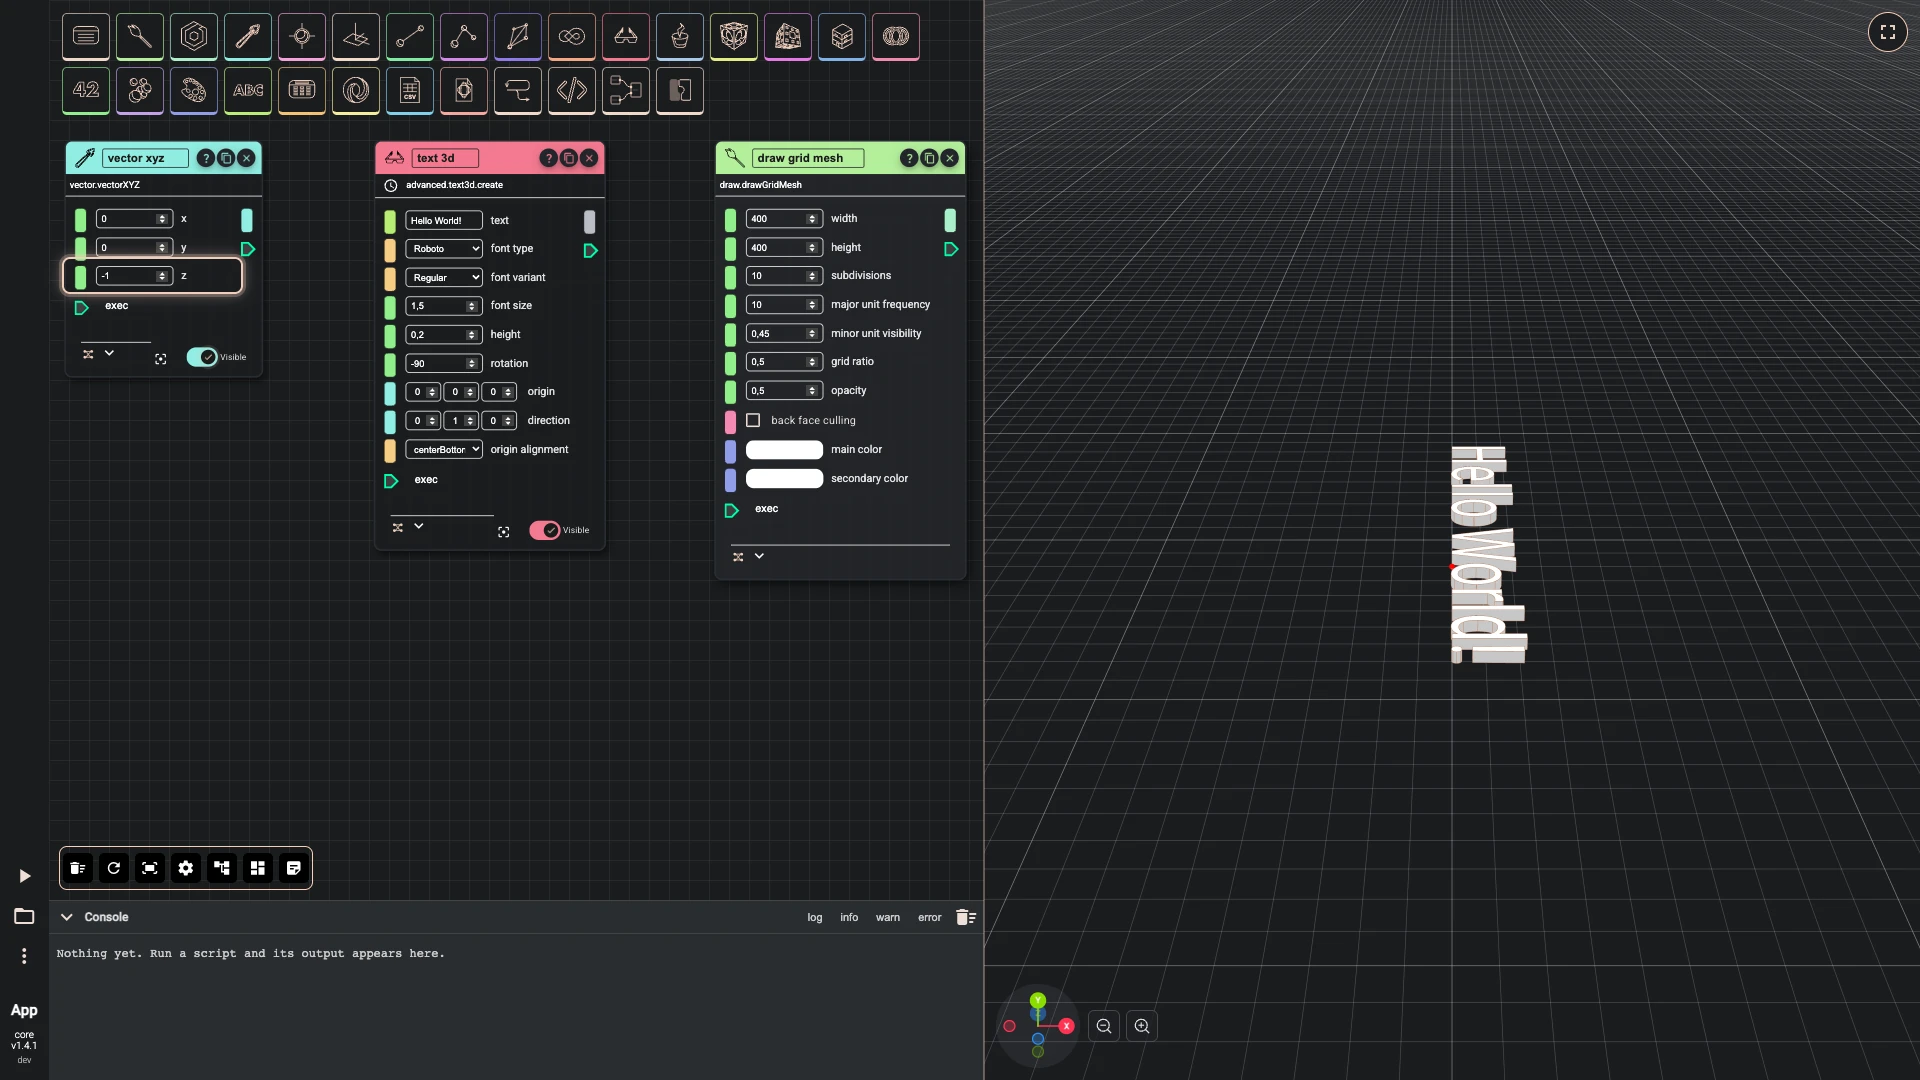
Set z to
-1on vector xyz.Point the vector towards the default camera.
-
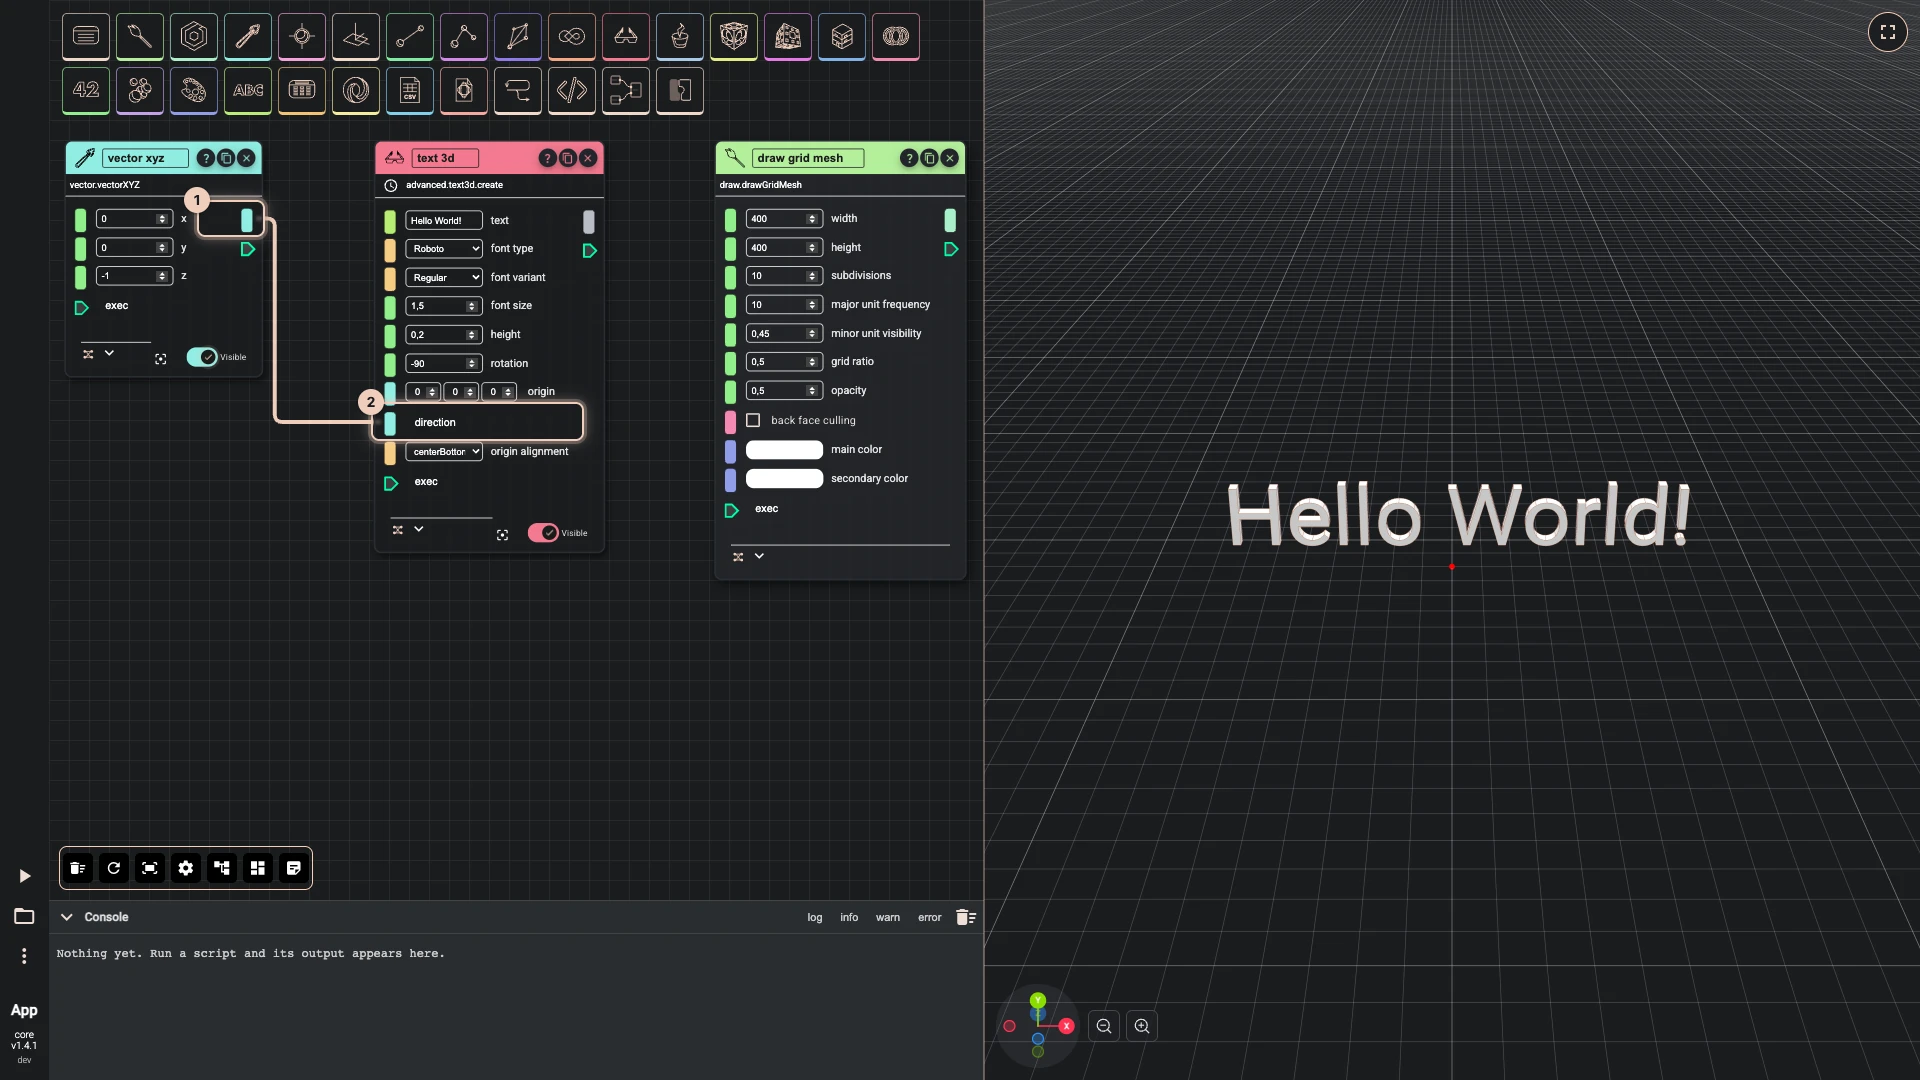
Connect vector xyz to the direction of text 3d. Drag from the output on the right of vector xyz to the direction input of text 3d.
A wired input hides its field, because the wire now gives its value. The text turns to face you.
The finished script
The script these steps build, to run here:


{
  "id": "rete-v2-json",
  "nodes": {
    "grid": {
      "id": "grid",
      "name": "bitbybit.draw.drawGridMesh",
      "customName": "draw grid mesh",
      "async": false,
      "drawable": false,
      "data": {
        "genericNodeData": {
          "hide": false,
          "oneOnOne": false,
          "flatten": 0,
          "forceExecution": false
        },
        "width": 400,
        "height": 400,
        "subdivisions": 10,
        "majorUnitFrequency": 10,
        "minorUnitVisibility": 0.45,
        "gridRatio": 0.5,
        "opacity": 0.5,
        "backFaceCulling": false,
        "mainColor": "#ffffff",
        "secondaryColor": "#ffffff"
      },
      "inputs": {},
      "position": [
        860,
        140
      ]
    },
    "text": {
      "id": "text",
      "name": "bitbybit.advanced.text3d.create",
      "customName": "text 3d",
      "async": true,
      "drawable": true,
      "data": {
        "genericNodeData": {
          "hide": false,
          "oneOnOne": false,
          "flatten": 0,
          "forceExecution": false
        },
        "text": "Hello World!",
        "fontType": "Roboto",
        "fontVariant": "Regular",
        "fontSize": 1.5,
        "height": 0.2,
        "rotation": -90,
        "origin": [
          0,
          0,
          0
        ],
        "direction": [
          0,
          1,
          0
        ],
        "originAlignment": "centerBottom"
      },
      "inputs": {
        "direction": {
          "connections": [
            {
              "node": "direction",
              "output": "result",
              "data": {}
            }
          ]
        }
      },
      "position": [
        420,
        140
      ]
    },
    "direction": {
      "id": "direction",
      "name": "bitbybit.vector.vectorXYZ",
      "customName": "vector xyz",
      "async": false,
      "drawable": true,
      "data": {
        "genericNodeData": {
          "hide": false,
          "oneOnOne": false,
          "flatten": 0,
          "forceExecution": false
        },
        "x": 0,
        "y": 0,
        "z": -1
      },
      "inputs": {},
      "position": [
        20,
        140
      ]
    }
  },
  "modules": {}
}
What you learned
- Two ways to add a component: search with a right-click on the canvas, or open its category in the palette. Adding components has more.
- Fields and wires: an input without a wire has a field on the node, and a wire takes the field's place. Nodes, wires and values explains both.
- Running: Run The Code once, and Rete runs again by itself after every change.
Next, a parametric cube wires a slider into a solid.
Verified against the product in October 2026