The "BITBYBIT VIEWER" Block for Shopify (No-Code)
The BITBYBIT VIEWER is a theme app extension block provided by the 3D Bits app for Shopify. It renders a product's 3D scene in the exact spot in your template where you place it.
Nearly everything about the scene itself is built in Composer, the app's visual editor, and published from there. The block's job today is placement, not configuration.
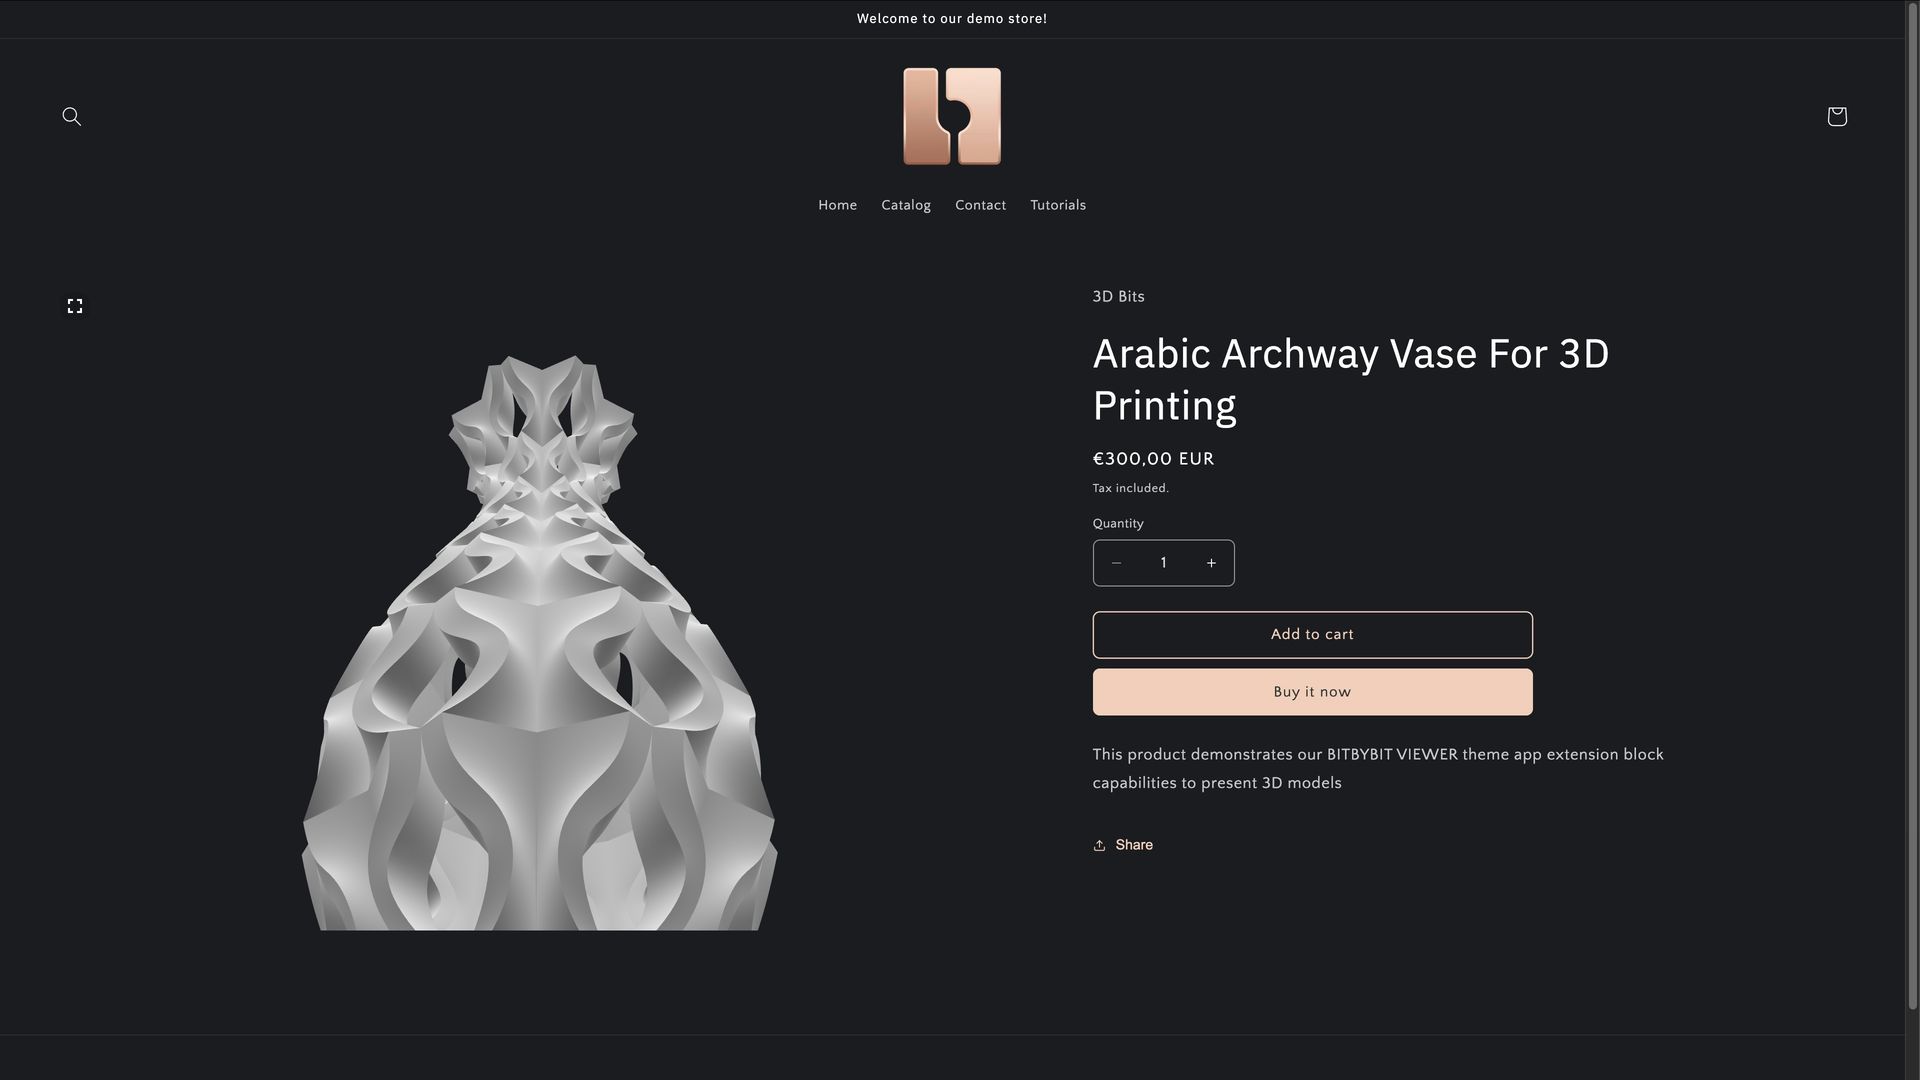 Demo store product that uses the BITBYBIT VIEWER block.
The route most stores use now
Three steps, none of which involve copying anything by hand.
- Build the scene in Composer. Upload your models, wire them to product options, style the option panel. Composer covers this.
- Link the products the project belongs to, on the project's page in the 3D Bits admin.
- Publish. Publishing uploads your scene as a file and points every linked product at it, together with the project's storefront settings.
At that point the app embed already draws the configurator on those product pages, and you need no block at all.
You add this block when you want the 3D view somewhere the embed's placement setting cannot reach. Set the project's Placement on the product page to Theme template blocks in its Storefront settings, publish, then add a BITBYBIT VIEWER block to the product template. The embed stands down for those products so the two never draw over each other. Switching a project to blocks has the details, including the one way it can leave a page blank.
When the block's Scene JSON Configuration setting is empty, it uses whatever the product's published project provides. You do not need to link it to a metafield yourself any more. Computed pricing, option availability and a paused configurator come across with it.
To spread the option panel around the template as well, add GUI CONTROLS blocks beside it.
Examples
Here are a few examples from our demo store that use the BITBYBIT VIEWER block:
- Viewer with Model URL only (Arabic Archway Vase)
- Configurable 3D Chair Product (using Scene Config JSON for variants)
- Viewer with Scene Config JSON (Serenity Swirl Vases)
Supported 3D Model Formats
The BITBYBIT VIEWER block supports the following 3D model formats:
gltf, glb, splat, ply, obj, stl
The same six extensions Composer accepts. Supported Formats compares what each one can do.
Manual route (legacy / advanced)
Before the app could publish projects, this block was configured entirely by hand: you pasted a model URL or a scene configuration into a product metafield, and linked the block's settings to those metafields in the theme editor. That route still works, and the rest of this page describes it.
The app embed only renders products that carry a project published from the app. A product you configure by hand needs a BITBYBIT VIEWER block placed in its template - without one, nothing appears on the page.
How Does It Work? (Basic Setup - Single Model)
-
Upload your 3D model:
- Upload your 3D model file (for example a
.glbor.gltffile) to the Shopify CDN, under Content then Files in your Shopify admin, or to any other publicly accessible cloud storage. - Obtain the direct public URL to this file.
- Upload your 3D model file (for example a
-
Configure in Shopify ("3D Bits" app): Assuming you have already installed the "3D Bits" app in your Shopify store:
-
Product template and metafield linking:
- Create or edit a product template in your Shopify theme customizer.
- Add the BITBYBIT VIEWER block from the "3D Bits" app to this template.
- In the block's settings, dynamically link the "Model URL" setting of the block to the product metafield named "3D Bits Model Url". This metafield is provided by our app - see Metafields.
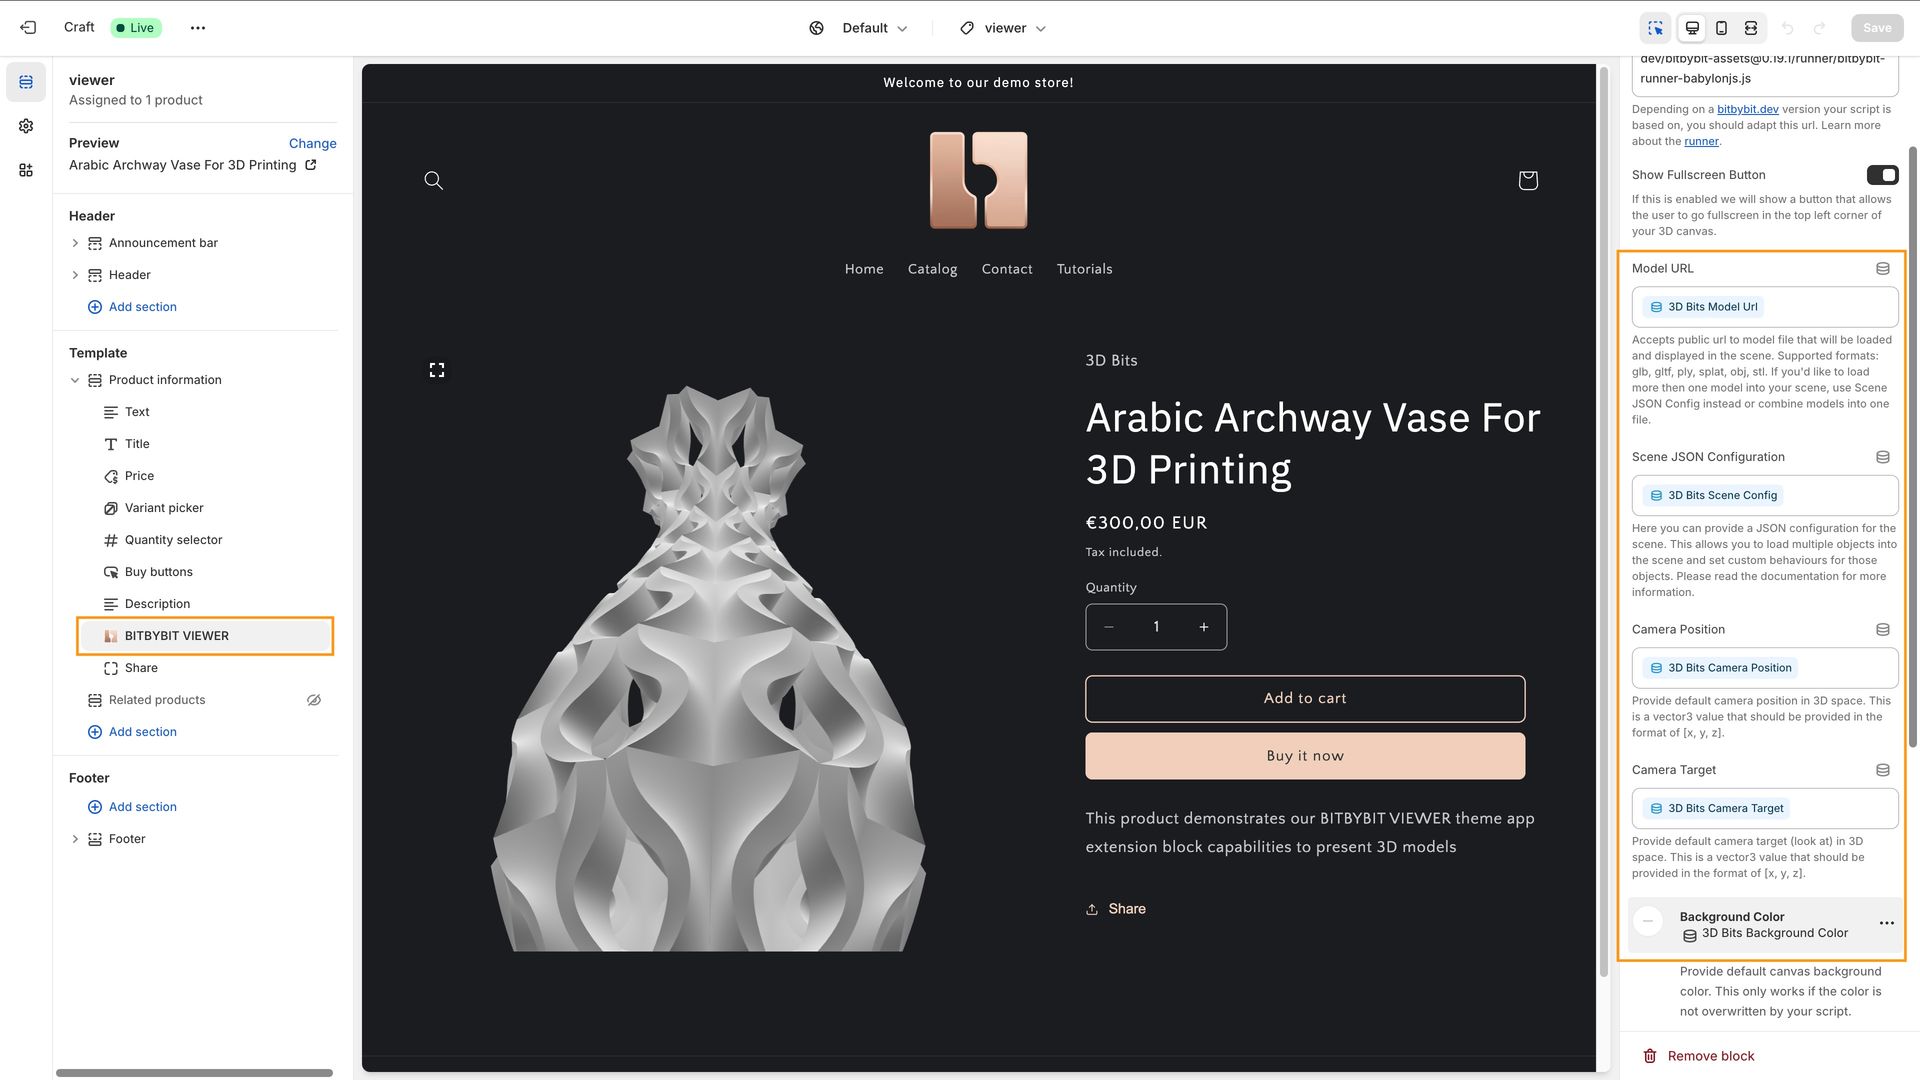 BITBYBIT VIEWER block after dynamically linking settings to metafields.
 -
Enter the model URL in the product's metafields:
- Navigate to the specific product in your Shopify admin where you want to display the 3D model.
- Find the "Metafields" section for that product.
- Locate the "3D Bits Model Url" metafield.
- Paste the public URL of your 3D model file into this metafield.
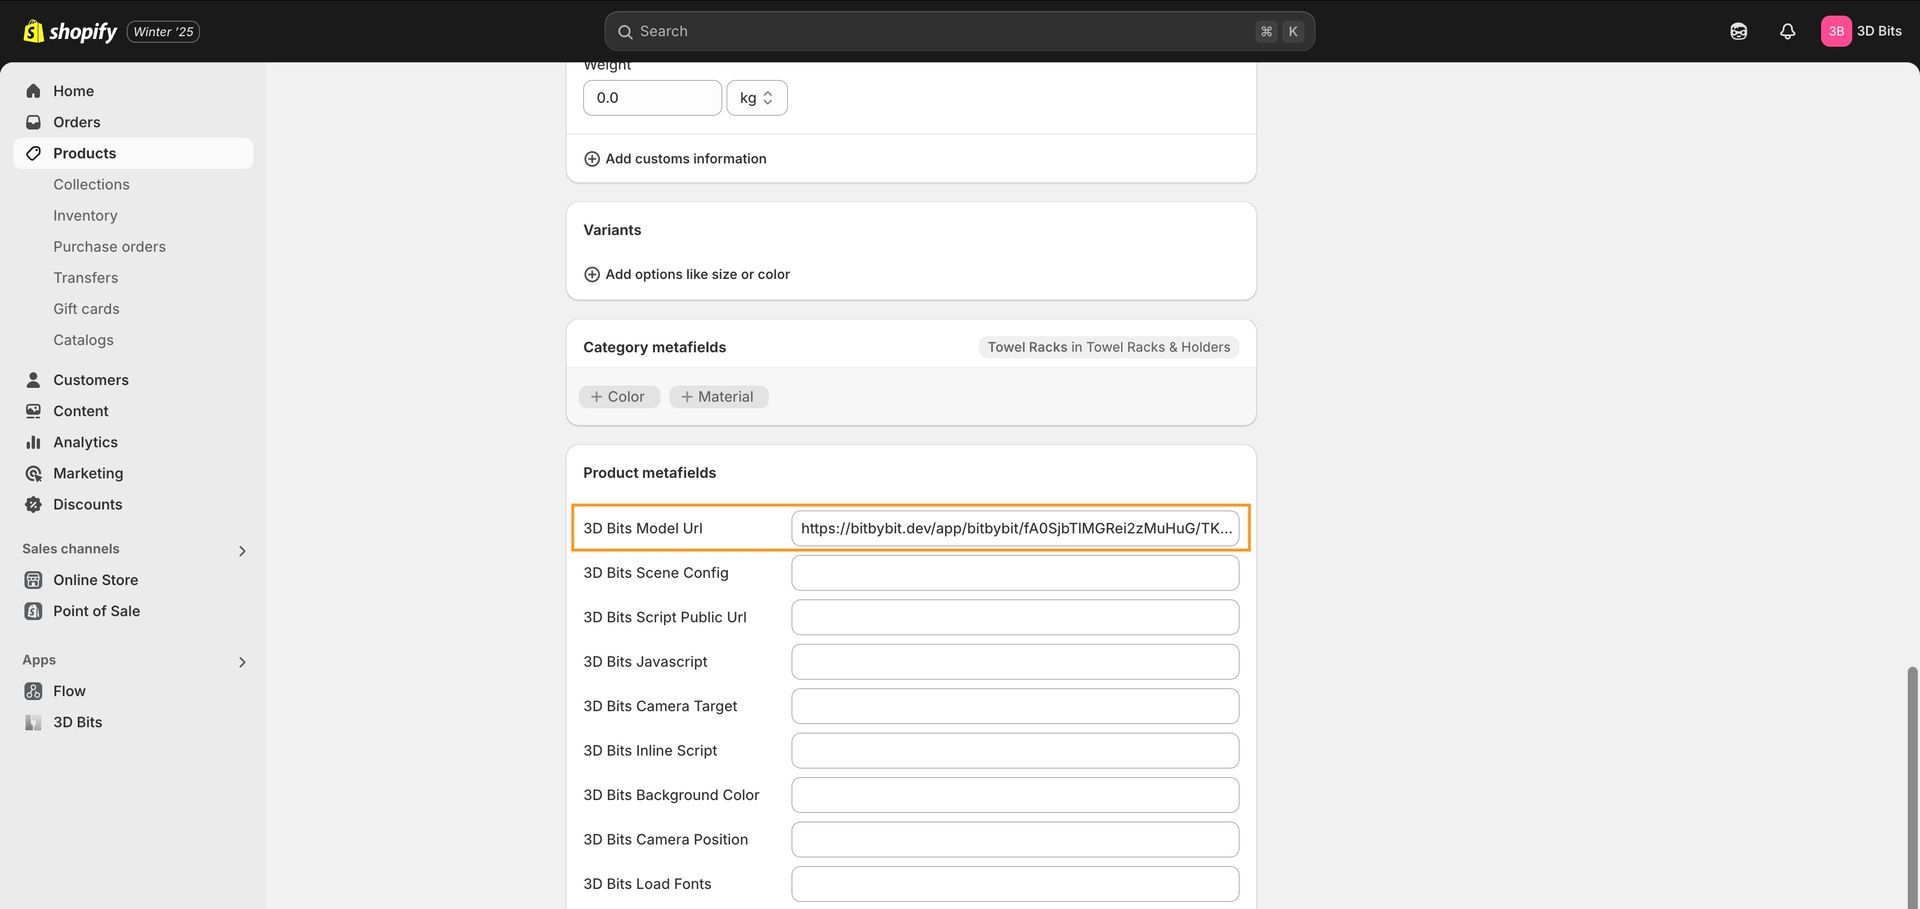 Paste your file URL into this metafield.
After completing these steps and previewing your product page, you should see the 3D model displayed.
-
Building More Complex 3D Experiences with Composer
Loading a single model is often not enough. You might want to:
- Customise camera settings (initial position, target, field of view).
- Set up specific lighting (types, intensity, colour, position).
- Enable a skybox for realistic environment reflections.
- Load multiple 3D models into the same scene.
- Make different 3D models or their properties react to product options, for example showing a red chair for the "Red" option and a blue one for "Blue".
- Define points of interest.
All of that is a scene configuration, and Composer is the visual editor that writes it for you. Publishing a project is the normal way to get it onto a product, as described at the top of this page. The steps below are the manual alternative, for a product you are configuring by hand.
In-depth tutorial: Composer and a chair configurator This tutorial walks through Composer and an interactive 3D chair configurator:
Composer interface: Here is how Composer looks within the "3D Bits" app:
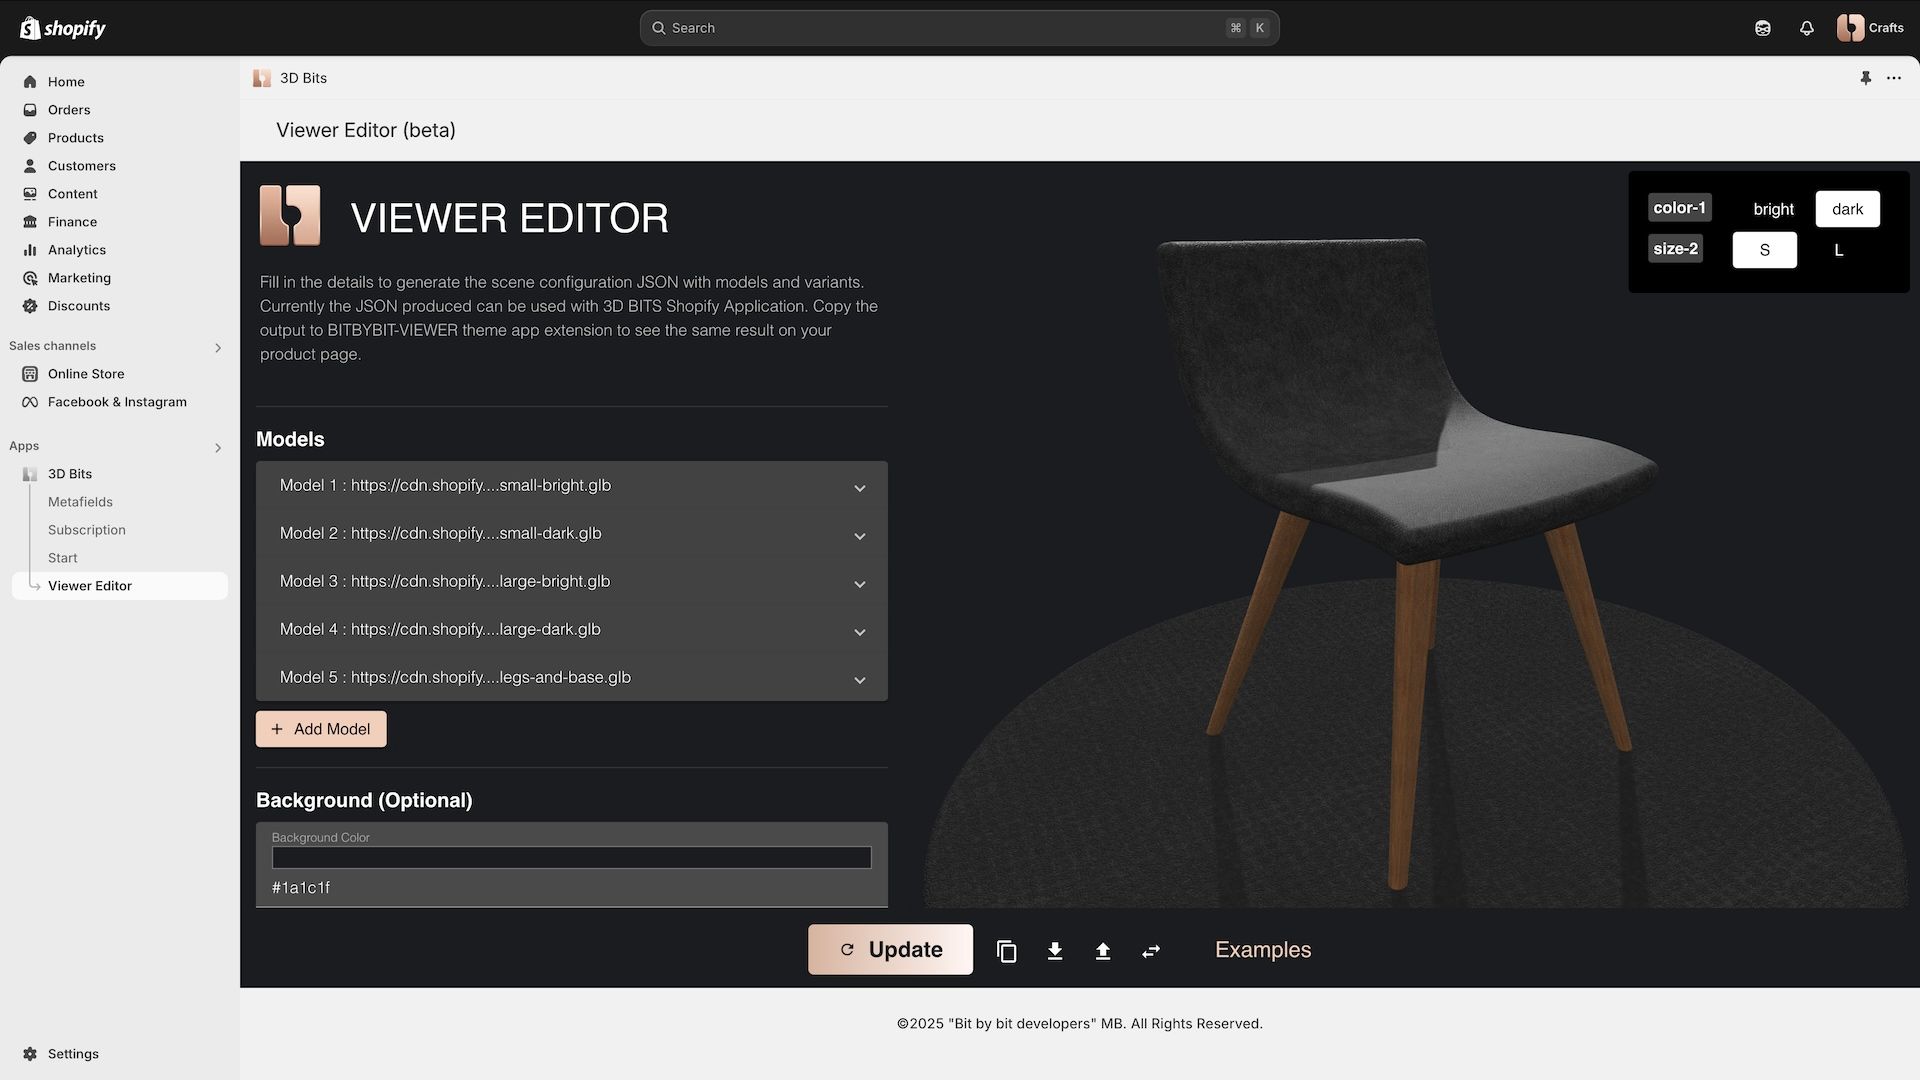 Composer, where 3D scene configurations are built.
Using the scene configuration by hand:
-
Use Composer to create your scene configuration.
-
Download or copy the JSON it produces.
-
In your Shopify product admin, paste it into the product metafield named "3D Bits Scene Config".
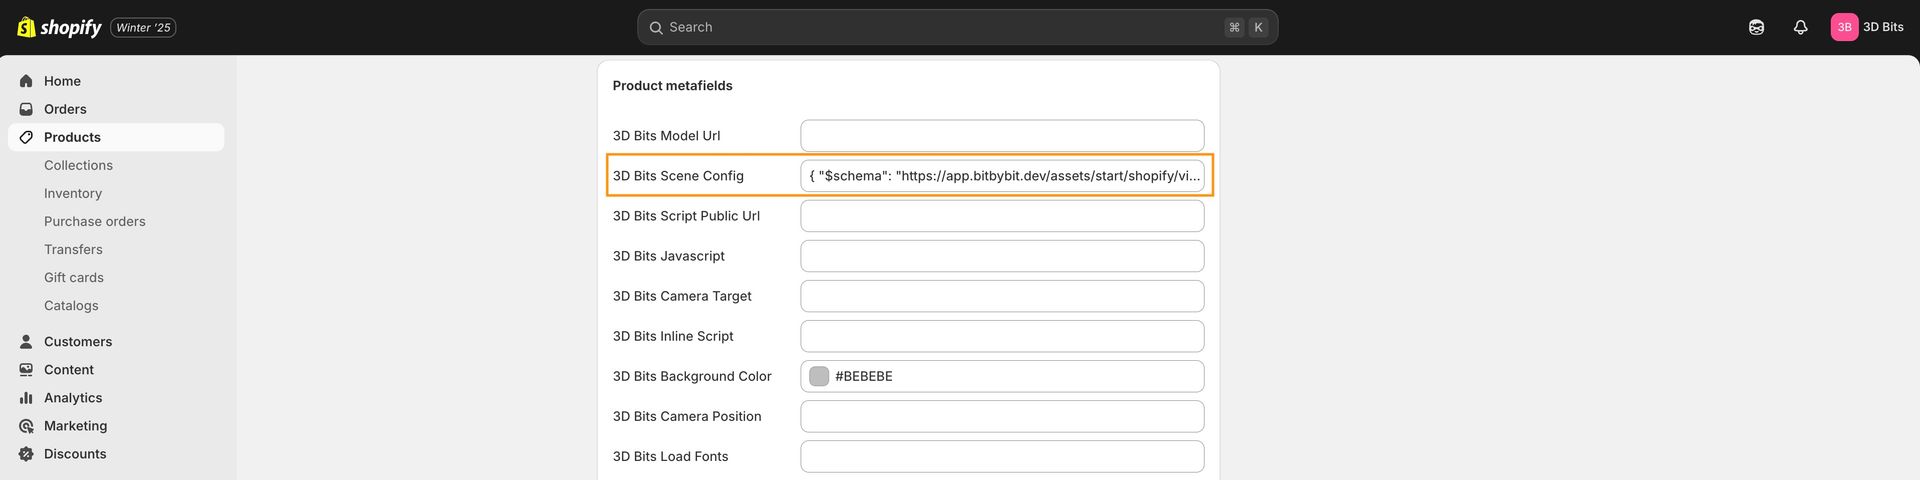 Paste your Scene Configuration JSON into this metafield.
The block picks this up on its own as long as its Scene JSON Configuration setting is left empty. You can also link that setting to the metafield explicitly, which older setups did.
Example output with a scene configuration:
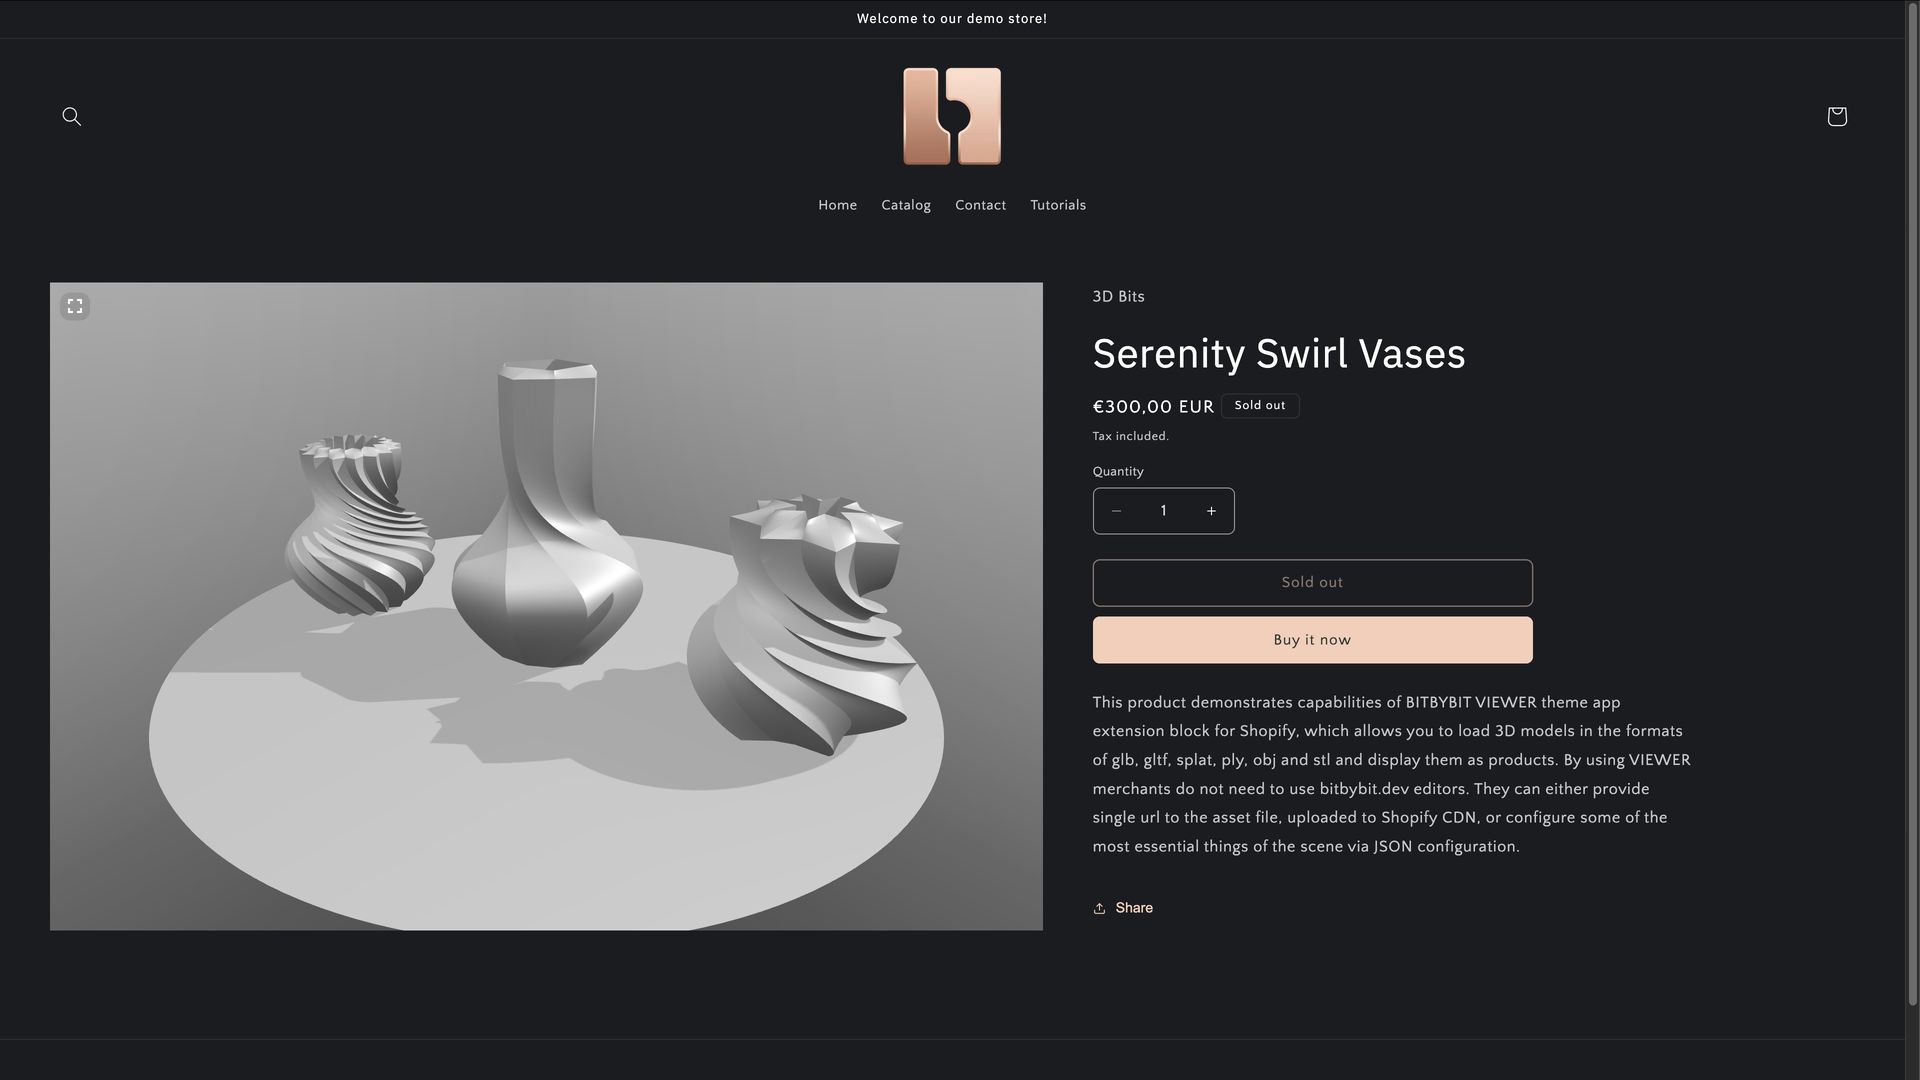 Demo store product that uses the BITBYBIT VIEWER block and Scene Configuration metafield.
What if JSON is too large for the metafield?
Save your scene configuration as a file, upload it to the Shopify CDN, then paste the file's URL into the metafield instead of the JSON. 3D Bits recognises a URL and loads the file's contents. This is also what publishing a project does for you.
Editing the Scene Config JSON
Composer is the recommended way to create and manage a scene configuration, but you can also edit the JSON directly in any text editor. For syntax highlighting and autocompletion we provide a JSON schema.
- JSON Schema: you can find the schema [here](https://app-store.bitbybit.dev/files/ecommerce/viewer-editor/viewer-scene-schema-v1.3.0.json). This link points to version
<Version />. The schema is updated as the app gains features, so refer to the version that matches your "3D Bits" app. Many modern code editors, such as VS Code, use this schema to validate and autocomplete as you type.
Video Tutorial: BITBYBIT VIEWER Block Setup
For a step-by-step guide to setting up and using the BITBYBIT VIEWER block, watch this tutorial: