Composer
Composer is where you build a configurator. Your 3D models, the options your shoppers pick, the rules between those options, the prices, and how the whole thing looks. All of it in one editor, and none of it requires code.
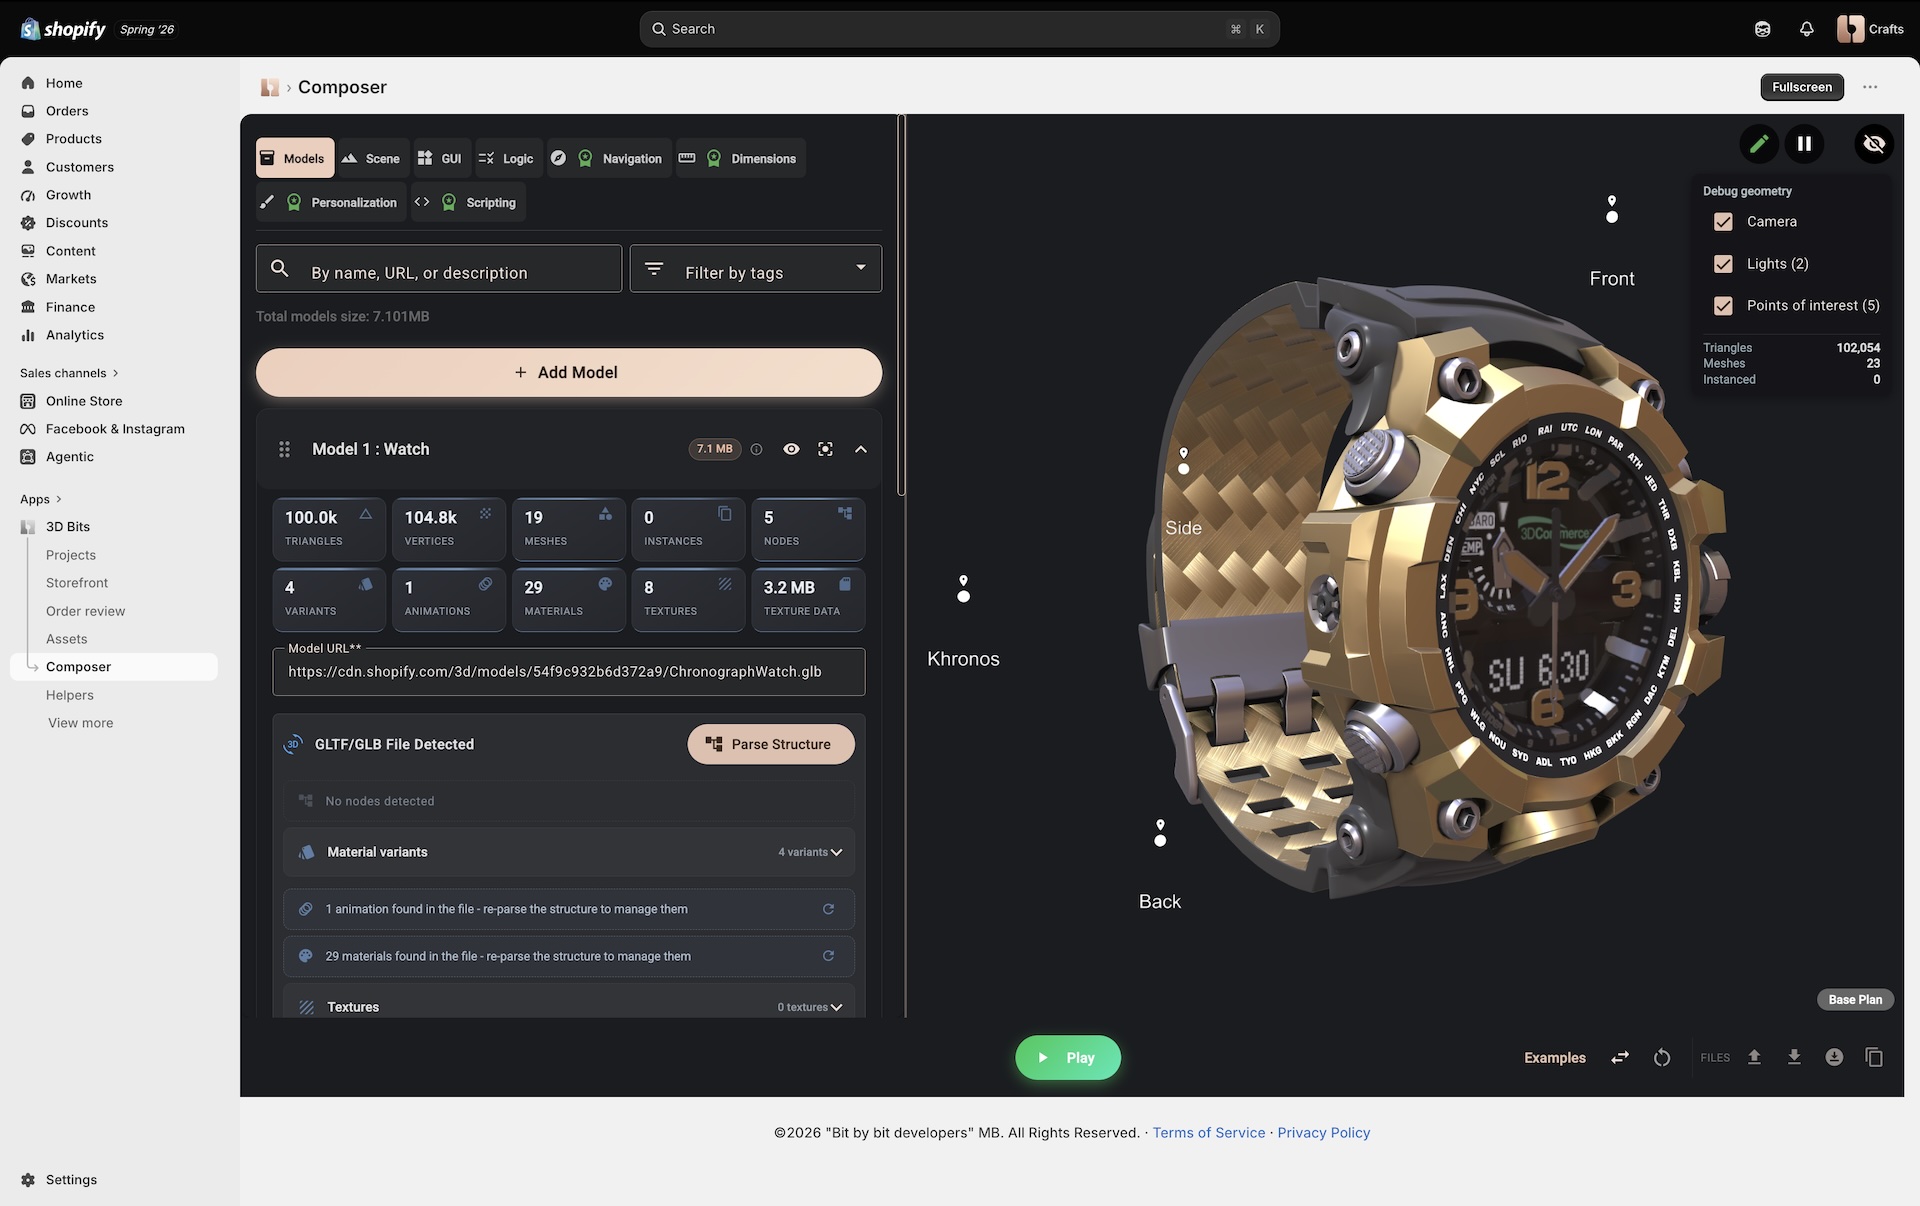
Credits for the model shown
3D Model: watch 3D asset was started from "Chronograph Watch Mudmaster" by graphiccompressor, licensed under Creative Commons Attribution.
- © 2025, Darmstadt Graphics Group GmbH. CC BY 4.0 International - Eric Chadwick for Model and textures
- © 2015, Khronos Group. Khronos Trademark or Logo - Non-copyrightable logo for Khronos logo
- © 2017, Khronos Group. Khronos Trademark or Logo - Non-copyrightable logo for 3D Commerce logo
- © 2020, Darmstadt Graphics Group GmbH. LicenseRef-LegalMark-DGG - Copyrightable logo for DGG logo
Composer is the same tool under a new name, and it does considerably more than it did when it was named for the 3D viewer alone. Older tutorials and videos may still say Viewer Editor.
Opening it
Composer opens from a project. Go to Projects in the 3D Bits app, open one, and you are in the editor with that project loaded. Saving and publishing are available because Composer knows which project it belongs to.
A project with no models in it yet opens on a start screen rather than an empty editor. Drop a 3D file onto it - .glb and .gltf are the recommended formats, with .ply, .splat, .stl and .obj also accepted - and you land in the editor with that model already loaded. The same screen will load a scene configuration or project file you already have, send you to the Converter if what you have is a STEP file, or let you start with no model at all.
There is also a Composer entry in the app's own navigation, which opens the editor with nothing attached. That is for experimenting, or for opening a configuration file someone sent you. Five things are missing there, because each of them needs a project behind it: Save, Publish, the Assets library, the picker that links options and parts to products in your catalogue, and the picker that links a script project. Everything else works, and you can download what you build and load it into a real project later.
What you build here
Composer is organised into eight sections, and you move between them as you work.
Models is where your 3D files go, and where you look inside them to find the objects your options will control.
Scene is everything around the product: the camera, the lighting, the background, the skybox, and the loading screen your shopper sees first.
GUI is the panel of options your shopper uses on the product page, and it is the biggest section by some way. It has nine sub-tabs: the controls themselves, the layout, the styling, the translations, Parts - the bill of materials behind a configured product - the pricing, the settings that decide what is remembered on the order and in a shareable link, the cart overview card that summarises the configuration under the cart line, and the PDF reports. Parts and PDF Reports need the Pro plan.
Logic connects choices to each other, so an option can appear only when it makes sense, or picking one thing can change another.
Navigation adds camera movement, either markers a shopper can click or automatic moves when they choose a particular option. Standard and Pro plans.
Dimensions annotates the model with real measurements that update as the product changes size. Standard and Pro plans.
Personalisation - spelled Personalization on the button - puts a shopper's own image or text onto the product itself. Pro plan.
Scripting links in a parametric program when the shape has to be calculated rather than swapped between prepared models. Standard and Pro plans.
Sections your plan does not include stay on screen, marked with a badge. They do not open, though: clicking one brings up a dialog naming your current plan, the plans that do include the feature, and a link to the comparison. The two Pro sub-tabs inside GUI behave the same way.
Trying it before you commit anything
Play is the most useful button in the editor. It runs your configurator as a shopper will see it on the product page, using the panel you designed, the logic you wrote and the prices you set. Press Stop to go back to editing.
Use it constantly. It is much faster than publishing and checking a real page, and it catches the majority of mistakes.
A tour by video
This walks through building a chair configurator with material variants. The interface has moved on since it was recorded, but the approach is still exactly how you would do it.
Where to start
If you have never built one, Your First Configurator takes a single product all the way to a live product page.
Otherwise the interface explains the layout, and the sections above each have their own page.